Last updated November 18, 2026








Free written scope consultation - allowances, timeline, and change-order rules on paper before a single trade is scheduled
Bathroom Remodeling Troubleshooting: Common Problems and How to Fix Them
If your newly remodeled bathroom grout is cracking within the first year, don’t reach for the caulk gun yet. Grout cracks at corners and transitions are almost always a sign that cement backer board wasn’t properly gapped or screwed. Re-grouting over a moving substrate will crack again within months. We’ve walked into Mesquite homes where a homeowner has re-caulked the same shower corner four times in two years, and the real fix was two screws and a $6 tube of sealant applied one layer deeper. This guide teaches you to read the symptom, trace it back to the cause, and decide what you can handle and what needs a pro.
Quick Answer
Most bathroom remodel problems trace to one of five root causes: poor ventilation, substrate movement, improper drain or trap slope, water chemistry, or incomplete waterproofing. Fixing the visible symptom without addressing the cause means the problem returns. Diagnose with moisture readings, a tap test on tile, and a check of the exhaust fan’s actual airflow before you spend money on cosmetic repairs.
Styles & brands we work with
- Kitchen remodeling
- Bathroom remodeling
- Home additions & ADU
- Roofing
- Windows & doors
- Driveway & pavers
- Fence
Table of Contents
- The Symptom-to-Cause Diagnostic Matrix
- Peeling Paint and Foggy Mirrors: A Ventilation Problem
- Cracked Grout and Loose Tile: Reading Substrate Movement
- The Tap Test: Is That Hollow Tile Cosmetic or Structural?
- Running Toilets and Slow Drains After a New Install
- Mesquite Hard Water: Descaling vs. Replacing
- Electrical Troubleshooting You Can Safely Do Yourself
- Documenting Problems for Warranty Claims in Nevada
The Symptom-to-Cause Diagnostic Matrix
Start here. Before you call anyone, match what you’re seeing to the likely cause. This matrix covers the failures we see most often in Mesquite bathroom remodels, and it will save you from paying for a cosmetic fix that won’t hold.
- Peeling paint or bubbling drywall above the shower: inadequate exhaust ventilation or a fan ducted into the attic instead of outdoors.
- Hairline cracks at inside corners of tile or where tile meets the tub: substrate movement, missing backer board gap, or rigid grout where flexible sealant belongs.
- Cracks running through the field of tile, not just corners: deflection in the floor or wall framing, or tile set over inadequate subfloor.
- Grout crumbling or washing out in the shower pan: failed waterproofing below the tile, or grout used where 100% silicone sealant is required.
- Toilet running constantly after replacement: flapper not matched to the flush valve, chain too long or too short, or fill valve set too high.
- Slow drain in a new sink or shower: debris in the new drain body, improper P-trap slope, or a trap arm that’s back-pitched.
- White crust on fixtures and shower glass: calcium and magnesium in the water supply, which is a fact of life across the Mesquite Valley.
- GFCI outlet that won’t reset: moisture in the outlet box, a tripped upstream GFCI, or a genuine ground fault in the circuit.
Write down which of these matches your situation. The rest of this guide goes deeper on each one, in order of how often we run into it in Mesquite homes.
Peeling Paint and Foggy Mirrors: A Ventilation Problem
Paint doesn’t peel because it was the wrong paint. It peels because moisture is condensing on the drywall faster than the exhaust fan can remove it. In an average 10-minute shower, a bathroom can generate enough humidity to raise relative humidity above 80%. If that moisture can’t escape, it soaks into the paint film, the joint compound, and eventually the paper facing of the drywall.
The Las Vegas Valley sees roughly 4 to 5 inches of rain a year and summer relative humidity that routinely drops below 20%, but that dry outside air does you no favors if the bathroom door is closed and the fan is underpowered. Mesquite’s desert climate makes this problem deceptive: the outside air is dry, so the house feels dry, but the bathroom microclimate is a swamp.
How to diagnose ventilation properly
- Turn the fan on and hold a single square of toilet paper up to the grille. It should stick firmly. If it droops or falls, the fan is moving almost no air.
- Check the fan’s rating on its housing label. A bathroom needs about 1 CFM per square foot of floor area, plus 50 CFM for each fixture. A 5×8 bathroom needs 50 to 80 CFM minimum; most builders install 50 CFM fans regardless of room size.
- Run the fan for 20 minutes after a shower, then check the mirror. If it’s still foggy, airflow is inadequate.
- Go into the attic and confirm the duct actually terminates outdoors through a roof or wall cap. We regularly find fans ducted to a bare attic vent, which pumps warm moist air straight into the attic where it condenses on roof sheathing.
- Check the duct run for sagging flex duct, sharp 90-degree turns, or crushed sections. Each one cuts airflow by 20% or more.
If the fan is undersized, the duct is wrong, or the termination is incorrect, the fix is a new fan (often a quiet 110 CFM model) plus a properly routed rigid duct to an exterior cap. That’s a half-day job and it permanently solves the peeling paint. Call (888) 413-6358 for a free estimate if you want the ventilation assessed alongside the drywall repair.
Cracked Grout and Loose Tile: Reading Substrate Movement
Grout is rigid. Cement backer board, tubs, and framed walls all move slightly with temperature, humidity, and weight. Where two planes meet – inside corners, wall-to-floor transitions, tub-to-wall joints – grout cracks because it’s being asked to flex more than it can. This is a construction defect, not an application defect, and the fix depends on where the crack is.
Corner cracks: use sealant, not grout
Movement joints at inside corners and where tile meets a tub or shower pan should be filled with 100% silicone sealant color-matched to the grout, never with grout itself. If you’re seeing cracked grout at these joints within the first year of a remodel, the installer used grout where the Tile Council of North America standards call for sealant. The proper fix is to remove the cracked grout with a grout saw or oscillating tool (carefully, so you don’t chip tile edges) and fill with silicone.
Field cracks and grout crumbling: substrate problem
If grout is cracking in the middle of a tile wall, not just at joints, the substrate is moving or wasn’t installed correctly. Common causes we find:
- Cement backer board butted tight with no 1/8-inch gap between sheets, so sheets push against each other as they expand.
- Backer board screwed only at the perimeter, not every 8 inches on center through the field.
- Tile set over drywall or greenboard in a wet area instead of backer board or a bonded waterproofing membrane.
- No movement joint at the floor transition, so the whole wall absorbs the slab’s seasonal movement.
Crumbling grout in a shower pan or lower wall is more serious. It usually means water is getting behind the tile and the pan waterproofing has failed. That’s a full demo of the shower floor, not a re-grout. A moisture meter on the surrounding drywall will confirm – if you’re reading above 15% moisture behind the wall, stop using the shower until it’s addressed.
The Tap Test: Is That Hollow Tile Cosmetic or Structural?
Hollow tile tells you the thinset didn’t bond completely to the substrate. A tile with a small hollow spot near an edge can survive for years. A tile that sounds hollow across most of its face will eventually crack or pop loose, especially in a wet area where the tile is expanding and contracting every day.
How to run the tap test
- Use a plastic screwdriver handle or a coin. Tap firmly, not hard, across the tile face in a grid pattern.
- A solid, sharp click means full coverage. A dull thud or hollow ring means a void under the tile.
- Mark voids with a piece of painter’s tape or a grease pencil.
- Pay particular attention to floor tile near the toilet, shower curb, and room perimeter – voids cluster at edges.
- Check at least 20% of the tiles in the room, including one full row and one full column.
What does hollow tile mean? If the voids are small and near edges, and the tile has been in place for years without cracking, it’s cosmetic. Monitor it. If the voids are larger than about 20% of the tile face, or if the tile has already cracked, the tile needs to come out and be reset with full thinset coverage. In a shower, hollow tile is more urgent: any void is a place where moisture can collect behind the tile and eventually reach the framing.
We’ve pulled tiles off Mesquite shower walls that sounded hollow on install day and been full of standing water a year later. The lesson: check hollow tile now, not when the grout starts staining.
Running Toilets and Slow Drains After a New Install
A toilet that runs after a remodel, or a drain that’s slow in a brand-new sink, is almost always an installation problem, not a fixture defect. Here’s how to trace them.
Running toilet: flapper mismatch or chain length
The most common cause is a flapper that doesn’t perfectly match the seat of the flush valve on the new toilet. Toilets ship with matched flappers, but if you replaced a flapper during the project with a universal one, it may not seal. Check the chain first: it should have about 1/2 inch of slack. Too long, and the flapper doesn’t lift enough to flush properly. Too short, and the flapper never closes. Chain length is the easiest fix. If the chain is right and the toilet still runs, replace the flapper with the manufacturer’s model for that toilet. Kohler toilets in particular use brand-specific flappers, and a universal flapper will not seat properly.
Slow drain: P-trap slope or debris
Slow drains in a new install almost always mean one of two things:
- Debris in the new drain body. New drains fill with grout, thinset, drywall dust, and construction debris during the project. If the plumber didn’t cap the drain during tile work, you’re pulling that debris through the trap. Remove the stopper or pop-up and clear it, then run the water hot for a minute.
- Improper P-trap slope. The trap arm – the pipe between the trap and the wall – must slope downward toward the wall at roughly 1/4 inch per foot. If it’s flat or back-pitched, water sits in the trap arm and the drain runs slow. This is a plumbing fix, not a drain-cleaning fix.
If a drain gurgles, smells worse than usual, or is slow throughout the house, the issue may be in the main line rather than the fixture. In that case, call a licensed plumber to scope it.
Mesquite Hard Water: Descaling vs. Replacing
Mesquite water is hard. The Southern Nevada Water Authority delivers water that picks up minerals as it travels through the Colorado River system and the local distribution network, and by the time it reaches a Mesquite tap it typically carries significant calcium and magnesium. That’s not a plumbing defect; it’s water chemistry, and it damages bathroom fixtures on a schedule nobody warns new remodelers about.
How to tell calcium buildup from fixture damage
- White, chalky, or crusty film on the surface: calcium buildup. It scrapes off with a fingernail, and it dissolves with white vinegar.
- Etched, cloudy, or pitted spots that won’t scratch off: mineral damage to the finish itself. Chrome and brushed nickel are more resistant; polished brass and unlacquered finishes are more vulnerable.
- Water spots that come back within a day of cleaning: ongoing calcium deposit, typical in high-hardness water. Install a water softener or a whole-home filtration system.
- Fixture internals: stiff valves, restricted flow from the showerhead, reduced pressure from the cartridge: scale buildup inside the fixture. This is the most common failure we see on new Kohler and similar fixtures in Mesquite homes within 3 to 5 years.
When to descale vs. replace
Descale the showerhead, faucet aerator, and glass monthly with a 50-50 white vinegar and water soak for 30 minutes. That’s routine maintenance, not a repair. Replace the fixture when:
- The finish itself is visibly damaged from mineral etching.
- The cartridge is seized or the valve won’t turn smoothly after two rounds of descaling.
- Flow is restricted even after the aerator and cartridge have been removed and soaked.
- The fixture is more than 10 years old and parts are no longer available.
A whole-home water softener is the only permanent fix for the underlying issue. Without one, you’ll be replacing fixtures on a five-year cycle – add that to your long-term remodel planning alongside the other projects in a full-home scope, such as an ADU or home addition in Mesquite.
Electrical Troubleshooting You Can Safely Do Yourself
Some electrical problems in a bathroom are safe to check yourself; others are not. The line matters for your safety and for Nevada code compliance, so learn it clearly.
What you can safely diagnose
- GFCI outlet tripped: press the reset button firmly. If it won’t reset, that signals a real problem, not a nuisance trip.
- Dead circuit: check the breaker panel for a tripped breaker. A breaker that trips once can be reset; a breaker that trips repeatedly is a fault.
- Dead outlet but live lights on the same circuit: check for a downstream GFCI elsewhere (often in another bathroom or the garage) that has tripped and cut power to the whole chain.
- Flickering light in a fixture you installed: loose bulb, wrong bulb type (LED in a dimmer not rated for it), or a loose connection inside the fixture housing that you can see with the power off.
What requires a licensed electrician
- Opening a wall to access wiring.
- Replacing a GFCI outlet, switch, or fixture that requires disconnecting conductors.
- Adding a new circuit, moving a fixture, or installing a fan timer.
- Any situation where the outlet box feels warm, smells like burning, or has visible scorching.
- Any work inside the breaker panel itself. Never open a panel face.
Nevada law is clear: electrical work in a residential bathroom – new circuits, GFCI replacements, wet-location fixture installs – must be performed by a licensed electrician, and most jurisdictions including Mesquite require a permit for major electrical work. Diagnostic checks like resetting a GFCI or flipping a breaker are not “work” under the code, but anything that touches wiring is. The licensed local professional we connect you with pulls the required permits and the inspection passes before final.
Documenting Problems for Warranty Claims in Nevada
A warranty claim only works if you can prove the condition existed – and prove when you reported it. The single biggest reason homeowners lose valid claims is that they told the contractor about a problem verbally, months later, with no photos. Here’s a documentation process that works.
What to photograph (and how)
- Wide shot of the whole room showing context: the door, the fixtures, the location of the problem relative to the rest of the bathroom.
- Close shot of the specific failure in sharp focus, with a tape measure or coin next to it for scale.
- A shot with your phone’s timestamp visible on-screen. Most phones embed the date in the image’s metadata automatically.
- A shot of any manufacturer label, model plate, or packaging you still have – Kohler, Moen, and similar brands track their products by serial number.
- Video: 20 seconds walking the room, narrating what you see out loud. Video is harder to dispute than a photo.
What to put in writing
Every question or complaint should go in a dated email or text to the contractor, or in a written letter. Keep a timeline document with dates: when the work was completed, when you first noticed the problem, when you reported it, what the contractor said, when the contractor came out, and what happened next. Mesquite’s dry climate lets you photograph moisture-related failures while they’re happening, which can be hard in humid climates where a leak gets patched over. Use that to your advantage.
Timeline pressure points in Nevada
Nevada’s contractor licensing board accepts complaints about licensed contractors, and the board’s review process runs on a timeline driven by the date of the completed work. Don’t sit on a problem that’s clearly a workmanship issue. Report it in writing within the first 30 days of noticing it, and give the original contractor a written chance to repair before you escalate. The repair attempt itself strengthens your position if you eventually need to bring a different contractor in.
We built the 730-Day Done Right Promise because that written warranty – and the documentation discipline that goes with it – turns a stressful problem into a straightforward conversation. If it’s not done right, we make it right.
Common Mistakes to Avoid
- Re-caulking the same corner four times. Each coat of caulk hides the gap temporarily but adds a layer the substrate has to flex against. Find the substrate cause and fix that before you seal.
- Using grout at inside corners. Grout at inside corners will always crack because the joint is a movement joint. Color-matched 100% silicone belongs there.
- Assuming peeling paint is a paint problem. It isn’t. It’s a ventilation problem, and replacing the paint without fixing the fan or duct means you’ll be painting it again next year.
- Skipping the tap test after a remodel. Hollow tile that survives on install day can still fail in the first wet season. Test before the final walkthrough, not after.
- Choosing a fixture finish based on looks in a Mesquite hard-water home. Polished chrome and brushed finishes resist mineral etching better than softer, oil-rubbed finishes. Plan for the water chemistry.
- Never installing a water softener. In Mesquite, hard water shortens the life of every fixture and valve in the bathroom. Skipping softener installation means paying for replacements on a predictable cycle.
- Reporting problems verbally and later. Nevada warranty claims and licensing-board complaints move on dates. Get the issue in writing to the contractor the day you notice it, with photos.
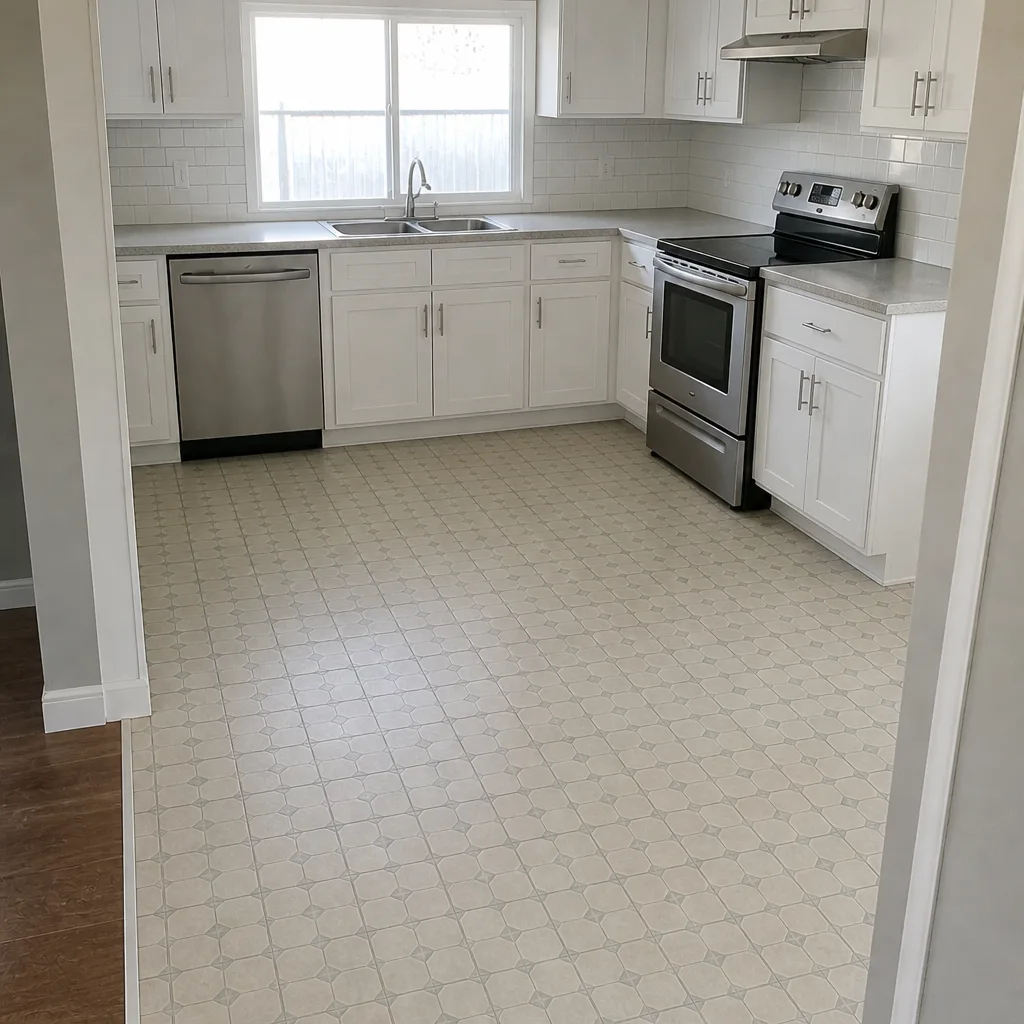
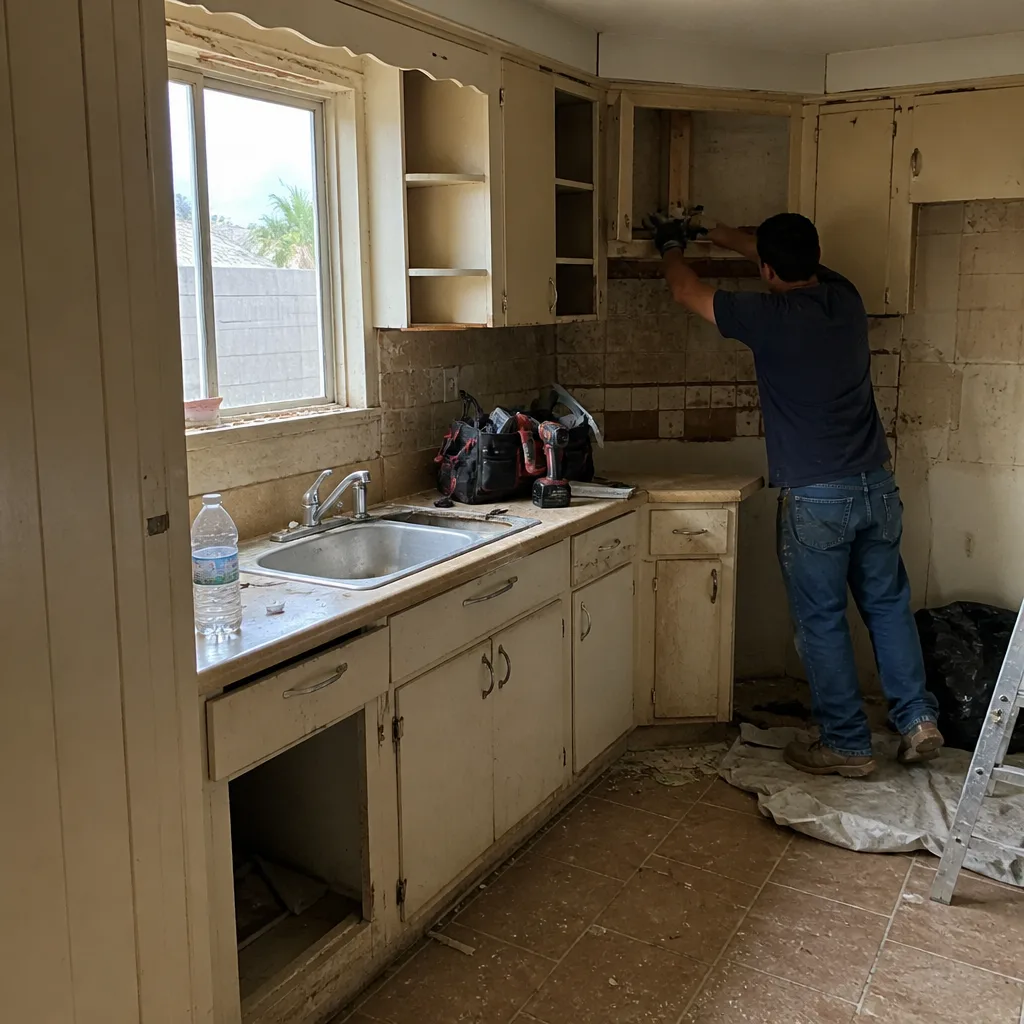
See the difference
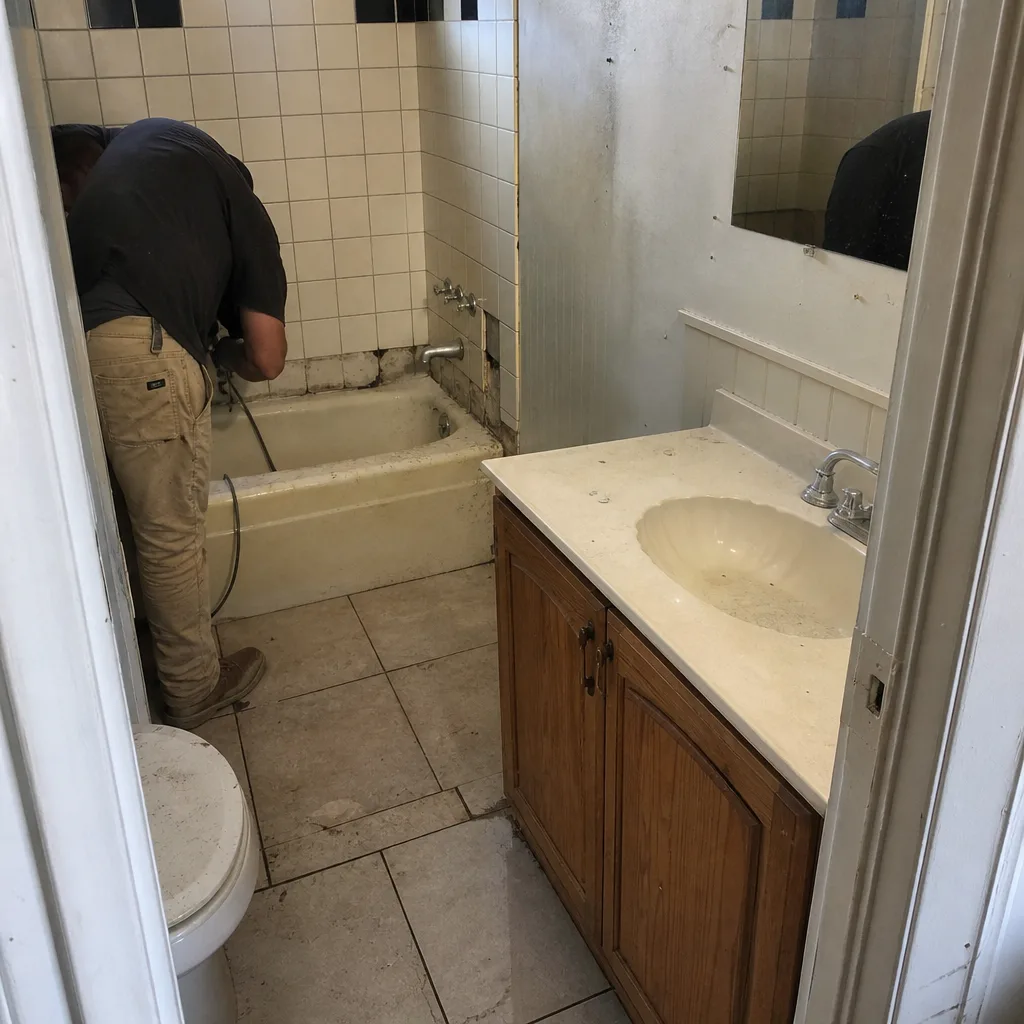 Before
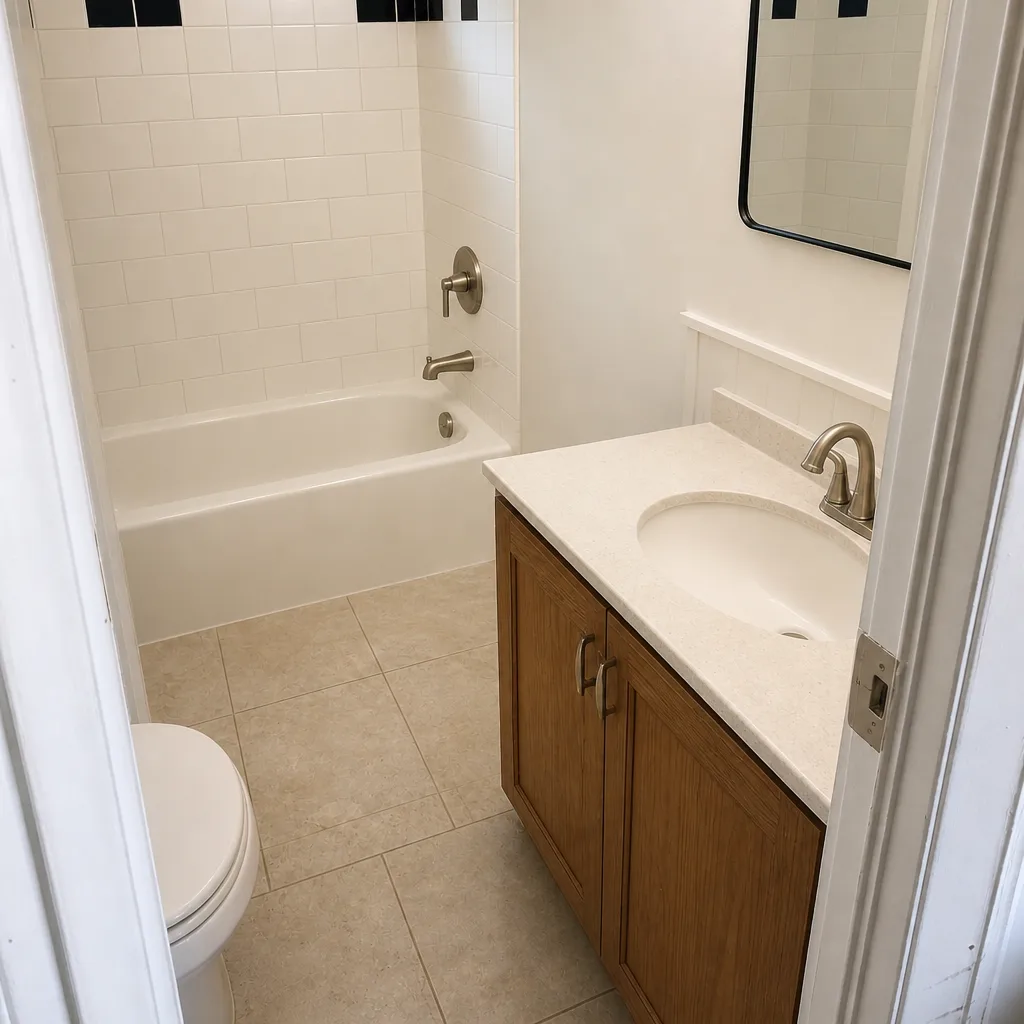 After
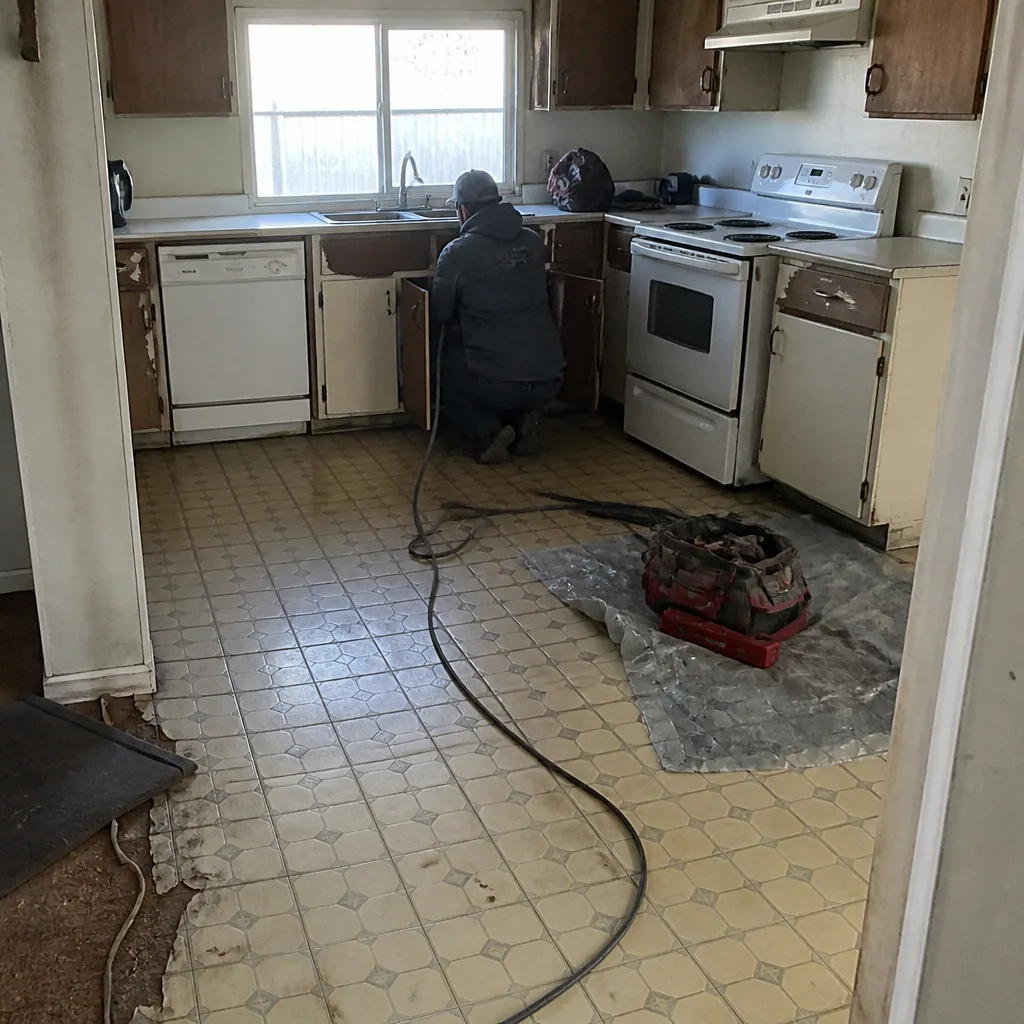 Before
 After
 Before
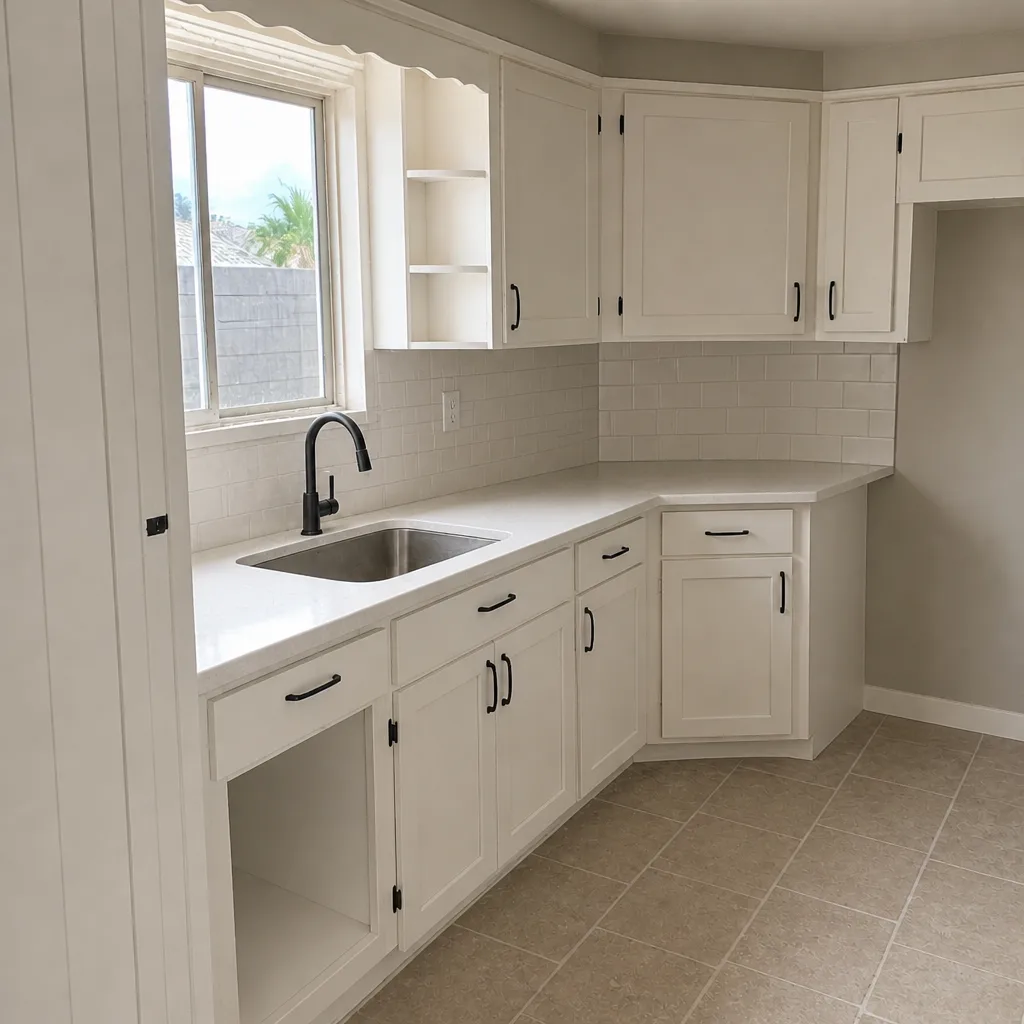 After
When to Call a Professional
Call a professional for anything involving water inside a wall, wiring in a wet location, or structural movement. That includes: crumbling grout in a shower floor (indicates waterproofing failure, not a grout problem); any hollow tap test result larger than 20% of a tile’s face; a running toilet that won’t stop after a chain and flapper check; visible water damage on surrounding drywall or the ceiling below; GFCI outlets that trip repeatedly; and any electrical work in the bathroom that goes beyond resetting a breaker. Also call a licensed contractor for the fix when the cause is unclear – a diagnostic walkthrough is faster and cheaper than a series of trial-and-error repairs.
If you’re at the point where you’d rather just have the problem solved correctly, we offer free estimates in Mesquite – call (888) 413-6358. If you want to see our broader work, look at our Groundwork Construction Co. of Mesquite home page, or check out driveway and pavers in Mesquite and fence installation in Mesquite for the rest of the exterior scope.
Frequently Asked Questions

Peeling paint is a ventilation problem, not a paint problem. The exhaust fan isn’t moving enough air, or its duct is improperly terminated in the attic rather than outdoors. Test the fan with a square of toilet paper and check the attic termination; if either fails, upgrade the fan to 110 CFM and route rigid duct to an exterior cap.
It depends on where the crack is. Cracks at inside corners and tub-to-wall joints are typically cosmetic, caused by grout being used where silicone sealant belongs. Cracks running through the field of a tile wall indicate substrate movement and should be investigated. Calling (888) 413-6358 for a diagnostic walkthrough will tell you which one you have – estimates are free.
It’s almost always a flapper mismatch. New toilets ship with a matched flapper, but a universal replacement often won’t seat properly against the flush valve. Check the chain length first (1/2 inch of slack), then replace the flapper with the manufacturer’s model for that specific toilet.
Run a tap test with a coin across the tile face. A hollow ring indicates a void in the thinset, which is a harbor for water behind the tile. If voids cover more than about 20% of a tile’s face, or if grout in the shower floor is crumbling, the shower needs a full demo and rebuild – the waterproofing has likely failed.
No. Nevada law requires electrical work in a residential bathroom to be performed by a licensed electrician, and Mesquite requires a permit for most electrical replacements. You can safely reset a tripped GFCI or check a tripped breaker yourself; anything that touches wiring requires a licensed electrician, and the licensed local professional we connect you with pulls the required permits and the inspection passes before final.
Groundwork Construction Co. backs every project with our 730-Day Done Right Promise, one of the longest workmanship warranties in the residential space. That’s 730 days from completion – and the documentation strategy in this guide is what makes it easy to use. Call (888) 413-6358 with the date of your project to confirm coverage on a specific issue.
The Bottom Line
Every bathroom remodel problem you’ll face traces back to a small number of causes: humidity the fan can’t remove, substrate movement the installation didn’t account for, drain slope the plumber got wrong, hard water that shortens fixture life, or waterproofing that was skipped in a wet zone. Fix the cause, not the symptom, and the problem stays fixed. The tap test, the toilet-paper ventilation test, and the photo documentation habit from this guide will cover 90% of the situations you’re likely to encounter in Mesquite. For the rest, a diagnostic walkthrough is faster and cheaper than guesswork.
Groundwork Construction Co. of Mesquite is a full-scope home construction partner. We’ve been in business since 2014, our technicians have up to 12 years of experience, calls are answered by a live person 24/7, and all technicians are background-checked and arrive in uniform. Every project is covered by the 730-Day Done Right Promise. Use fence installation in Mesquite or driveway and pavers in Mesquite to see the same warranty extended across our exterior work.
Call (888) 413-6358 for a free estimate. We offer no-hassle upfront pricing, a free project estimate and design consult, $1,000 off projects over $10,000, and 0% financing for 18 months. If a previous contractor’s bathroom remodel is giving you trouble, we can diagnose it, price the fix, and get it done right – backed in writing.
Groundwork Construction Co. of Mesquite home
Written by the team at Groundwork Construction Co. of Mesquite.