Last updated November 18, 2026
Free written scope consultation - allowances, timeline, and change-order rules on paper before a single trade is scheduled
DIY vs Professional Driveway & Pavers: What’s Safe to Do Yourself
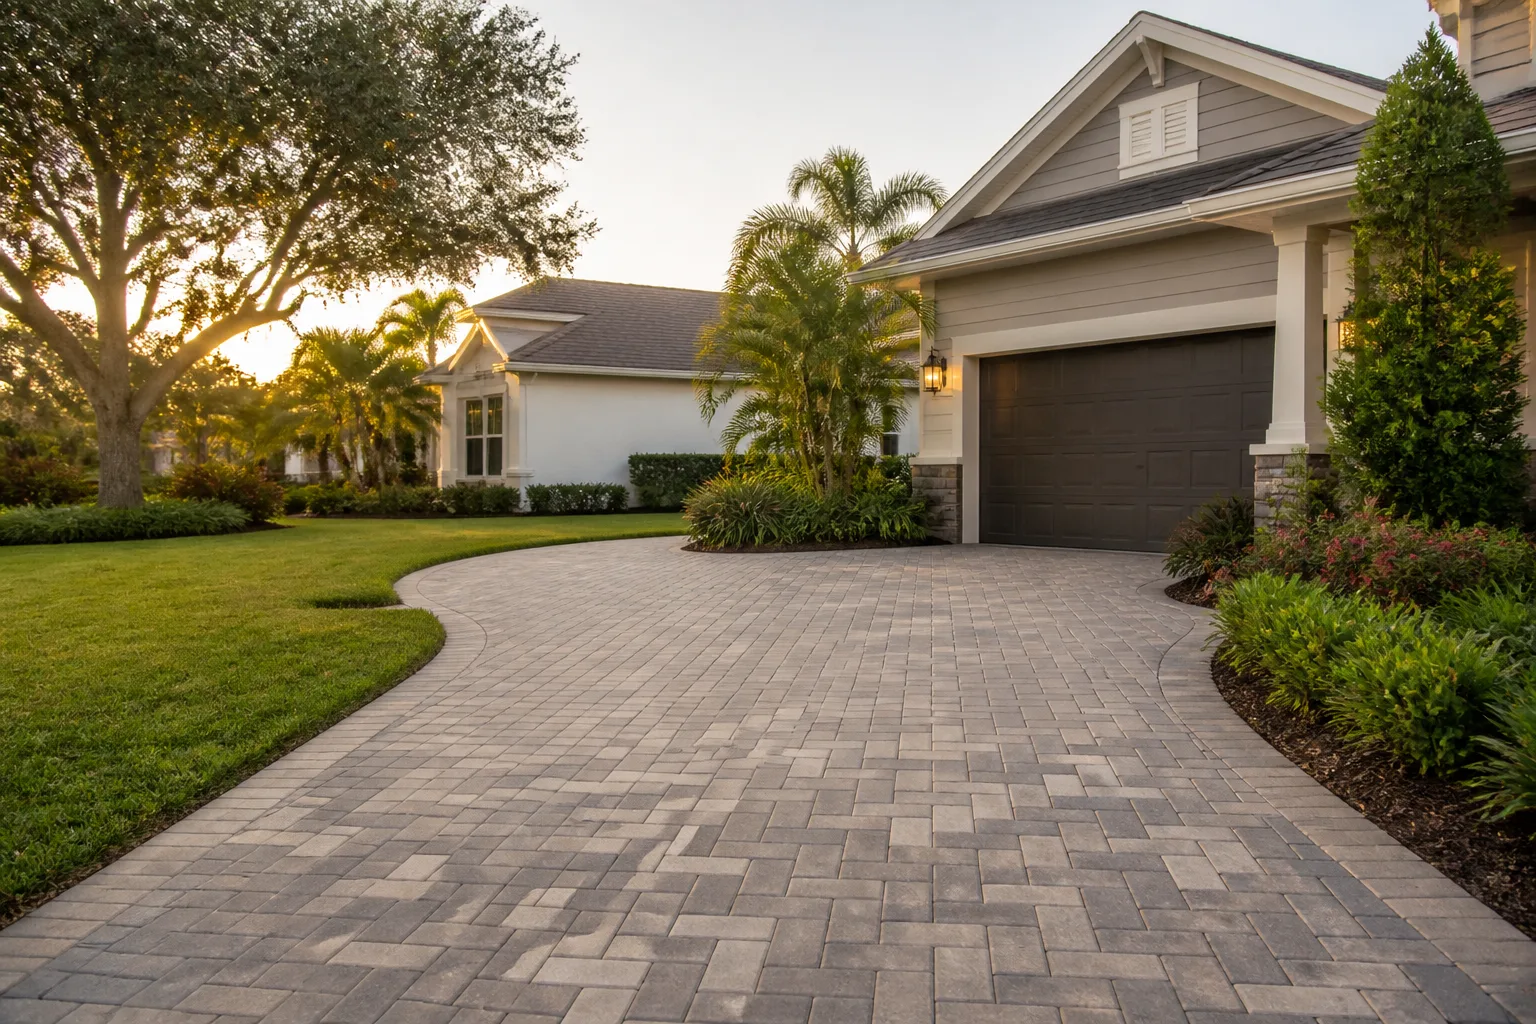
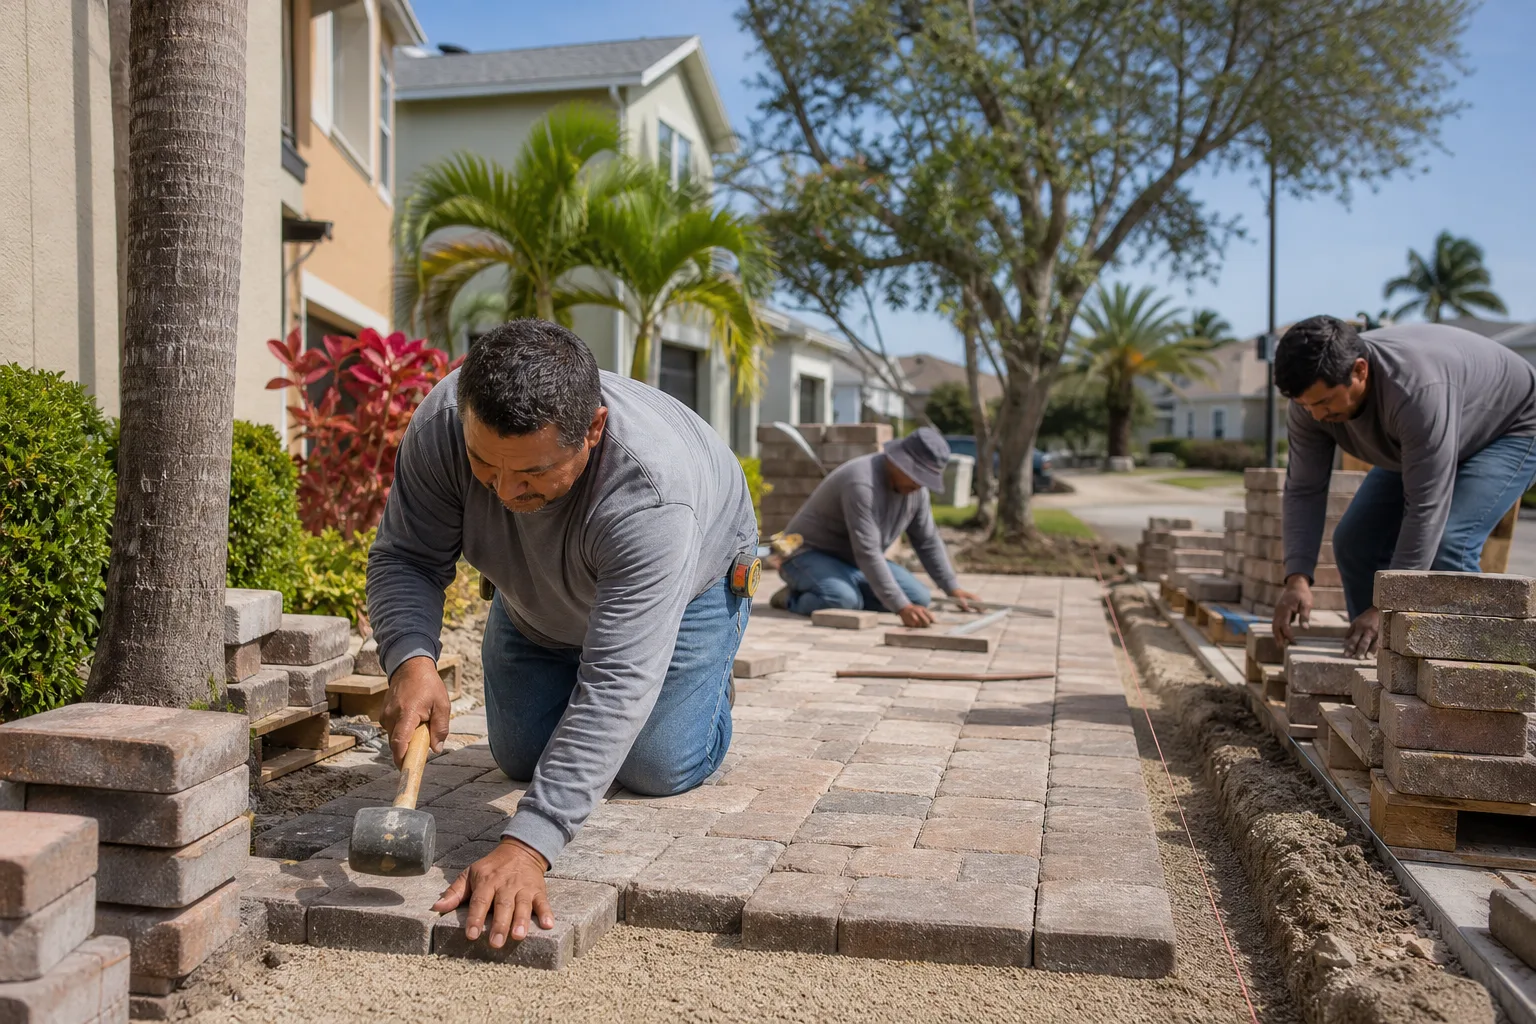
Laying pavers is the easy part. That’s the counterintuitive truth most DIY guides skip over. Excavating to the right depth, compacting the base in proper lifts, and setting accurate slope for drainage is where driveways succeed or fail – and it’s also the part that requires equipment most homeowners don’t own and can’t rent effectively for a one-day job. In Mesquite, we’ve walked up to plenty of pavers that looked flawless on the surface and were already settling after a single monsoon season because the base under them was an afterthought. This guide draws a hard line between the tasks where DIY genuinely saves you money and the ones where it quietly manufactures a five-figure problem.
Quick Answer
You can safely DIY the finishing work on a driveway or paver project: cutting edge pavers, applying sealer, and re-sanding joints after installation are all low-risk jobs a careful homeowner can handle. The base work – excavation depth, sub-base compaction, and drainage slope – is not a safe DIY task on a vehicle-load surface, because it requires a plate compactor and laser level most homeowners can’t run effectively, and mistakes there won’t show up until the driveway has already failed.
Styles & brands we work with
- Kitchen remodeling
- Bathroom remodeling
- Home additions & ADU
- Roofing
- Windows & doors
- Driveway & pavers
- Fence
Table of Contents
- The Real Cost Difference Between DIY and Professional Pavers
- The Equipment Rule: What Makes Base Work Non-Negotiable
- Tasks a Competent DIYer Can Legitimately Handle
- How to Read a Professional Bid So You’re Comparing Apples to Apples
- The Drainage Slope Problem: Water Damage, Foundations, and Neighbors
- What to Ask a Contractor to Verify Base Work Is Being Done Right
- Why Mesquite’s Climate Changes the Math on Paver Failure
- Common Mistakes to Avoid
- When to Call a Professional
The Real Cost Difference Between DIY and Professional Pavers
The honest answer to “how much can I save by doing this myself?” is: less than the internet suggests, and sometimes a negative number. On a typical 400-square-foot residential driveway in Mesquite, a professional installation runs roughly $4,000 to $8,000 depending on paver selection, base depth requirements, and drainage complexity. A serious DIY attempt on the same space runs $2,200 to $4,500 in materials alone once you account for pavers, aggregate base, bedding sand, polymeric sand, and edge restraints. Add tool rental for a plate compactor, a walk-behind saw, and a laser level, and the materials-plus-tools gap narrows to under $1,500 on most jobs.
That $1,500 is what you’re actually comparing – not the full retail price against the DIY material cost. And that $1,500 is buying you labor on the exact portion of the job that determines whether the driveway performs for 25 years or fails before year three.
Here’s the line-item reality on a mid-sized driveway:
- Materials (pavers, base aggregate, sand, edging): $2,200 – $4,500 either way
- Tool rental (one weekend): $350 – $600 for a plate compactor, wet saw, laser level, and hand tools
- Disposal of excavated soil: $250 – $500 – most jurisdictions, including Mesquite, don’t allow you to simply spread excess excavation soil on your lot
- Professional installation labor: $1,500 – $3,500 above materials
- Redo cost after base failure: $3,500 – $7,000 – full tear-out and rebuild
The math gets even tighter when you factor in a Mesquite-specific reality: soils around the Virgin Valley vary considerably block to block, and in neighborhoods like those along the Sandhill Boulevard corridor, we’ve seen base excavation hit caliche layers that require a jackhammer or a mini-excavator to break through. A homeowner planning a Saturday morning start can lose the whole weekend to soils that a professional crew knew to expect.
The Equipment Rule: What Makes Base Work Non-Negotiable
This is the part where the guide earns its keep. If you take one thing from reading this, take this: a hand tamper is not a functional substitute for a plate compactor on any surface a car will drive on. Not “less ideal.” Not “takes longer.” Not functional. It doesn’t develop the force required to consolidate the sub-base to the density a vehicle load demands.
Here’s what proper base compaction actually requires:
- A plate compactor or vibratory roller – a plate compactor capable of producing at least 4,000 to 5,000 pounds of centrifugal force is the minimum for residential driveway work. A hand tamper produces a fraction of that, delivered inconsistently.
- Lift compaction, not monolithic compaction – aggregate base must be laid and compacted in lifts of 2 to 4 inches. Trying to compact an 8-inch base as one pour leaves the lower half uncompacted, and the surface compacts first, locking in the failure.
- Moisture control – aggregate base compacts to spec only at optimal moisture content. Too dry and the material stays loose; too wet and it pumps and never reaches density. On Mesquite’s dry, hot days, aggregate base dries out fast and needs moisture applied during compaction. A hand tamper gives you no control over this variable.
- Laser or rotary level for verification – you need to confirm the finished base is flat and at the correct drain slope before pavers go down. A 4-foot level and a string line get you close; a laser level confirms it, and on a driveway where water is meant to shed toward the street at a specific grade, “close” is where problems start.
- A wet saw for paver cuts – not required for the base, but for the edge course. A tile saw and an angle grinder will produce an acceptable edge course on softer pavers if you’re patient. A wet saw is faster and cleaner.
The compaction issue isn’t academic. We’ve pulled up driveway pavers in Mesquite where the homeowner had done a careful job of laying the surface, cut all the edge pavers beautifully, and compacted by hand. Under the pavers, the base was essentially undisturbed aggregate. Those pavers had sunk unevenly within two years. The homeowner did everything right except the one thing that mattered most, and now they’re paying for excavation twice.
Tasks a Competent DIYer Can Legitimately Handle
Here’s what you can genuinely do yourself on a paver driveway project without structural risk – and where the savings are real, not imaginary. We recommend this list to homeowners in Mesquite who want to save money without sacrificing the driveway.
Cutting Edge Pavers (After the Base Is Done)
If you’re having a professional install the base and lay the field pavers, you can absolutely handle the edge cuts yourself with a rented wet saw or a quality angle grinder with a diamond blade. This is the most accessible DIY portion: it requires patience and a steady hand, but no specialized knowledge. A rented wet saw for half a day runs $60 – $100, and a pallet of pavers is cut in about 4 – 5 hours. The savings: $400 – $800 versus having a crew do the cuts.
Applying Sealer
Post-installation penetrating or film-forming sealer is straightforward to apply with a roller or sprayer on a cool, dry day. Follow the sealer manufacturer’s coverage rate (usually 100 – 150 square feet per gallon) and apply two coats with the recommended dry time between. In Mesquite’s climate, apply early morning in spring or fall, not midday in July. The savings: $300 – $600. The caveat: don’t seal a driveway until the pavers have fully cured according to the manufacturer’s spec, usually 30 – 90 days after installation.
Re-Sanding Joints
Polymeric sand settles and needs top-ups after a couple of seasons. Sweeping new sand into joints and misting it to activate the polymer is genuinely manageable DIY work – a homeowner with a broom, a hose, and a bag of polymeric sand can maintain joint integrity for years. The savings: $150 – $400 per re-sand versus a service call. This is the highest-value maintenance task in your rotation, and there’s no structural risk to getting it wrong – a bad re-sand just means doing it again.
Where DIY Stops
Excavation, base aggregate placement, compaction, slope setting, edge restraint installation, and geotextile fabric are not DIY-safe for a driveway. Any one of these done wrong compounds the others. That’s the line.
How to Read a Professional Bid So You’re Comparing Apples to Apples
The reason professional paver bids vary so wildly – sometimes $4,000 versus $8,000 on the same 400 square feet – is almost always one thing: what’s buried in the base spec. A bid that looks like a bargain is frequently a bid that’s omitting the excavation or the compaction that makes the driveway last. This is the single biggest pricing trap in this category, and it’s why we recommend asking for a written line-item quote from any paver contractor you consider, including us.
Here’s what a legitimate paver bid in the Mesquite market should break out as separate line items:
- Excavation depth specified in inches – for a residential vehicle-load driveway, excavation should reach 8 to 12 inches deep depending on paver thickness and base make-up. If a bid just says “excavate,” ask for the number.
- Geotextile fabric layer – separator fabric under the base aggregate prevents the native soil from pumping up into the base. In the silty soils we see in some Mesquite subdivisions, skipping fabric is a common shortcut that shows up in a bid that’s $800 cheaper.
- Base aggregate, type and depth – washed aggregate base (typically 3/4-inch minus) compacted in lifts, with the total compacted depth specified. If a bid says “gravel” with no depth, that’s a red flag.
- Compaction equipment specified – “plate compactor” or “vibratory roller” should appear in the written scope. If it doesn’t, ask.
- Bedding sand depth and material type – 1 inch of coarse concrete sand under the pavers is standard. A bid that lists “sand” without depth is not specific enough.
- Edge restraints – spiked edge restraints on the perimeter are non-negotiable on a driveway. This should be an explicit line item.
- Paver manufacturer and product line – “pavers” is not enough. The specific product matters for both warranty and price; brand partners like Belgard bring specific material and warranty terms that should be spelled out.
- Polymeric sand brand and joint-fill method – specified brand and application method, not just “sand in the joints.”
- Disposal of excavated material – listed separately, with the destination specified.
- Warranty terms, in writing – what’s covered, for how long, and what voids it. A verbal warranty isn’t a warranty.
The $400 Difference That’s Really $7,000
Here’s the way to check a bid quickly: ask every bidder how deep they’re excavating and what compacted base thickness goes in. If two bids differ by $1,000 or more, look at those two numbers. The lower bid is almost certainly excavating less or compacting shallower. In Mesquite soil, a driveway that goes in over a 4-inch base will settle and shift within two or three years in most installations on a car-used surface; a driveway over a properly compacted 6 to 8-inch base commonly lasts 20 or more years. The $1,000 you saved on the bid is the $7,000 you’ll spend on the redo, minus the value of the original pavers, which usually aren’t reusable.
We also recommend insisting on the paver manufacturer’s spec sheet as the basis for the base depth. Every major paver line publishes the minimum base requirement by traffic load. If a bid falls short of that spec, it’s a bid you shouldn’t accept regardless of price.
The Drainage Slope Problem: Water Damage, Foundations, and Neighbors
Here’s the liability conversation nobody brings up, and it’s the one you need to hear. Improper drainage slope on a paver driveway doesn’t just create puddles on your driveway. It sends water toward your home’s foundation, into your neighbor’s side yard, or against your garage slab where it can run under the structure. The damage this causes isn’t covered by most homeowners insurance policies the way you’d expect. Foundation water damage claims routinely fall into exclusions or get reduced via wear-and-tear carve-outs. Neighbor disputes over redirected water are civil matters, not insurance ones, and they frequently go badly for the homeowner who built the unpermitted grade change.
The drainage spec that matters:
- 1.5% to 2% slope away from structures – a driveway should shed water at roughly a quarter-inch per linear foot, directed away from the garage slab, foundation, and adjacent property lines.
- Crown and cross-slope where drainage to one side isn’t possible – on a driveway that runs between two lots, you need a crown so water sheds to both sides, not one.
- Discharge path to a legal point of discharge – the water has to go somewhere that isn’t a neighbor’s property. On sloped Mesquite lots this frequently means routing to a dry well or a drainage channel rather than simply letting it run off the edge.
Mesquite’s climate is the amplifier here. The area receives intense, short-duration rain events during the summer monsoon season – often an inch or more in an hour – and long dry spells otherwise. That puts the entire annual water exposure for a badly graded driveway into a handful of events, each of which sends runoff quickly. The dry ground doesn’t infiltrate fast, so water that sheet-flows off a mis-graded driveway goes fast and goes somewhere. On flat desert lots, that somewhere is frequently the rear of the neighbor’s garage.
If you’re doing the DIY work and you’re not trained on setting grade to a legal discharge point, this is the task that should push you to a professional. The stakes are the foundation of a home and a potential civil dispute with a neighbor, not a cosmetic concern.
What to Ask a Contractor to Verify Base Work Is Being Done Right
Here’s a script you can use when interviewing paver contractors in Mesquite. The point of each question is to force a specific, on-record answer that you can hold them to in the written bid. A contractor who’s actually doing the base work properly will answer these in the first pass, not the second.
- “What excavation depth are you doing, in inches, and what compacted base depth goes back in?” – You want two numbers: 8+ inches of excavation for a standard residential driveway, and 6+ inches of compacted base. If they can’t give you both without thinking, that’s the answer.
- “What are you compacting with, and in how many lifts?” – The answer should be “plate compactor” or “vibratory roller” and “in 2 to 4 inch lifts.” If the answer is a hand tamper or “one pass,” walk.
- “Is geotextile fabric going under the base?” – On Mesquite’s native soils, yes. If they say “not necessary,” ask why, in writing.
- “What are you setting the drainage slope to, and where does the water discharge?” – “Toward the street” is fine if the street is the legal discharge point and the grade works. “Away from the house” is not a spec.
- “How do you verify the base is level and at slope before pavers go down?” – The answer should involve a laser level, a rotary level, or a transit, not a string and a 4-foot level alone.
- “What’s the specified paver product, and what does the manufacturer’s base spec require?” – Then check the spec sheet yourself. The manufacturer’s published minimum is the floor.
- “What’s your warranty on base work – not the surface pavers, the base?” – Base failures are what actually happen, and a warranty that covers only “workmanship on surface installation” doesn’t cover the failure mode you care about.
- “Are you pulling a permit for the grade change, and are you licensed and insured as the state requires?” – Grade changes above a threshold in many jurisdictions require a permit even for a paver replacement, and any contractor doing the work should be able to confirm this. The local professional you work with should be licensed and insured as their state requires.
Our team works with pros who answer all of these in the first call and put the answers in the written bid. That’s the minimum bar. If you’re considering Driveway & Pavers in Mesquite, we can hand you a written line-item quote against these specs so you’re comparing apples to apples with any other bid you collect.
Why Mesquite’s Climate Changes the Math on Paver Failure
Driveways in Mesquite face a three-part attack that driveways in milder climates don’t: sustained summer heat, monsoon-season flooding, and soil conditions that don’t always cooperate. Understanding this is where a Mesquite homeowner’s decision-making diverges from a generic DIY guide’s advice.
The heat alone disqualifies a lot of typical paver discussion. Surface temperatures on an unshaded driveway in Mesquite hit 150°F or higher in July and August, and pavers – especially darker colored ones – absorb that heat and expand. A driveway installed with too little joint spacing, or with a jointing spec that doesn’t allow for thermal expansion, develops spalling and cracking within the first two summers. This is one reason we’re specific about product selection when we quote in Mesquite; the wrong paver line fails under local conditions even when the base work is perfect. Brand partners like Belgard publish climate guidance for their products, and it matters.
The monsoon flooding issue is the steep one. Between July and September, the area can get half its annual rainfall in a handful of intense events. A driveway graded to shed properly handles this without incident. A driveway graded flat or toward the house doesn’t just get wet, it directs the entire volume of a storm onto the foundation or the neighbor’s side yard in under an hour. This is where “my uncle did the grading and it looks fine” turns into a claim against a homeowner’s insurance policy that gets denied under foundation water exclusions. In the neighborhoods near the Virgin River where the water table is higher and the soils drain more slowly, the exposure is worse.
And the soils. Virgin Valley soils range from moderately well-drained sandy material to caliche-heavy layers that resist excavation. If a DIY homeowner plans a Saturday start without knowing what’s under the driveway, a $4,000 project can turn into a $6,000 project when the base excavation hits rock and the only option is a rented jackhammer. A professional scouting the work first – and pricing accordingly – isn’t adding cost, they’re pricing accurately. Upfront pricing, no surprises is the whole point.
The practical takeaway for a Mesquite homeowner: whatever driveway you install or have installed, plan for the summer heat and the monsoon flooding, and use a professional’s knowledge of local material performance as part of the selection process. It’s a Mesquite-specific judgment call that a generic national DIY guide won’t make for you.
Common Mistakes to Avoid
- Compacting with a hand tamper on a car surface. This is the number one failure we see. A hand tamper delivers a small fraction of the compaction force a plate compactor generates, and the base under your pavers stays loose. The pavers look right for one season and then settle unevenly.
- Excavating too shallow to gain a few hours. “The pavers are only 2.5 inches thick, why dig 10 inches?” Because below the pavers sits the base, the fabric, and the native soil. A 4-inch base under vehicle loads fails within a couple of years in most Mesquite installations; the manufacturer’s spec sheet is not optional.
- Setting slope to “whatever looks right” instead of a measured grade. On a Mesquite driveway, water has to shed at 1.5% to 2% away from structures, with a legal discharge path. Grading by eye frequently gets it wrong, and monsoon-season rain finds the error fast.
- Accepting the lowest bid without reading the base spec. A bid that’s $1,000 lower than the others is almost always excavating less, compacting shallower, or skipping the geotextile fabric. Get every bid to state the base spec in writing and compare the numbers, not the totals.
- Sealing too soon after installation. Pavers need to cure and release moisture, typically 30 to 90 days, before sealing. In Mesquite’s heat, the contractor’s project timeline matters here – sealer applied before cure time leaves a cloudy finish that’s hard to correct.
- Ignoring polymeric sand replacement. Sand in the joints breaks down over time, and once the joints open, water gets into the base and mechanical joint lock is lost. Re-sand every 2 to 3 years as a minimum, and use the specified polymeric product, not plain masonry sand.
- Skipping the edge restraint. Pavers on a driveway need spiked edge restraints on all free edges, not just the curb-facing side. Without them, the driveway spreads over one or two summers and the field pavers loosen at the edges first.
Avoiding these seven mistakes is most of the reason a professional paver driveway lasts 20 to 25 years instead of 3 to 5. The rest is materials selection and local climate awareness – things we handle as part of standard Driveway & Pavers in Mesquite projects.
When to Call a Professional
You should call a professional for a paver driveway project if any of the following apply to your situation: the project is on a vehicle-load surface (a driveway, not a pathway or patio), the drainage requires a legal discharge point or touches a grade change, the paver project needs to be installed to the manufacturer’s warranty spec (almost all of them do), or the site soil conditions are unknown. If you’re in any of these categories, a professional’s base work and written warranty are the foundation. Groundwork Construction Co. of Mesquite offers free estimates in Mesquite – call (888) 413-6358. We hand you a written line-item quote so you know what you’re comparing against any other bid, and every project is backed by our 730-Day Done Right Promise – if it’s not done right, we make it right.
If you’re doing the paint-by-numbers finishing work – cutting edges, re-sanding joints, sealing on schedule – you’re playing to your strengths. Everything under the pavers is where we recommend a pro.
See the difference
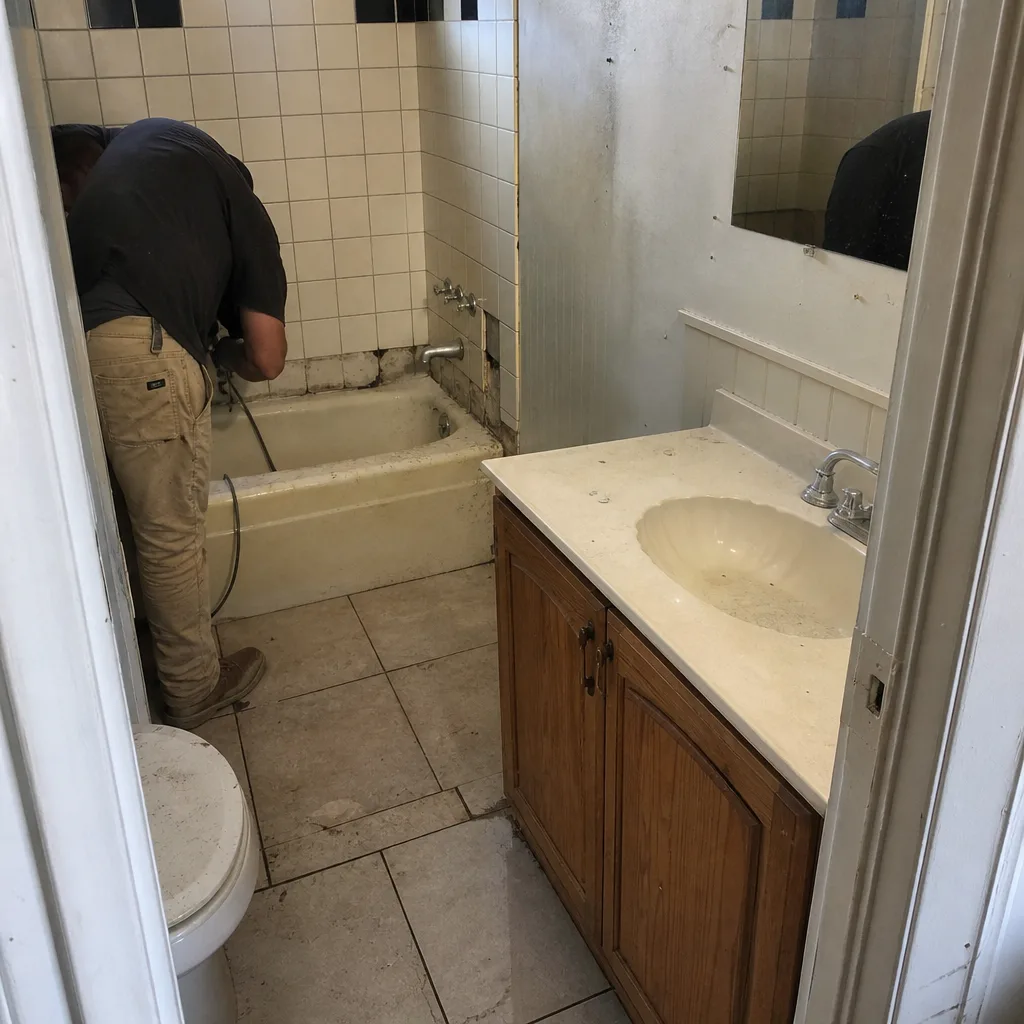 Before
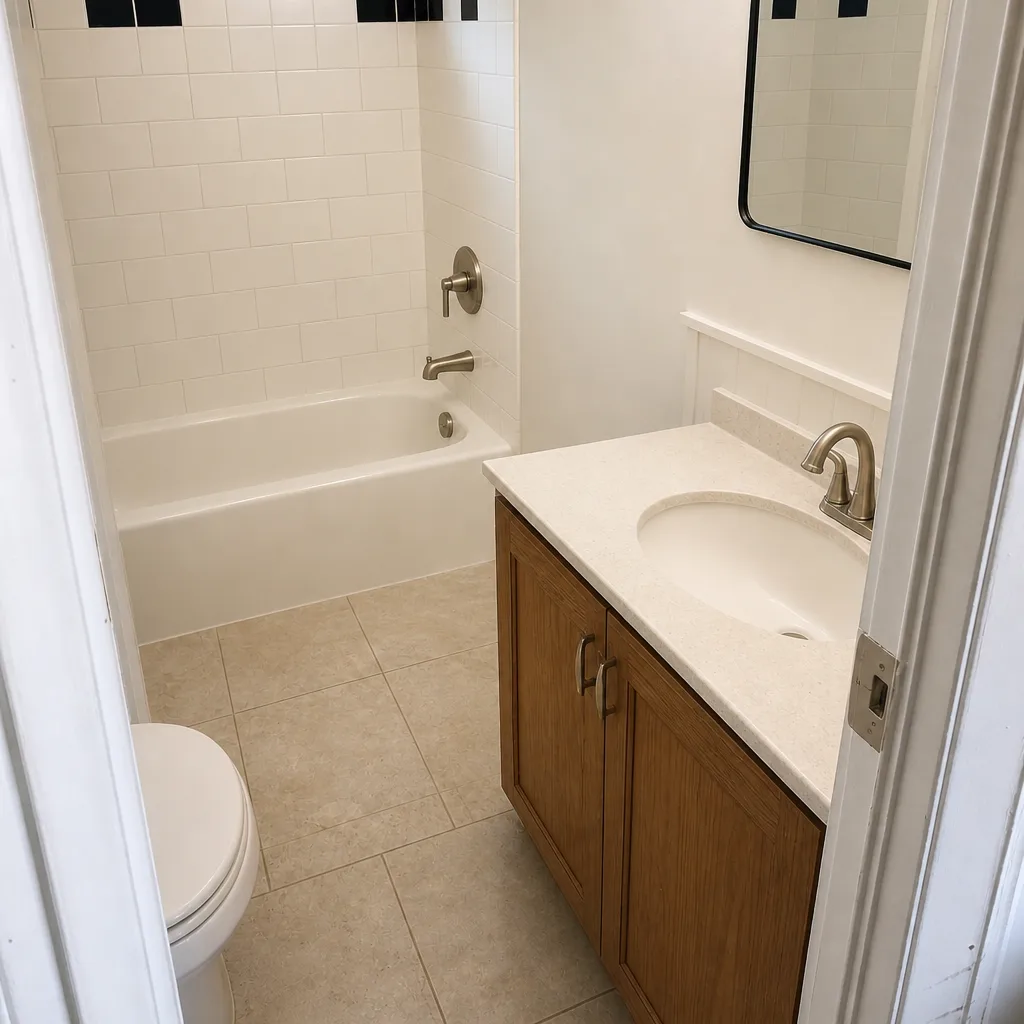 After
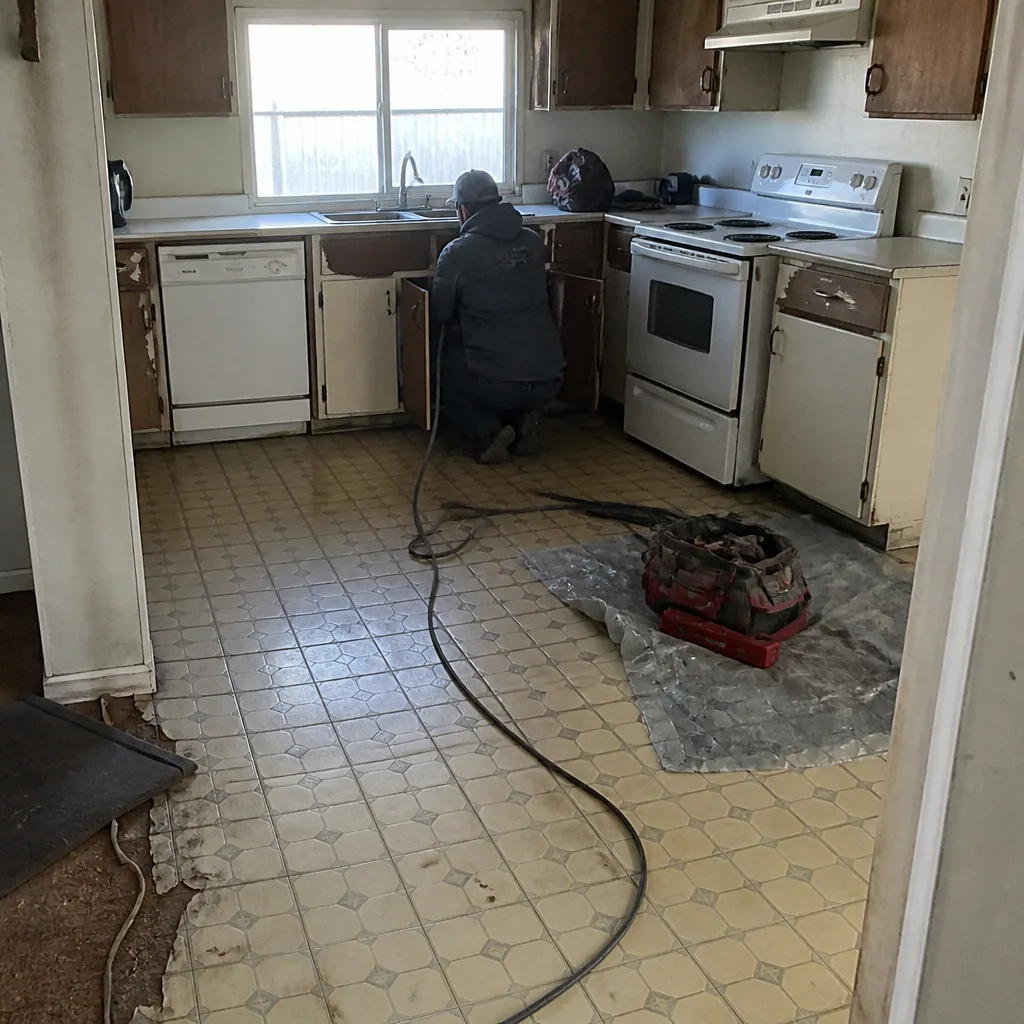 Before
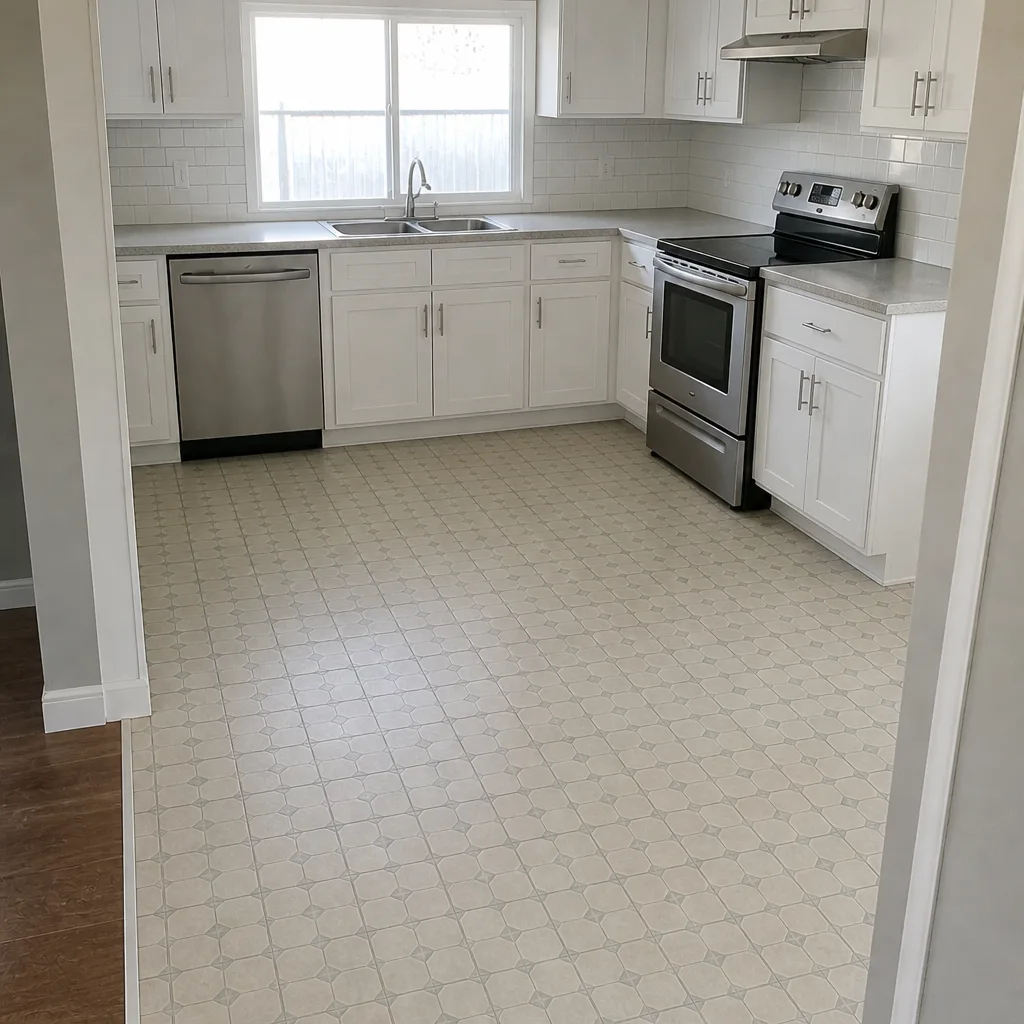 After
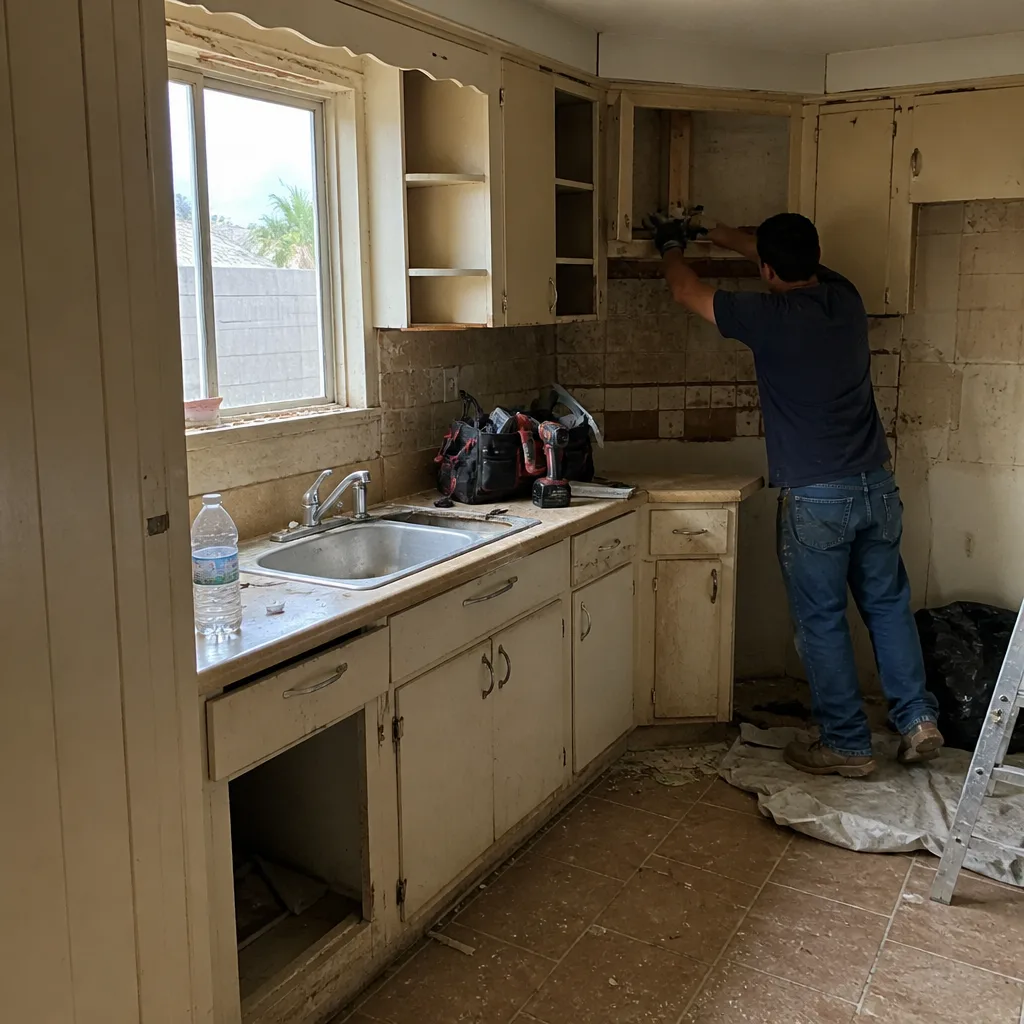 Before
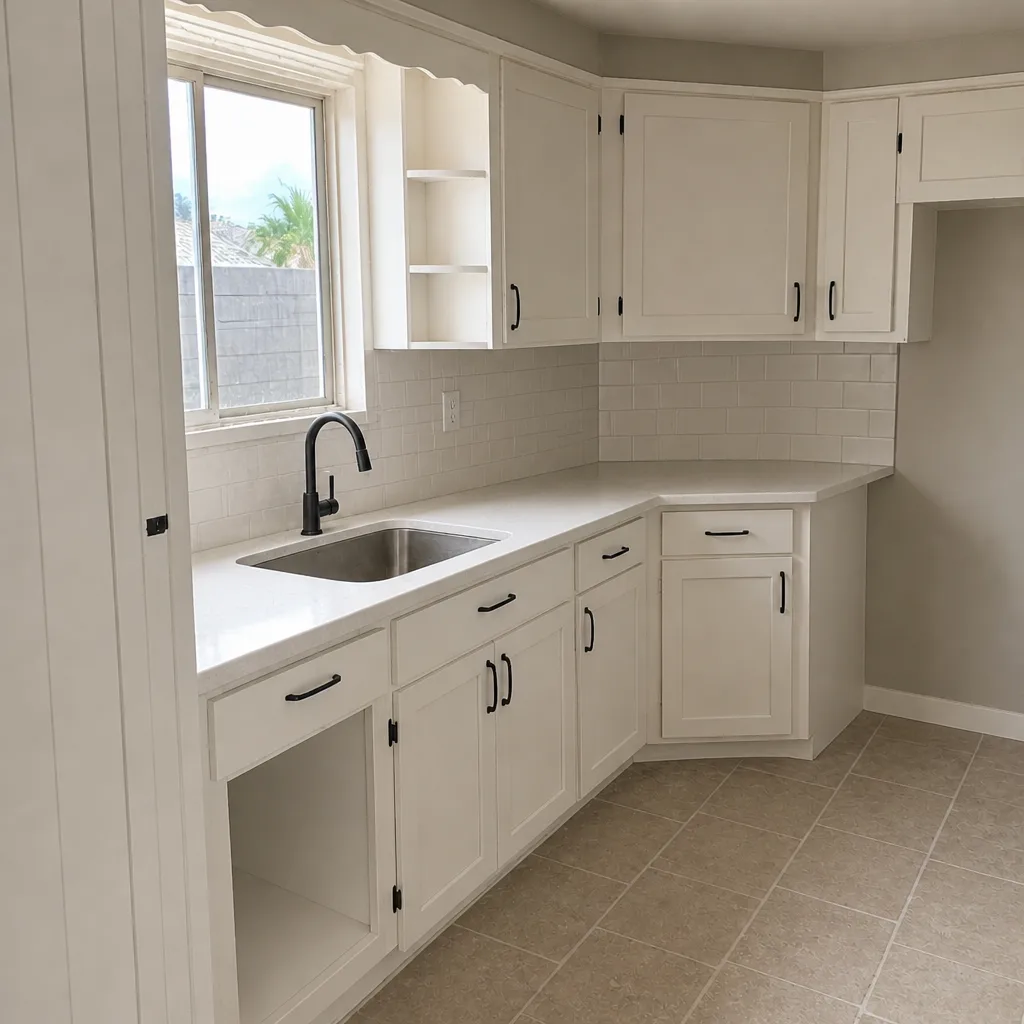 After
Frequently Asked Questions
A professional paver driveway in Mesquite typically runs $4,000 to $8,000 for a 400-square-foot residential driveway, with the range driven by paver selection, excavation depth, base requirements, and drainage complexity. Larger driveways and driveways on non-standard lots can run higher, and caliche-layer excavation adds cost. Call (888) 413-6358 for a written line-item quote against your specific site – estimates are free.
Sometimes, but it’s rarely worth it in practice. Splitting labor across two parties usually voids the contractor’s warranty on the base, hands the homeowner to the paving pattern and joint alignment, and eliminates any recourse if a failure shows up in year three. If you want to do the finishing work – edge cuts, sealing, re-sanding – those are the safe splits. The base and field pavers should be one scope with one warranty. Call (888) 413-6358 to talk through a split that actually saves you money.
For a residential vehicle-load driveway in Mesquite, plan on 8 to 12 inches of excavation with 6 to 8 inches of compacted base aggregate, plus 1 inch of bedding sand under the pavers. The individual paver manufacturer’s spec sheet gives the floor, and the spec assumes proper compaction in lifts. Under 6 inches of properly compacted base, expect premium failures on a car-used surface within 2 to 4 years.
For a like-for-like driveway replacement, permits are commonly not required. For any project that changes the finished grade, changes drainage discharge, or adds new hardscape where there wasn’t a driveway before, permits are frequently required through Clark County or local Mesquite jurisdiction. Any contractor doing your work should confirm permit requirements before breaking ground. Our local pro partners know the local rules and pull permits accordingly.
Not on a properly priced job. The change-order situation arises in two places: when the base spec isn’t priced correctly up front (a “surprise” excavation upgrade), or when a homeowner changes the paver selection mid-project. We price upfront and commit to it – the number you see is the number you pay, and our 730-Day Done Right Promise covers workmanship so any issue that shows up under warranty gets made right. Call (888) 413-6358 to schedule your free estimate.
Properly installed – correct excavation, compacted base in lifts, correct drainage slope, spiked edge restraints, quality pavers – a Mesquite paver driveway commonly lasts 20 to 25 years with reasonable maintenance. A DIY driveway with a hand-tamped base and eyeballed slope typically shows settling, shifting, and joint loss within 2 to 4 years. The installation is the difference, not the pavers themselves.
The Bottom Line
Laying pavers is the easy part. Excavation depth, base compaction in proper lifts, and drainage slope are what determine whether a Mesquite driveway lasts 25 years or 3. You can legitimately DIY edge pavers, sealing, and re-sanding – the savings are real and the risk is low. You should not DIY base work on a vehicle-load surface, drainage slope, or excavation in Mesquite’s variable Virgin Valley soils. Read the professional bids closely: check the excavation depth, base depth, compaction method, and drainage spec, and treat a suspiciously low bid as a sign of an incomplete scope. Then let a properly equipped, professionally accountable crew handle the part that matters most.
If you’re ready to see what proper driveway construction looks like, or you want a second opinion on a bid you’ve already received, call (888) 413-6358 for your free estimate. Our team answers live, 24/7, and every quote comes written and line-item so you’re comparing apples to apples. You can also explore our full-scope work by starting at Groundwork Construction Co. of Mesquite home, or look at the adjacent outdoor work we handle like Fence Installation in Mesquite and Home Additions & ADU in Mesquite – the same standard applies to every project. From foundation to finish line, built to last and backed in writing.
Written by the team at Groundwork Construction Co. of Mesquite.