Last updated November 18, 2026



Free written scope consultation - allowances, timeline, and change-order rules on paper before a single trade is scheduled
Driveway & Pavers Troubleshooting: Common Problems and How to Fix Them
A sunken paver section isn’t a paver problem. It’s a base compaction problem wearing a paver costume. Homeowners who re-level the surface without fixing what’s underneath are on a 12-month countdown to doing the exact same repair again. Most paver failures we see across Mesquite aren’t bad luck or cheap material – they’re one or two installation shortcuts that stay invisible for 18 months and then show up all at once. This guide maps every common symptom to its actual root cause, so you fix the problem instead of patching the evidence. You’ll learn how to tell sinking from settling, efflorescence from moisture damage, and a legitimate DIY reset from a job that needs the base re-excavated.
Quick Answer
Most driveway paver problems – sinking, migrating edges, cracked centers, and recurring weeds – trace back to a base that wasn’t compacted in proper lifts, drainage that pushes water under the pavers instead of away from them, or edge restraint that was never installed correctly. Re-sanding and re-leveling treat the symptom; a lasting fix means addressing the base, the drainage plane, or the edge restraint that actually failed. On a typical Mesquite lot, the difference between a repair that holds and one that fails again usually comes down to which of those three you correct.
Styles & brands we work with
- Kitchen remodeling
- Bathroom remodeling
- Home additions & ADU
- Roofing
- Windows & doors
- Driveway & pavers
- Fence
Table of Contents
- Why Is My Paver Section Sinking?
- Why Are My Edge Pavers Separating and Migrating?
- Efflorescence vs. Sub-Surface Moisture Damage
- Why Do Pavers Crack in the Center of a Run?
- How Drainage Failures Show Up in a Driveway
- DIY Reset vs. Re-Excavating the Base
- Weeds, Ants, and What They Tell You
- Does Sealing Fix Anything?
Why Is My Paver Section Sinking?
When a section of driveway pavers drops, three culprits account for almost every case: base failure, poor drainage, or tree root intrusion. They look identical from the surface – a low spot where water pools – but each requires a completely different fix. Diagnose before you touch a single paver.
Base failure is the most common cause on driveways that were installed without proper compaction. A crushed aggregate base needs to go down in 2 to 4 inch lifts, each one compacted with a plate compactor before the next layer. Installers who dump 8 inches of base at once and compact the top create a void that settles for a year and a half, then drops. If the sunken area is broad and gradual, and it gets worse over months rather than appearing suddenly, that’s base failure.
Poor drainage shows a different signature. If the sunken spot sits where water naturally collects – the low end of a slope, next to a downspout, at the transition from the garage apron – the base is being washed out from underneath or softened by saturation. Mesquite gets intense monsoon rainfall in short bursts, and a driveway that pitches water toward the house instead of away from it will fail faster here than in a milder climate. Look for a low spot that reappears after every rain.
Tree root intrusion causes localized lifting and dropping, usually on one edge or in a straight line tracking a root path. Roots push pavers up near the tree and leave them unsupported on the far side. If the failure follows a line from a nearby tree or shrub, roots are involved. The fix isn’t leveling – it’s a root barrier or targeted root removal plus re-excavating the affected base.
To diagnose which one you have:
- Pull up two or three pavers at the lowest point and inspect the bedding sand and base.
- If the base is loose, powdery, or won’t hold compaction, it’s base failure.
- If the base is wet and soft and sits in a drainage path, it’s moisture damage.
- If you find roots or see displacement in a root-line pattern, it’s intrusion.
Matching the symptom to the cause is the whole game. Re-leveling a base-failure spot without recompacting the soil underneath is the single most common repeat repair we see. For a full picture of how we approach paver installation on Mesquite properties, see our Driveway & Pavers in Mesquite page.
Why Are My Edge Pavers Separating and Migrating?
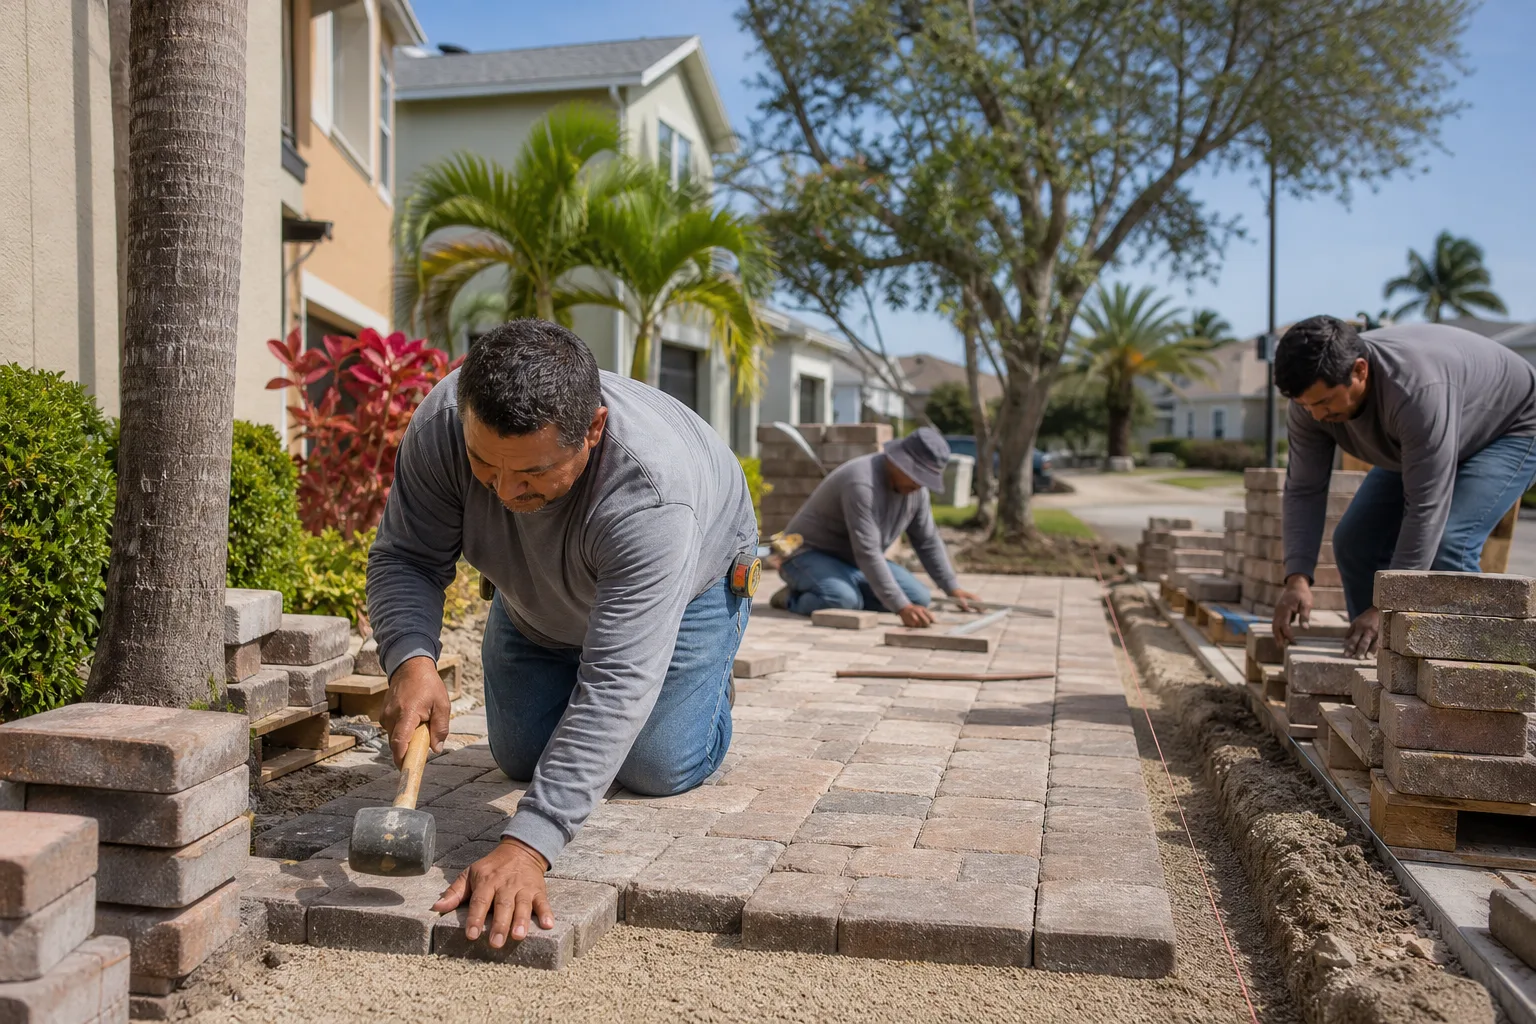
Edge pavers separate and creep outward because the edge restraint failed – not because the pavers themselves are wrong. Re-sanding alone will never hold them. The restraint is the invisible line that stops the whole field from pushing outward under load, and once it gives, no amount of sand fixes it.
There are two edge restraint systems on a properly built driveway: a rigid plastic or aluminum edge restraint spiked into the base, or a concrete curb poured along the perimeter. Both exist to do one job – lock the field against lateral migration. When installers skip the restraint, use a flimsy strip pinned into the bedding sand instead of the base, or pour a curb too shallow to take the load, the edge paver will walk outward over a single summer. In Mesquite’s heat, the thermal expansion of pavers against a weak edge separates them faster than in cooler climates, because the field expands in the afternoons and contracts at night with nothing to hold it.
Signs of edge restraint failure:
- A growing gap between the outer row and anything it used to touch – a wall, a curb, or the lawn edge
- Sand washing out along the perimeter after rain
- The whole field shifting slightly in one direction
- Visible tilt on the edge row, with the top leaning outward
The honest fix is to excavate the edge course, replace the failed restraint with a proper spiked edge restraint set into the base – not the bedding sand – and re-set the pavers. If a concrete curb was the restraint, the curb gets rebuilt deep enough to hold load. After the restraint is corrected, the joints are re-sanded with a proper polymeric sand that doesn’t wash out. That combination is what keeps the edge where it belongs.
Re-sanding a migrating edge is the “patch it twice” mistake. You’ll be back at it every spring until the restraint is fixed. If your edge pavers are pushing against a fence line or moving along the property boundary, the Fence Installation in Mesquite team can also flag adjacent fence footing issues while they’re on site.
Efflorescence vs. Sub-Surface Moisture Damage
Efflorescence is a white, chalky bloom on the paver surface. It’s cosmetic, it’s common in concrete pavers, and it does not mean the driveway is failing. Sub-surface moisture damage shows as efflorescence and dark, permanently damp pavers that won’t dry. That’s structural – water is trapped under the pavers, and the base is degrading.
The tell is simple: surface efflorescence dries and washes away with rain. Wet spots that stay wet for days, especially in the same location every time, are the warning sign that water isn’t draining from the base. The white bloom in that case is just a symptom – it’s the salt migrating up from saturated material. Fix the drainage and the bloom stops.
Efflorescence itself comes from soluble salts in the concrete migrating to the surface as moisture evaporates. It’s worst in the first year after installation and can recur after heavy rain, which Mesquite gets plenty of during monsoon season. A diluted white vinegar wash will lift surface efflorescence, and it doesn’t damage the paver. Don’t seal a driveway that’s actively efflorescing – you’ll trap moisture and worsen the problem.
Sub-surface moisture damage requires a different approach:
- Identify where the water is coming from – a failed slope, a downspout dumping onto the driveway, or a compacted base that won’t drain.
- Pull pavers in the affected area and inspect the bedding sand and base for saturation.
- Correct the drainage path so water sheds away from the house and driveway.
- If the base is compromised, re-excavate and rebuild that section with proper graded aggregate.
If you’re planning a driveway rebuild alongside a home addition, coordinate the grading from the start. Our Home Additions & ADU in Mesquite work always includes a plan for how water leaves the property, because getting that right at framing beats fixing it after the pour. The whole-property view is where a single contractor makes a real difference – more on how we think about it at the Groundwork Construction Co. of Mesquite home page.
Why Do Pavers Crack in the Center of a Run?
A paver that cracks in the middle of a driveway run – not at the edge, not at a corner – almost always points to a point-load issue, not a material defect. A point load is concentrated force on one small area, usually from something heavy and narrow sitting or rolling there, backed by an uncompacted or voided base that lets the paver flex and crack.
Common causes:
- A vehicle jack or jack stand lowered onto the drive
- Heavy equipment driven over the pavers during construction without protection
- A base void directly under that paver, allowing it to flex under load
- An oversized gap in the joints that lets the paver rock against its neighbors
- Thin pavers (under 2 3/8 inches) installed in a driveway that actually requires 3-inch pavers
That last one matters in Mesquite specifically. Driveways need thicker pavers than patios, and some installers economize by using a patio-grade paver on vehicle surfaces. Unless the base and edge restraint are flawless, that substitution fails. If a single paver cracks and the ones around it are sound, you can replace the paver and inspect the base beneath it – that’s a DIY-friendly repair. If multiple pavers crack in the same area over a season, the base is failing there and no paver will survive under it.
Point-load cracks are a specific fix:
- Lift and remove the cracked paver and its neighbors.
- Dig down to the base and check for voids, soft spots, or washout.
- Scarify and recompact the base, adding graded aggregate if needed.
- Reinstall the paver with fresh bedding sand and re-sand the joints with polymeric sand.
Cracking is a symptom. The cause is either wrong paver thickness, a base defect, or a specific load event. Replacing the paver is only a fix when the other two are ruled out.
How Drainage Failures Show Up in a Driveway
Drainage failures almost never announce themselves as “drainage.” They show up as a low spot, a puddle after rain, a perpetually wet section, efflorescence in one area, or a washout along the edge. Once you learn the signature, you can spot the cause before the base fails.
Mesquite sits on desert soil that drains fast in one place and hardpans in another, and monsoon rain dumps a lot of water in a very short window. A driveway that pitches to the garage door instead of away from it sends water into the foundation and under the slab. A driveway that’s dead flat pools water in the middle. A driveway that dumps runoff onto a neighbor’s property is a code problem as well as a drainage problem. Every one of these leads to the same outcome – water under pavers, softened base, and eventual sinking.
What to look for after rain:
- Puddles that last more than a day, in the same spot every time
- Water running toward the house instead of away
- Sand washing out from the joints after a storm
- Water pooling along the edge restraint or where the driveway meets the garage apron
- Runoff spraying onto the wall, fence, or a neighbor’s lot
The honest fix is to re-pitch the affected section so water sheds away from the house and driveway, and to add a channel drain or French drain where the site won’t allow a natural slope. This is a job that needs to be graded correctly at the base layer – re-topping with sand or lifting pavers without correcting the underlying slope won’t hold. If the property is also getting a fence installed, coordinate the grading so the fence footing doesn’t create a dam. The Fence Installation in Mesquite page covers how we handle that transition.
DIY Reset vs. Re-Excavating the Base
Some paver repairs are well within reach for a homeowner with a weekend and a plate compactor. Others need the base re-excavated, and pretending otherwise is how you end up doing the same repair three times. Here’s the honest dividing line.
A legitimate DIY reset works when all of these are true:
- A small area (usually under 10 square feet) has one or two pavers that lifted or dropped
- The base under the affected area is firm, compact, and doesn’t crumble when you dig into it
- No water is pooling in that spot after rain
- The edge restraint is intact
- You can pull the pavers without breaking them
If all five are true, a reset is reasonable. Lift the pavers, add or remove bedding sand to correct the level, re-set them, and re-sand the joints with polymeric sand. With the right tools, it’s a half-day job on a small area.
Re-excavating the base is the answer when any of these are true:
- The sunken section is larger than roughly 10 square feet
- The base under the pavers is loose, powdery, wet, or won’t compact
- The same spot has failed before
- The edge restraint has moved
- Multiple pavers have cracked in the same area
- Efflorescence is tied to a persistently wet section
In those cases, the honest fix is pulling the affected pavers, digging down 6 to 8 inches, rebuilding the base in compacted lifts, correcting drainage, and re-setting the pavers with proper edge restraint. Re-sanding and re-leveling the surface without fixing the base is a temporary patch on a structural problem.
Weeds, Ants, and What They Tell You
Weeds growing in the joints aren’t a cosmetic nuisance – they’re the first sign the joint sand has degraded and water is moving where it shouldn’t. Ants are worse: they excavate sand from the bedding layer to build colonies, and every colony is a small void under the driveway. On its own, a weed is a small problem. Add ants and a heavy rain and you have a base failure in motion.
If you’re seeing weeds along a joint line, the joint sand has washed out or settled. Re-sanding with polymeric sand – which hardens and resists washout – is usually enough, provided the pavers themselves haven’t started to shift. If pavers are wobbly underfoot in the same area, the base has already lost bedding sand and the ants have colonized. That’s a re-excavate situation, not a re-sand.
Ant management for a driveway is straightforward once you know what you’re looking at:
- Identify the ant trails and where they enter the paver joints.
- Treat the colony directly – surface spraying only drives them deeper.
- After treatment, pull the affected pavers and re-top the bedding sand with fresh material.
- Re-sand the joints with polymeric sand so ants don’t have an easy route back in.
In Mesquite, the combination of heat and monsoon rains pushes ant colonies toward the cooler, moister bedding sand under pavers. If you’re seeing repeat activity in the same spot every spring, the joint sand has been compromised and needs replacing, not just spraying.
Does Sealing Fix Anything?
Sealing protects pavers from staining and UV, and it helps joint sand stay in place. It does not fix base failures, edge migration, structural cracks, or drainage problems. If a contractor’s answer to your sinking driveway is “seal it,” you’ve found the wrong answer.
Sealing is worth doing on a healthy driveway. It buys you stain resistance and helps hold polymeric sand, which is especially useful in Mesquite where intense summer sun and monsoon rain alternate. A quality penetrating sealer applied to a properly installed driveway makes pavers easier to clean and helps them hold their color. That’s a real benefit.
Where sealing goes wrong is on a failing driveway. Sealing a driveway with a wet base traps moisture under the sealer, worsens efflorescence, and hides the failure signature so you can’t diagnose it later. Sealing a driveway with a compromised edge does nothing to hold the pavers. Sealing a driveway with base voids adds a stain-resistant skin over a structural problem.
Rule of thumb: fix the underlying problem first, let the driveway dry for two weeks or more after rain, then seal. If a company wants to seal your driveway before diagnosing the failure, that’s a tell. The right order is diagnose, fix, dry, seal – not seal and hope.
Common Mistakes to Avoid
- Re-leveling a sunken section without touching the base. This is the 12-month-countdown mistake. If the base under the pavers is loose, re-leveling the surface just resets the clock.
- Re-sanding a migrating edge instead of fixing the restraint. The pavers will walk right back out after the first summer of thermal expansion. The restraint, not the sand, holds the edge.
- Sealing over efflorescence. You’ll trap salts and moisture under the sealer, and the bloom gets worse. Seal only after the efflorescence is cleared and the source is fixed.
- Replacing a single cracked center paver without checking the base. If a void is under that paver, the new one cracks the same way within a season. Check the base, then decide.
- Ignoring a puddle that reappears after every rain. Mesquite monsoon rain exposes drainage problems fast. A puddle is water telling you where the base is failing before the driveway shows it.
- Letting weeds and ants colonize without re-sanding. Ants move bedding sand out of the layer that supports the pavers. Treat the ants and re-sand the joints with polymeric sand before the base gives way.
- Hiring on price alone for a paver repair. The cheap fix is almost always the “patch it twice” fix. Get a written scope that says what’s being pulled, what’s being inspected, and what the base fix involves – not just a surface number.
See the difference
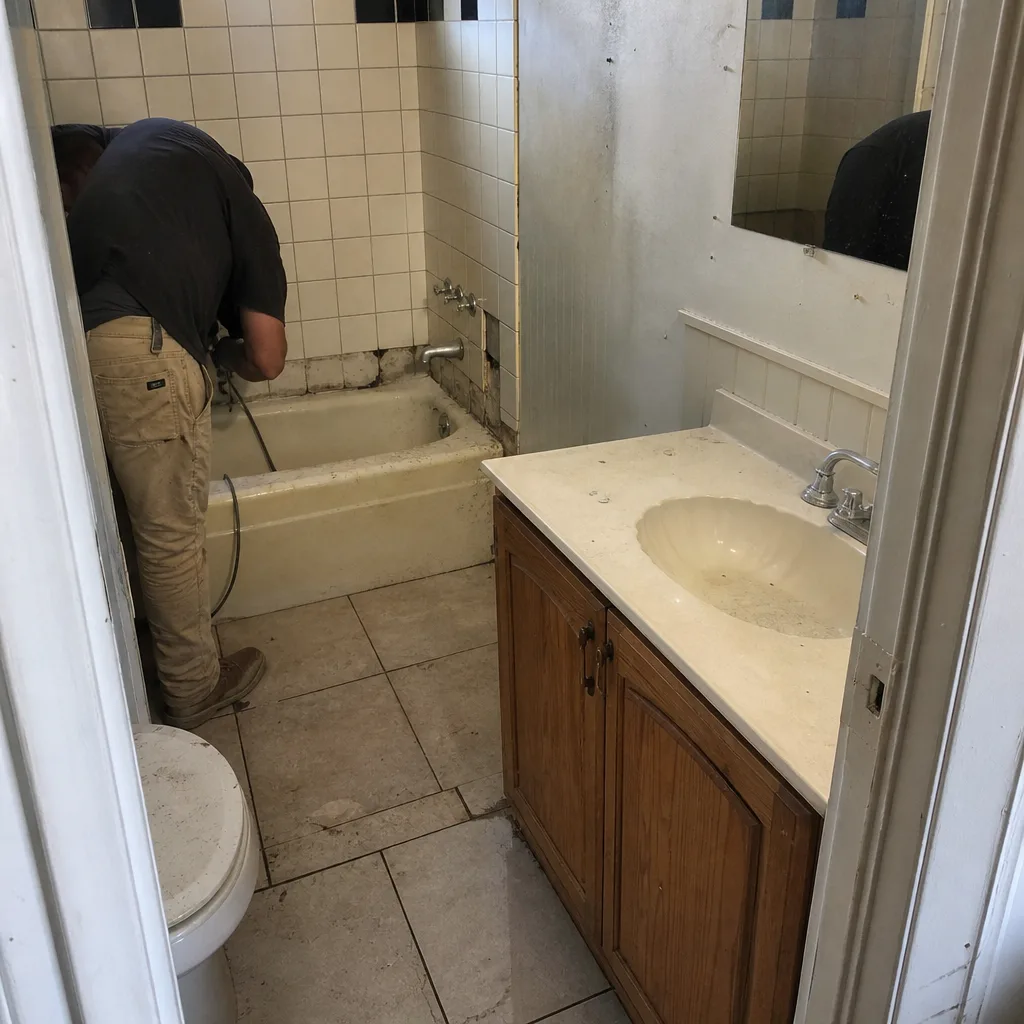 Before
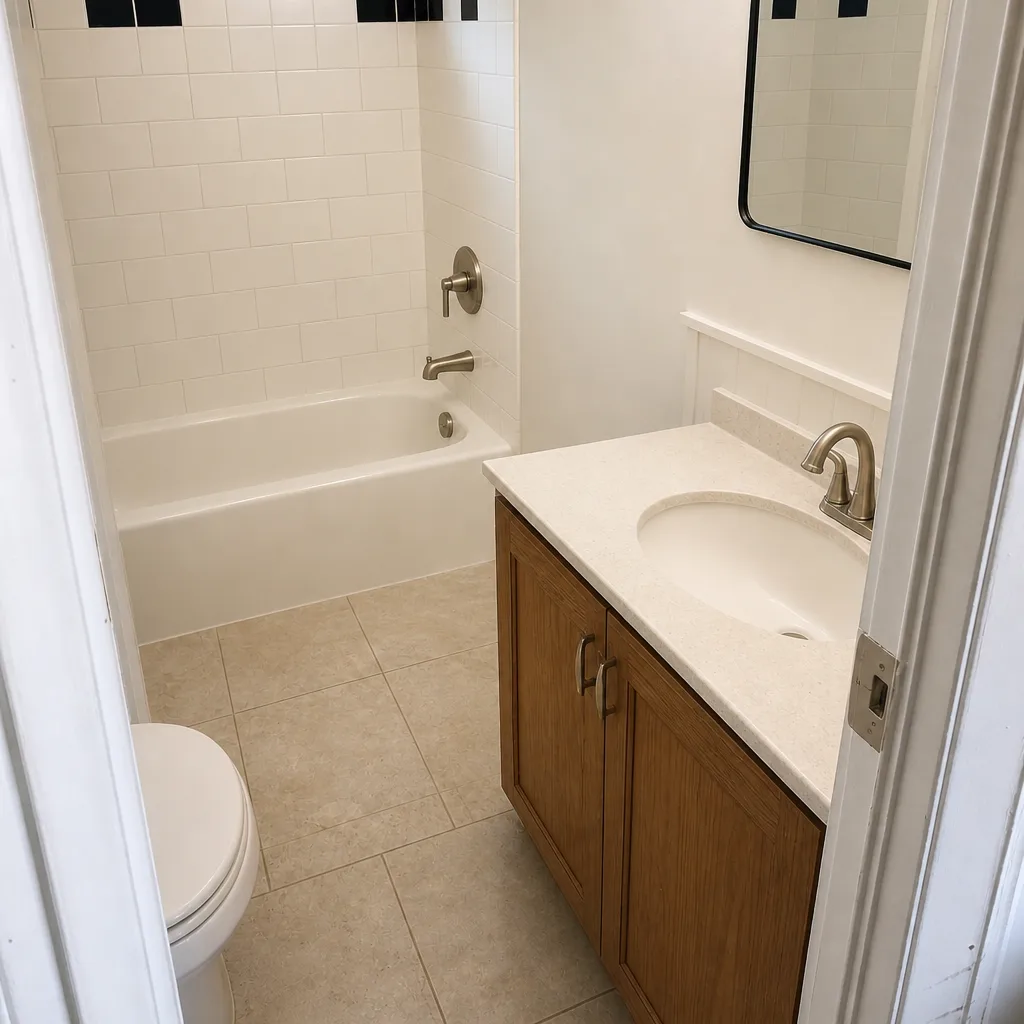 After
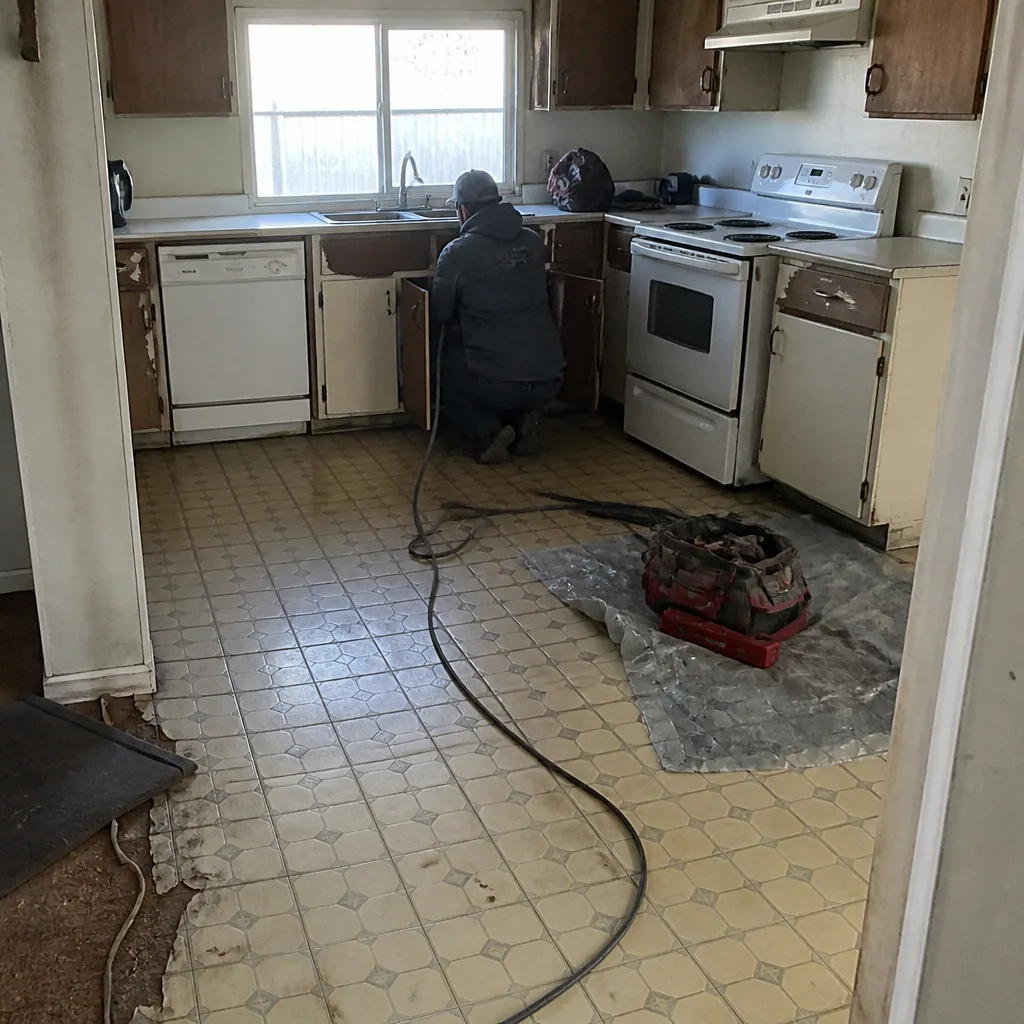 Before
 After
 Before
 After
When to Call a Professional
A paver repair is worth calling a pro for when the problem involves a base that needs re-excavating, an edge restraint that has to be rebuilt, a drainage issue that needs regrading or a channel drain, or any failure larger than about 10 square feet. It’s also worth a call when the same spot has failed before, when multiple pavers have cracked in one area, or when the failure is close to the house and water intrusion is possible.
Groundwork Construction Co. of Mesquite offers free estimates in Mesquite – call (888) 413-6358. Every estimate is a written line-item scope with the base work spelled out, so you’re comparing real numbers, not surface numbers. Work is covered by our 730-Day Done Right Promise, and technicians arrive background-checked and in uniform. Upfront pricing means the number you see is the number you pay.
Frequently Asked Questions
Small paver reset repairs typically run in the low hundreds of dollars for a section under 10 square feet, and a base re-excavation for a larger area usually runs into the low four figures depending on square footage and how much of the base has failed. Call (888) 413-6358 for an exact quote – estimates are free and we walk the driveway before quoting.
Only if the pavers are stable underfoot and the failure is purely joint sand that has washed out. If pavers are wobbling, the edge has moved, or a section has sunk, re-sanding alone is a temporary fix that fails within a season. Diagnose the base before you re-sand.
Because the edge restraint has failed and nothing is holding the field against thermal expansion. Re-sanding won’t hold them. The honest fix is to pull the edge course, replace the failed restraint with a spiked edge set into the base, and re-set the pavers. Call (888) 413-6358 for a free estimate if the edge is migrating.
Efflorescence is cosmetic and it’s not structural by itself. It becomes a problem when the white bloom shows up over a section that stays wet after rain, because that means water is trapped under the pavers. Fix the drainage and the bloom stops.
With a properly compacted base, correct edge restraint, and a drainage plan that moves monsoon water away from the house, a paver driveway will hold its shape for a very long time. Most of the failures we see are base and edge failures, not paver failures – so the install quality is what determines the lifespan.
No. Sealing protects the surface from stains and helps joint sand stay put, but it doesn’t add stability to the base or hold an edge restraint. Fix the sinking first, let the driveway dry, then seal.
The Bottom Line
Paver failures don’t happen randomly – each symptom points to a specific cause. Sinking usually means base failure, drainage, or tree roots. Edge migration means a failed restraint. Efflorescence that won’t dry means trapped moisture. Center cracks mean a point load over a base defect. Weeds and ants mean deteriorating joint sand. The fastest way to waste money is to patch the surface and skip the cause. The cheapest path in the long run is to diagnose first, fix the base, edge, or drainage properly, and seal last. If the diagnosis points to re-excavating the base, that’s a job where a written scope and a real warranty matter more than the lowest bid.
Ready to get your driveway back in shape? Call Groundwork Construction Co. of Mesquite at (888) 413-6358 for a free estimate – our team walks the property, diagnoses the actual failure, and puts the fix in writing. Live people answer the phone 24/7, and every project is backed by the 730-Day Done Right Promise.
Written by the team at Groundwork Construction Co. of Mesquite.