Last updated November 18, 2026



Free written scope consultation - allowances, timeline, and change-order rules on paper before a single trade is scheduled
Driveway & Pavers Maintenance Schedule: What to Do and When
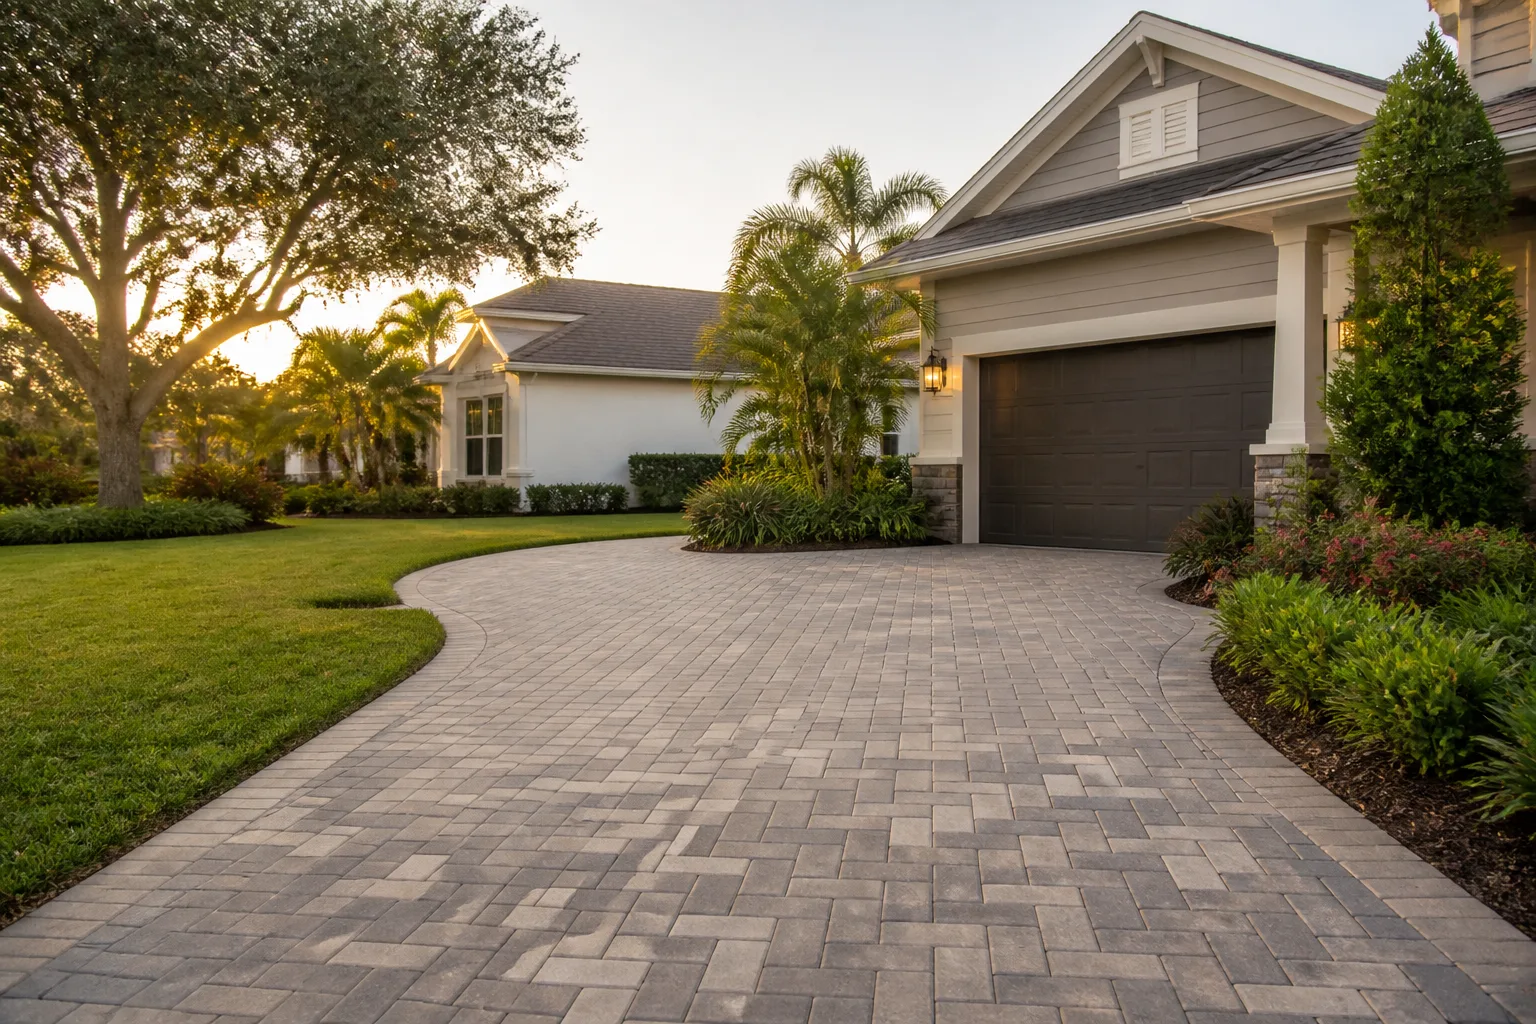
The number one reason paver driveways in the desert fail early isn’t heat. It’s polymeric sand erosion that goes unnoticed for two seasons until the whole surface starts rocking underfoot. It’s a 15-minute fix when you catch it early and a full reinstall when you don’t. We’ve watched Mesquite driveways that should last 25 years get torn out at year nine because nobody swept sand into the joints before monsoon season. This guide gives you a month-by-month schedule built around the actual seasonal stresses a Mesquite driveway faces, from winter freeze-thaw swings to July rain that finds every weak joint. You’ll learn what to check, when to check it, and which tasks are safe to handle yourself versus which ones need a trained eye.
Quick Answer
A paver driveway needs four touchpoints a year: a spring inspection for freeze-thaw heave, a pre-monsoon joint-sand refill in late June, a post-summer sealer check in early fall, and a winter prep pass that clears debris and levels any settled spots. That’s roughly two to three hours of work spread across twelve months. Skip the pre-monsoon sand refill and water gets under the surface, erodes the base, and turns a $60 bag of sand into a $6,000 reinstall. In Mesquite’s high-UV climate, sealer should be reapplied every 18 to 24 months, not the three to five years national guides recommend.
Styles & brands we work with
- Kitchen remodeling
- Bathroom remodeling
- Home additions & ADU
- Roofing
- Windows & doors
- Driveway & pavers
- Fence
Table of Contents
- Spring: The Freeze-Thaw Inspection Checklist
- Late Spring: Joint Sand Refill Before Monsoon Season
- Summer: Cleaning Methods That Protect vs. Destroy
- Fall: Sealer Timing in a High-UV Desert Climate
- Winter: Cold-Weather Prep and Settling Watch
- The Annual Record-Keeping System
- Small Repairs vs. Structural Problems
- Common Mistakes to Avoid
Spring: The Freeze-Thaw Inspection Checklist
Mesquite sits at roughly 1,600 feet in the Virgin River valley, which means winter nights can dip into the low 30s while afternoons climb into the 60s. That daily swing is the enemy of paver joints. Water seeps into a hairline gap, freezes overnight, expands, and pushes the pavers apart a few millimeters. Repeat that dance forty or fifty times between December and February and you get heave damage: pavers that sit proud of their neighbors, joints that have widened enough to swallow sand, and edges that have crept out of their restraints. This is what you’re looking for in March.
Walk the driveway slowly, in a grid pattern, and note anything that feels loose underfoot. Look specifically for:
- Heaved pavers: Any paver sitting visibly higher than its neighbors, usually at the driveway’s center or near a slope transition.
- Widened joints: Gaps wider than 1/8 inch between pavers, especially in the wheel-track lanes where traffic stress concentrates.
- Edge restraint movement: The plastic or concrete edging along the sides should be locked. If you can flex it with your foot, the edge is failing.
- Sand loss: Sweep a hand across a three-foot square. If you feel a lip catch your fingers at every joint, sand is depleted.
- Efflorescence: White, chalky staining that appears after wet winters. It’s cosmetic, not structural, but it’s a sign water is moving through the joints.
If you find heaved pavers, don’t just stomp them back down. A paver that has heaved means the bedding layer underneath has loosened and needs to be reset by lifting the unit, re-leveling the sand bed, and relaying it with proper compaction. That’s a job for someone who knows what a plate compactor should feel like on a properly bedded surface. If your driveway is concrete rather than pavers, or you’re comparing the two materials before a new install, our guide to driveway & pavers in Mesquite walks through the cost and lifespan tradeoffs.
Late Spring: Joint Sand Refill Before Monsoon Season
This is the single most important maintenance task of the year, and it’s the one Mesquite homeowners skip most often. Monsoon season in the Mojave hits roughly July through September, and a single storm can drop an inch of rain in twenty minutes. That water needs somewhere to go. If your joints are full of polymeric sand, it runs across the surface and off to the street. If they’re not, it goes straight down into the bedding layer, and once it gets under the pavers, it starts working on the base. Two monsoons with depleted joints and you’ll have settling you can see from the sidewalk.
Here’s the pre-monsoon sequence, typically done in late June after the last cold front has passed:
- Clean the joints. Use a stiff-bristle push broom, not a leaf blower on full power, to sweep debris out of the gaps. Blowing on high setting lifts sand you’re about to refill.
- Dry-check the surface. Sand must go into dry joints. Wait 48 hours after any rain or irrigation overspray.
- Pour and sweep. Dump polymeric sand in small piles across the driveway and sweep it into the joints with a soft-bristle broom, working at a 45-degree angle to the joint direction.
- Compact. Run a plate compactor over the surface with a rubber pad attached. This vibrates sand deeper into the joints and settles it.
- Re-sweep and top off. Any joints that have dropped below the paver surface get another pass.
- Mist to activate. Lightly mist with a hose on a fine spray, not a jet. Polymeric sand needs a gentle water activation to cure; a hard spray washes it out.
One bag of polymeric sand covers roughly 50 to 80 square feet, depending on joint width. A standard two-car driveway runs about 400 square feet, so budget four to six bags. At Mesquite-area supply prices, that’s $40 to $90 in material for a job that prevents thousands in base damage. If you’re not sure your joints need refilling, sweep sand across the surface on a dry day. If it disappears into the joints rather than sitting on top, you’re overdue.
Summer: Cleaning Methods That Protect vs. Destroy
Pressure washing is the most common way Mesquite homeowners damage their own pavers. The problem isn’t the pressure itself; it’s the angle and the nozzle. Hit a paver joint head-on at 3,000 PSI and you’ll blast the polymeric sand right out, leaving a clean-looking surface on Saturday and a failing driveway by August. Every joint you empty becomes a water channel for the next monsoon.
Here’s what actually works and what doesn’t:
- Safe: A 25-degree or wider nozzle held at a 45-degree angle to the surface, moving continuously, at 1,500 to 2,000 PSI maximum. The goal is to float over the surface, not dig into it.
- Safe: A stiff push broom with a bucket of mild dish soap and water for general dust and pollen removal. Mesquite’s spring pollen load coats pavers in a yellow film that a broom handles in ten minutes.
- Safe: A surface cleaner attachment, which uses a rotating bar under a housing to clean evenly. This is the tool to rent if you need serious cleaning.
- Destructive: A 0-degree turbo nozzle on any joint. This is the single fastest way to destroy your sand.
- Destructive: Pressure washing within two weeks of a polymeric sand refill. You’ll undo the work.
- Destructive: Muriatic acid on efflorescence without knowing your paver’s surface finish. Acid etches softer pavers and leaves permanent streaks.
Salt stains from winter de-icing and hard-water deposits from desert irrigation are the two stubborn stains in Mesquite. Both respond to a light vinegar-and-water solution and a soft brush, followed by a rinse. Don’t use a wire brush on any paver with a tumbled or textured finish; it scratches the surface and leaves a permanent dull patch.
Fall: Sealer Timing in a High-UV Desert Climate
National paver guides tell you to reseal every three to five years. Those guides were written for the Midwest and coastal climates. Mesquite gets roughly 290 days of sunshine a year and summer UV indexes that regularly hit 11. UV degrades the sealer’s polymer chains, and once the film starts to chalk, it stops protecting the pavers and starts looking like a faded parking lot. In our experience, a Mesquite driveway needs resealing every 18 to 24 months, sometimes faster on a surface with full south or west exposure.
Fall is the right window. Temperatures in October and November sit comfortably between 50 and 80 degrees, which is the range where solvent-based sealers cure properly. Seal in July and the surface can hit 140 degrees, causing the sealer to skin over before it penetrates. Seal in December and you risk a cold snap that leaves a milky haze.
How to test whether you need to reseal:
- Pour a half cup of water on a clean, dry paver in the middle of the driveway.
- Watch how long it takes to soak in. If it beads and sits for more than a minute, the sealer is still working.
- If the water darkens the paver within fifteen seconds, the sealer has failed in that spot.
- Test two or three locations. Partial failure is normal; UV hits the sun-facing slope harder.
One coat of a penetrating sealer on a clean surface is usually enough for a moderately faded driveway; heavily chalked surfaces need a strip and two coats. That’s a job we’d steer most homeowners toward professional help on, because improper stripping is more damaging than no sealer at all. The Mesquite location and desert UV load also mean sealers need to be rated for high-temperature exposure; generic big-box sealers often don’t hold up.
Winter: Cold-Weather Prep and Settling Watch
Winter in Mesquite brings two issues a guide built for Phoenix or Las Vegas would miss: overnight freezes and wind-driven sand. Mesquite sits at a slightly higher elevation than Vegas, and nights from December through February routinely drop below freezing. That freeze-thaw cycle is what we covered in the spring inspection, but the prep happens in late fall.
Before the first freeze, do this:
- Clear all debris. Leaves, twigs, and wind-blown material trap moisture against the surface and slow the freeze-thaw cycle in a way that concentrates damage in one spot.
- Do a sand level check. Any joint that has dropped below the surface gets one more pass of polymeric sand in October.
- Inspect for settling. Walk the length of the driveway and look for any section that has dropped. Winter is when settling becomes visible because the surface shifts.
- Skip the rock salt. Sodium chloride dissolves pavers over repeated seasons. If you need de-icing, use sand or a calcium chloride product rated for hardscape.
- Clear drains and swales. If your driveway slopes toward a street drain, make sure that drain is clear before the first rain event, or water backs up onto the pavers and starts working on the base.
Winter is also when we get calls about driveway pavers near the virgin river corridor that have started rocking at a few specific spots. That kind of isolated movement usually means the base is failing at that location, not the paver itself. A single rocking paver in November becomes a rocking ten-by-ten section by March if the base underneath is undercut. If you notice one loose paver, get it assessed before spring.
The Annual Record-Keeping System
This is the part almost every paver guide skips, and it’s the single easiest way to catch progressive settling before it becomes a reinstall. Paver driveways don’t fail in a single event. They fail through a series of small changes: a joint that widened 2mm this year, a paver that settled a quarter inch, a section that started rocking after monsoon season. Without records, you can’t tell whether what you’re seeing now is normal or twice as bad as last year.
Here’s the format we recommend, and it takes maybe 20 minutes once a year:
- Print a simple map of your driveway. Divide it into four quadrants (front-left, front-right, back-left, back-right) and label them.
- Note the date of each inspection. You want four logs per year, one per season.
- Rate each quadrant on three things: joint fullness (full, partial, empty), surface flatness (flat, mild settle, visible sink), and sealer condition (beaded, absorbing, none).
- Photograph the same four views each time. Same angle, same time of day. Photos catch changes your eye normalizes over a year.
- Note anything new. A new crack, a paver that rocks when stepped on, an edge that’s no longer locked. Write the date.
Keep the log in a folder or a notes app. When you eventually sell the house or call a contractor, that history is worth real money: it proves the driveway was maintained and gives the contractor a map of where problems have been developing. We’ve seen settling issues catch fast in Mesquite because the owner had a two-year log showing exactly when the sink started and how fast it grew.
Small Repairs vs. Structural Problems
Not every paver issue needs the same response. Some are 20-minute fixes you can do with a bag of sand and a broom; others are structural failures that get worse every season you ignore them. Here’s the split.
Safe to handle yourself:
- Refilling joint sand before monsoons
- Re-sweeping settled sand on the surface
- Sweeping and mild soap cleaning
- Replacing a single chipped or cracked paver (with the right compaction tool)
- Clearing debris and checking drains
Call a professional:
- Any paver that rocks more than 1/16 inch when stepped on
- Visible settling across a section bigger than 2 square feet
- An edge restraint that flexes or has separated from the driveway
- Widening joints that persist after refilling with polymeric sand
- Water pooling on the driveway after rain rather than draining off
- Any crack in the base or concrete bedding beneath the pavers
The distinction matters because a small repair done early is cheap. Lifting one paver, re-bedding it, and resetting it takes a technician with proper compaction equipment about half an hour. Waiting until five pavers are loose and the base underneath has eroded means tearing up a wider section, re-bedding the base, and re-laying the pavers. That’s the difference between a few hundred dollars and a few thousand.
Common Mistakes to Avoid
- Waiting until fall to refill joint sand. The single biggest mistake we see in Mesquite. Refill before monsoon season, not after. Water in empty joints undercuts the base during one storm, and you won’t see the damage until the surface starts dropping.
- Pressure washing at 0 or 15 degrees on the joint. This blasts polymeric sand out and turns the whole surface into a water channel. Use a 25-degree nozzle at 45 degrees, or rent a surface cleaner attachment.
- Sealing on a hot summer day. Anything above 85 degrees and the sealer cures too fast, leaving a blotchy, uneven film. Fall and spring are the right windows in Mesquite.
- Skipping the freeze-thaw inspection because you didn’t see obvious damage. Heave damage in Mesquite is subtle. A paver sitting 3mm high in March doesn’t look alarming until by June the whole row is rocking.
- Using rock salt for winter de-icing. Sodium chloride attacks the paver surface and the sealer. Use sand or a rated calcium chloride product instead.
- Skipping the annual log. Without it, you have no way to distinguish normal wear from a settling problem that’s accelerating. Symptoms that look isolated are often part of a two-year trend.
- Trying to fix a rocking paver with more sand. A rocking paver means the bedding layer under it has loosened. More sand on top just hides the problem; the base needs resetting.
Some of these are the exact issues we walk through with homeowners during a free estimate. If your driveway needs a fresh install or a section replacement, our team builds pavers to spec with proper base compaction and edge restraint, and our driveway work is backed by the 730-Day Done Right Promise: if it’s not done right, we make it right. Workmanship warranty on the installation, not just the materials. If you’re also planning fencing around the driveway or a new patio adjacent to it, our fence installation in Mesquite service coordinates with the hardscape work so the site stays clean and the grading lines up.
See the difference
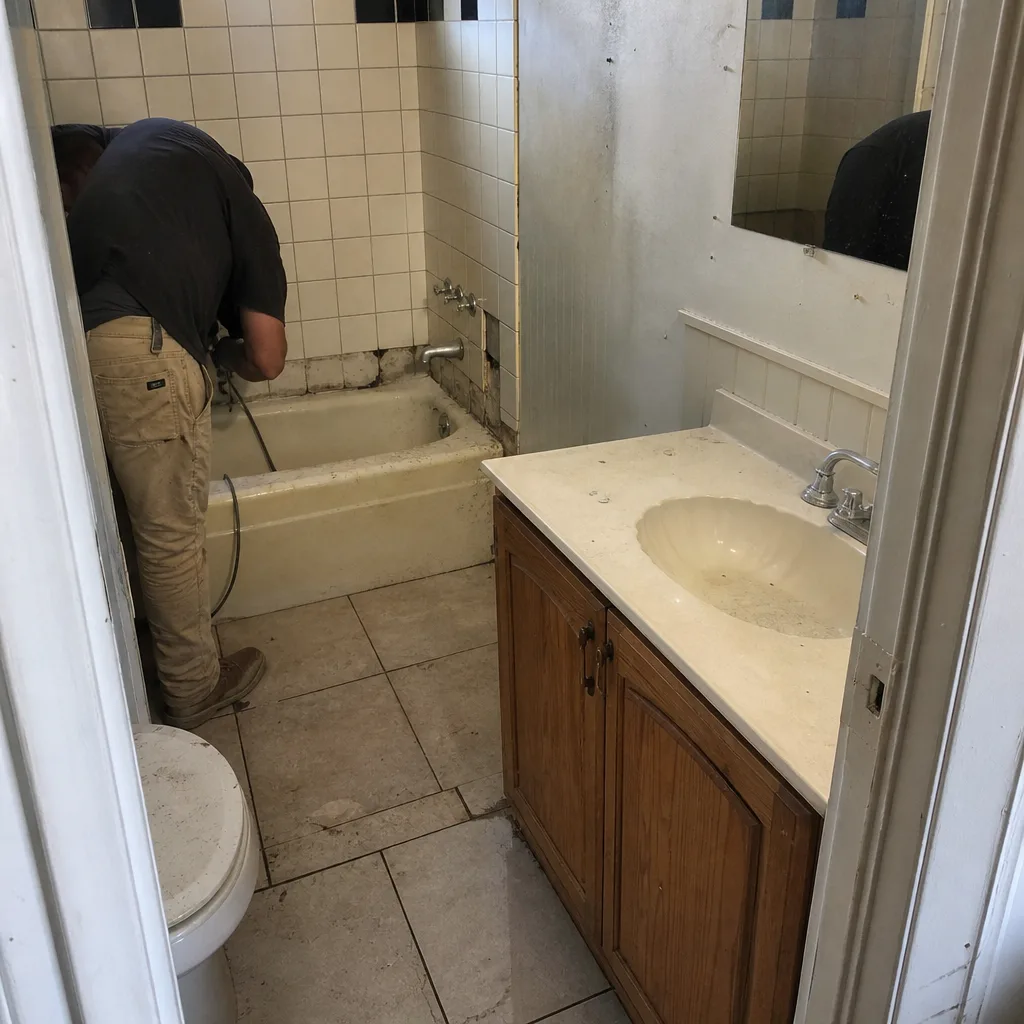 Before
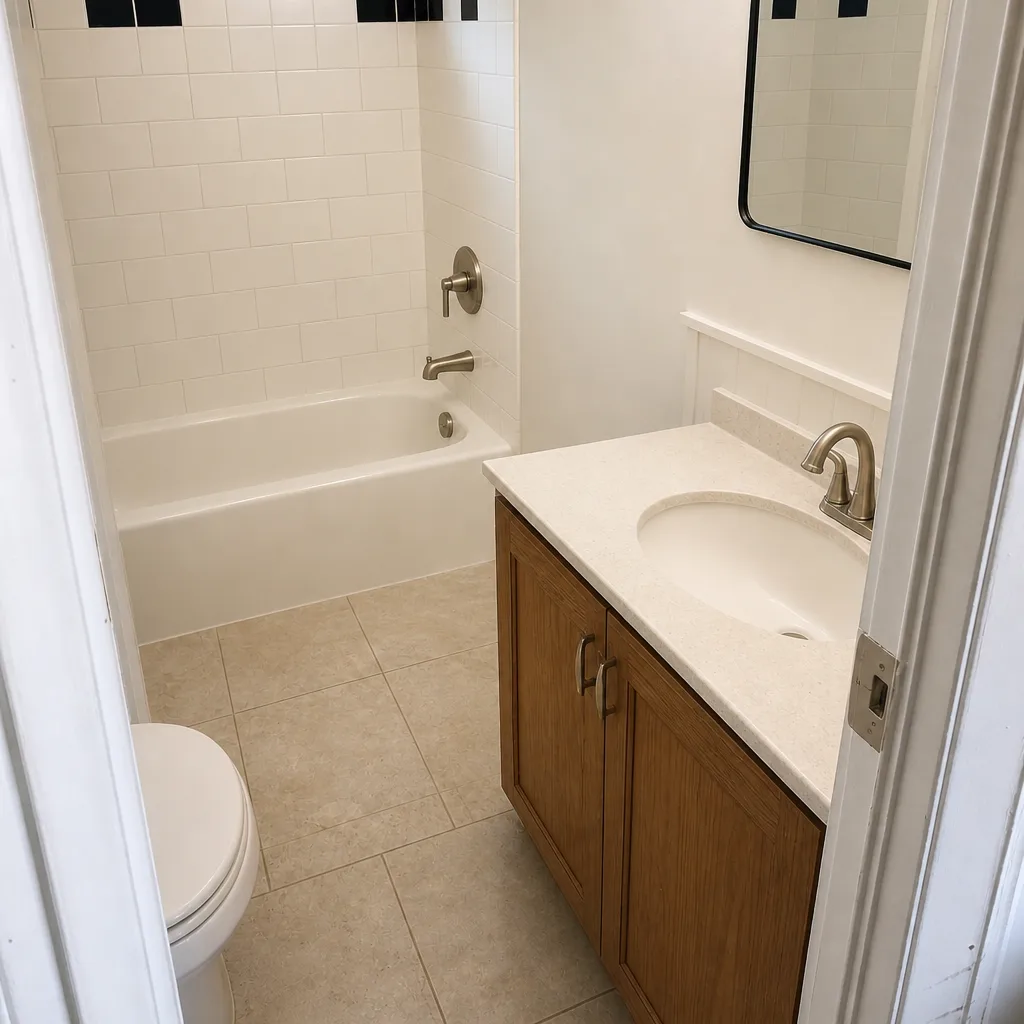 After
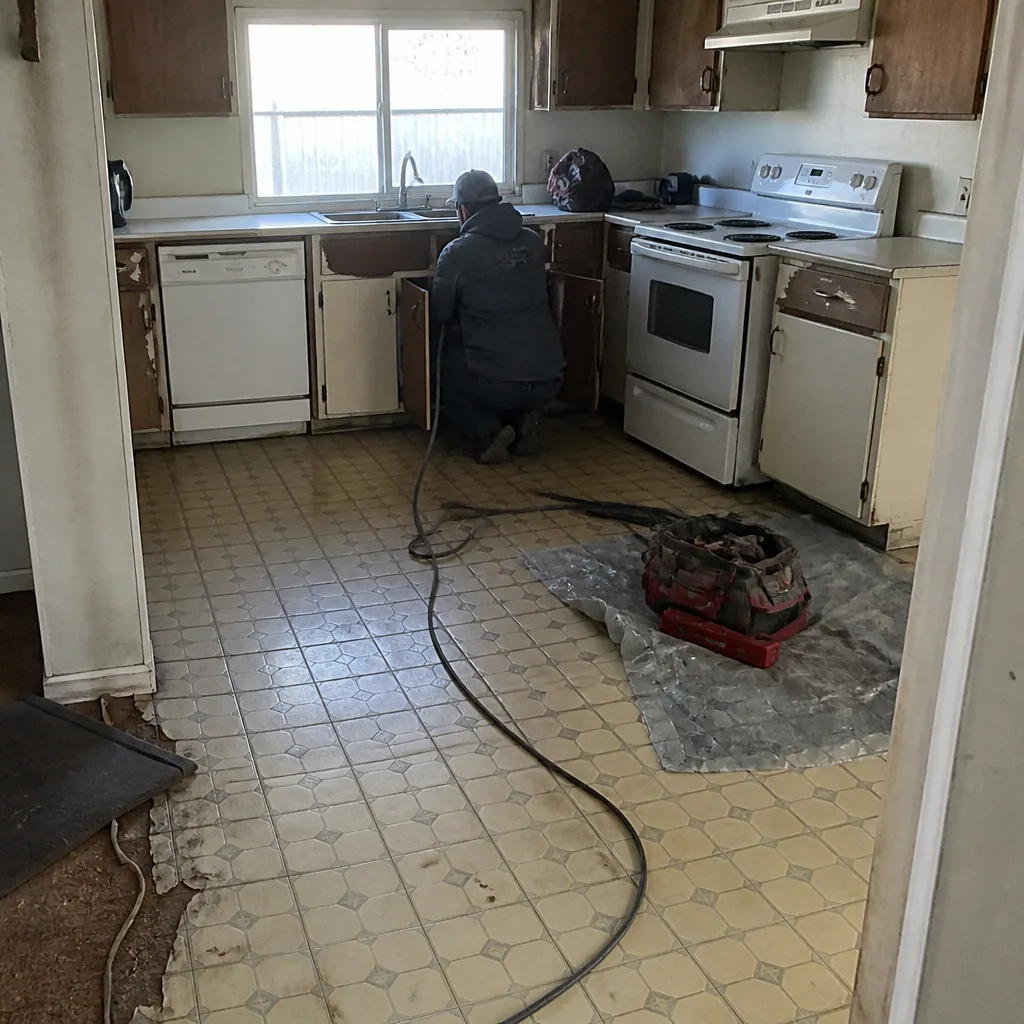 Before
 After
 Before
 After
When to Call a Professional
Call us when a maintenance task has crossed the line into a repair. The signs: a paver that rocks when stepped on, a section that visibly sinks after rain, joints that won’t hold sand no matter how many times you refill them, or a driveway where water pools instead of draining. Those are symptoms of base problems, and the longer they sit, the wider the repair area gets. Also call if you’re planning a full install or replacement, because base prep and compaction are the difference between a driveway that lasts 25 years and one that settles in three. Groundwork Construction Co. of Mesquite offers free estimates in Mesquite, and our technicians have up to 12 years of experience in paver installs and hardscape repairs. Call (888) 413-6358 to schedule a walk-through. We’ll bring the compaction equipment, quote the specific repairs needed, and put the number in writing with no surprises.
Frequently Asked Questions
Once a year, in late June, right before monsoon season. Polymeric sand depletes faster in Mesquite than in temperate climates because of the high UV load and the wide daily temperature swings that open the joints over the winter. If you see joints wider than 1/8 inch in your spring inspection, plan an extra refill in October. Skipping the pre-monsoon refill is the fastest way to turn a $60 bag of sand into a multi-thousand-dollar base repair.
Every 18 to 24 months in Mesquite’s climate, not the three to five years recommended by national guides written for the Midwest. UV degrades sealer faster at this latitude and elevation, especially on south- and west-facing surfaces. Test by pouring a half cup of water on a clean paver: if it soaks in within fifteen seconds, the sealer has failed and needs a coat. Fall is the right window because temperatures stay in the ideal 50 to 80 degree range for curing.
Yes, if you do it right. Use a 25-degree or wider nozzle at a 45-degree angle to the surface, keep the pressure at 1,500 to 2,000 PSI, and never aim a 0-degree turbo nozzle at a paver joint. Pressure washing at the wrong angle is the single fastest way to destroy your polymeric sand. A surface cleaner attachment is the safest option if you need serious cleaning. Wait at least two weeks after a sand refill before washing.
DIY maintenance runs $60 to $150 a year in materials: two to four bags of polymeric sand, a container of sealer every other year, and a stiff broom. Professional maintenance including a full joint refill, sealer application, and a settling inspection typically runs $400 to $900 depending on driveway size and number of problem areas. A full paver reinstall for a settling section runs $4 to $12 per square foot. Call (888) 413-6358 for a specific estimate.
Freeze-thaw cycles in Mesquite push water into hairline joints, then the overnight freeze expands that water and forces the pavers apart. A paver that rocks means the bedding sand underneath has loosened and needs to be lifted, re-leveled, and reset with proper compaction. Don’t try to fix it by pouring more sand on top; the base needs to be reset. One rocking paver caught in early spring is a quick fix; ignored until summer it becomes a wider repair.
The base prep is the part most homeowners get wrong, and it’s the part that determines whether the driveway lasts. Correct installation needs 4 to 6 inches of compacted base material, a plate compactor at the right frequency, and edge restraint locked into the base. A single do-it-yourself install without proper compaction typically shows settling within two years. For a new install or a full section replacement, use a contractor with the right equipment. Groundwork Construction Co. of Mesquite handles driveway and paver projects alongside home additions and ADU work in Mesquite when the hardscape needs to coordinate with a building footprint. From foundation to finish line, that coordination is where a single accountable contractor saves you real headaches.
The Bottom Line
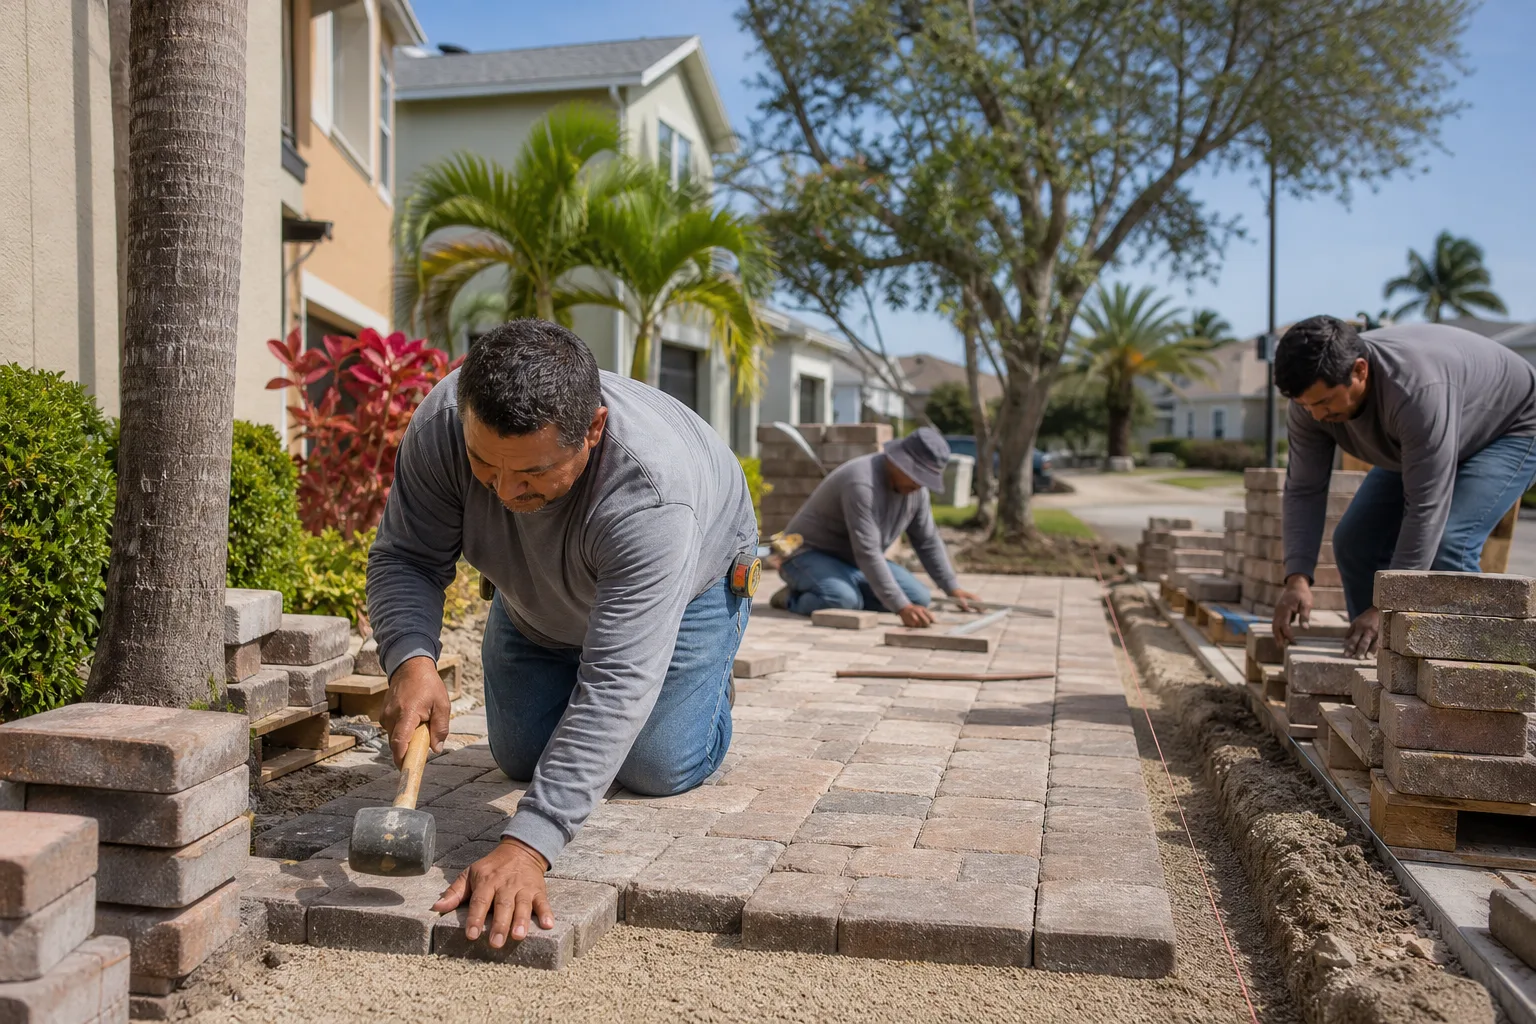
Paver driveways in Mesquite don’t fail through catastrophic events. They fail through skipped 20-minute tasks: a joint not refilled before monsoon season, a sealer not reapplied before UV broke it down, a rocking paver not lifted before spring. The schedule is simple. Spring inspection for freeze-thaw damage. Late June joint refill before the monsoon. Fall sealer check and application. Winter debris clearing and settling watch. Twenty minutes of record-keeping once a year so you can catch a trend before it becomes a repair. If your driveway has crossed from maintenance into repair, or you’re planning a new install, get a free written estimate from a contractor who puts the workmanship guarantee in writing. Built to last, backed in writing.
Call (888) 413-6358 for a free estimate on driveway and paver work in Mesquite. Live person, 24/7. If you’re planning broader hardscape and exterior improvements, explore our home page for the full scope. Our technicians are background-checked and arrive in uniform, and our material partner lineup includes Belgard and other leading paving brands so you’re choosing quality, not just availability. Upfront pricing, no surprises, and 0% financing for 18 months with $1,000 off projects over $10,000.
Written by the team at Groundwork Construction Co. of Mesquite.