Last updated November 18, 2026


Free written scope consultation - allowances, timeline, and change-order rules on paper before a single trade is scheduled
Driveway & Pavers Warning Signs Every Homeowner Should Know
A single rocking paver in the middle of your driveway isn’t a cosmetic annoyance. It’s a drainage failure indicator telling you water is pooling under your base somewhere nearby, and every rain cycle is making the affected area larger. Most homeowners in Mesquite walk past this stuff for years because the signs don’t look the way we expect damage to look. A $400 joint-sand refill becomes a $6,000 base rebuild when the warning goes unread. This guide decodes what each type of damage actually means, what’s causing it, and how urgent it really is.
Quick Answer
The most reliable driveway and paver warning signs are rocking or wobbly units, joint sand that washes out or won’t stay put, weeds sprouting from seams, linear cracks spanning multiple pavers, and standing water more than 24 hours after rain. Any single one of these points to a problem below the surface, not just on it. Cosmetic wear like faded color or surface scuffs you can usually monitor; movement, sinking, and drainage failures you should fix before the next wet season.
Styles & brands we work with
- Kitchen remodeling
- Bathroom remodeling
- Home additions & ADU
- Roofing
- Windows & doors
- Driveway & pavers
- Fence
Table of Contents
- Surface Wear vs. Structural Base Failure: How to Tell the Difference
- Rocking Pavers: The Drainage Failure Indicator
- What Different Crack Patterns Actually Tell You
- Why Weeds in the Joints Are a Secondary Warning Sign
- Drainage Warning Signs You See After Every Rainstorm
- Severity Triage: Monitor, Fix This Season, or Call This Week
- Why Mesquite’s Climate Accelerates Paver Damage
- Prevention Checklist for Mesquite Homeowners
Surface Wear vs. Structural Base Failure: How to Tell the Difference
Surface wear is what you see on the face of the paver. It’s the color fading after years of ultraviolet exposure, a chipped corner from a dropped weight, or a light scuff from tires. None of that means your driveway is failing. The paver is doing its job. It sits on top and takes the abuse so the structure underneath doesn’t have to.
Structural base failure is different. It’s what’s happening underneath the surface where a homeowner can’t see. The compacted gravel base, the bedding sand, and the joint sand form a system that holds every paver in place. When any part of that system breaks down, the pavers start moving, and moving pavers are always a base or drainage problem, never just a surface problem.
Here’s the pressure test any homeowner can do in about ten minutes. Walk your entire driveway in soft shoes or bare feet. Not once down the middle. Every section, corner to corner, including the edges along the garage and the apron at the street. A paver that clicks, shifts, or rocks underfoot is failing. Mark it with chalk. Then check the same spot after a rain and see where the water sits.
- Surface wear: color loss, minor chipping, surface abrasion. Usually cosmetic.
- Structural movement: rocking, sinking, heaving, edge settlement. Always investigate the base.
- Drainage failure: standing water, sand washout, weeds in joints. Fix before the next rain season.
- Joint failure: sand transferring out, gaps opening more than a quarter inch. Fix within weeks.
In Mesquite, we see more base failure on driveways that face full afternoon sun than on shaded lots because the surface heating accelerates the freeze-thaw and wet-dry cycling that loosens the bedding layer. The paver itself isn’t weaker. The system under it just works harder.
Rocking Pavers: The Drainage Failure Indicator
A rocking paver means the sand bedding underneath it has shifted or washed out. That doesn’t happen from foot traffic. It happens from water getting under the pavers and moving the sand and gravel base around. One rocker is a symptom. The problem is likely an area two to four times its size, extending toward wherever the water came from.
Test it like this:
- Step on the paver with the ball of your foot and rock forward and back. If it moves more than an eighth of an inch, mark it.
- Look at the seam on the uphill side of the paver. If the joint sand is hollow or missing, water is traveling under the paver from that direction.
- Check the grade at the driveway edge nearest the rocker. Water should drain away from the house at 2% slope, or about a quarter inch per foot. Anything flatter or reversed will pool under the pavers.
- Walk downhill from the rocker toward the street. If you find more rockers along that path, you’ve found your drainage line, which is where the repair will start.
- Water the area with a hose for two minutes. If water stands in the joints rather than draining off, the base is saturated even if it looks dry on top.
Here’s the counterintuitive part. A rocking paver in the middle of your driveway usually means the problem isn’t in the middle. It’s at the closest edge or downspout or slope break where water enters. Repairing the visible paver without addressing the water path just resets the clock. We’ve pulled pavers in Mesquite neighborhoods after a summer monsoon and found the base washed out four to six feet back from where the homeowner first noticed the rock.
If a rocker appears after an unusual rain event, watch it for a week. If it stays stable once the ground dries, it may be seasonal. If it rocks when dry, that’s structural and it belongs in the fix-this-season category. Our Driveway & Pavers in Mesquite service covers full base rebuilds when the underlying issue is that far along.
What Different Crack Patterns Actually Tell You
Not all cracks mean the same thing, and this is where most homeowners misread their driveway. A hairline crack in a single paver is completely different from a linear crack running across five pavers in a row. One is often harmless. The other is a structural signal.
Hairline cracks in individual units
These are usually thermal stress or impact damage from a dropped weight or heavy vehicle. If the crack stays within one paver, doesn’t widen, and the paver doesn’t move when you step on it, monitor it. A single cracked unit can often be swapped without touching anything else. Most Mesquite driveways will produce a few of these over a decade of 110-degree summers, and they aren’t a sign of collapse.
Linear cracks across multiple pavers
When a crack runs in a straight line across several units, the pavers are no longer moving together. Something underneath them has settled or heaved, and the crack line marks the boundary. This is a base failure pattern. It shows up often along the driveway centerline where traffic loads concentrate, and along the transition between an old pour and a new one. If you can fit a dime into the crack, fix it this season. If a quarter fits, call within the week.
Spiderweb or radiating cracks
Cracks radiating outward from a single point usually mean a point load failure on a small area. A jack that wasn’t on a pad, a heavy equipment trailer, or a precast step dropped during landscaping. The pavers around the impact point absorb the stress and crack outward. Repair is usually limited to the impacted zone, but the base under that zone needs a compact test before the new pavers go down.
Edge cracks along the perimeter
Cracks and movement at the driveway edge, where it meets the street or the lawn, mean the edge restraint has failed. Without proper restraint, the pavers spread outward over time. That’s a common issue in Mesquite where the driveway meets decomposed granite or blown sand, both of which migrate into poly-sand joints and break the interlock. Edge restraint repair is a small job. Ignoring it isn’t.
Why Weeds in the Joints Are a Secondary Warning Sign
Weeds growing between pavers aren’t just annoying. They’re a signal that joint sand has depleted enough to let light, air, and moisture in. Once joint sand is gone, the interlock that keeps every paver from sliding sideways is gone with it. Each paver starts working independently, which is exactly the condition that produces rockers, spreading, and eventually full base failure.
Joint sand does its real job below the surface. It fills the gap between paver sides and locks them together as a single sheet. Polymeric sand goes a step further when it’s installed correctly, forming a semi-flexible binder that resists water and weed growth. But it doesn’t last forever. In Mesquite, the combination of summer heat, dust storms, and monsoon runoff can wash out or crack joint sand faster than most homeowners expect.
Here’s a quick check:
- Drag a screwdriver handle across a joint. If the sand surface sits more than an eighth inch below the paver chamfer, the joint is underfilled.
- Count weed sprouts in a ten-foot section. Three or more means the joint system has failed in that area.
- Look for sand collecting in a line at the bottom of a slope after rain. That’s your joint sand, washed downhill.
- Check the perimeter joint next to the garage slab or sidewalk. If there’s a gap wider than a quarter inch, the sand has migrated.
Refilling joint sand is one of the cheapest fixes in pavement care and one of the most ignored. We’ve seen driveways in Mesquite that needed a $300 sand refill and instead got a $4,000 rebuild two years later because the owner didn’t recognize the weeds. That’s not a scare tactic. That’s the actual pattern across the neighborhoods we work in.
Drainage Warning Signs You See After Every Rainstorm
A rainstorm in Mesquite is a free diagnostic. The driveway tells you exactly where it’s failing if you know what to look at. Most homeowners walk past the answers every time it rains and don’t recognize them.
After the next significant storm, walk your driveway within an hour of the rain stopping. Look for these four things:
- Standing water in the joints or puddles on the surface. Water should be gone within 30 minutes on a properly graded driveway. Still standing after an hour means the slope is wrong or the base is saturated. Standing after 24 hours is a call-now issue.
- Sand rings or sand trails at the driveway edges. That’s joint sand that migrated. Any significant sand accumulation means the joint system is failing somewhere uphill.
- Dark or damp patches that don’t dry with the rest of the driveway. These mark low spots where water is pooling under the pavers. A damp patch that stays damp for 48 hours is a drainage problem.
- Water stains or splash marks on the garage door or the base of the wall. Water is splashing against the house instead of flowing away from it. That’s a grade problem on the driveway, and it can cause foundation moisture issues if it continues.
Mesquite sees roughly four to six inches of rain a year, but it arrives in intense bursts during the July-through-September monsoon. A driveway that handles a slow drizzle can fail completely on a two-inch storm in twenty minutes. That’s why proper drainage matters more here than in climates with gentle rain. The driveway needs to move a lot of water fast, and if the grade is even slightly off, the base takes the hit.
One drainage pattern we see constantly in Mesquite: the driveway is graded correctly, but the downspouts from the roof discharge directly onto the pavement near the garage. That constant point saturation undercuts the base at that corner within a few seasons. If you check nothing else after rain, check whether your downspouts are dumping on the driveway.
Severity Triage: Monitor, Fix This Season, or Call This Week
Not every sign means the same urgency. This is the part almost every guide skips, and it’s the part that actually helps a homeowner decide what to do. Use this triage system to categorize what you’re seeing.
Monitor: note it, recheck in 90 days
- Hairline cracks confined to single pavers with no movement
- Color fading or surface scuffing
- Minor chipped edges on isolated units
- One or two weeds in a ten-foot section, no sand loss visible
- Very light rocker that only appears after heavy rain and settles when dry
These aren’t ignoring-the-problem signals. They’re watch-it-and-see patterns. Set a calendar reminder to recheck them at the start of the next wet season. If they haven’t changed, they can stay on the monitor list. If they’ve gotten worse, move them up a tier.
Fix this season: schedule within three to six months
- Joint sand underfilled across multiple sections or washing out on every rain
- Three or more weeds in a ten-foot span
- Multiple rockers along one visible drainage path
- Linear cracks across two to three pavers, dime-width or less
- Edge restraint visible at any driveway perimeter
- Dark or damp patches that persist 24 hours after rain
This tier is where the money gets saved. Fixing joint sand, edge restraint, or a small base section now costs hundreds. Waiting until the pattern escalates past this tier costs thousands. Our team handles most of these as scheduled repairs, and the Groundwork Construction Co. of Mesquite home page is the entry point for a free estimate.
Call this week: don’t wait for the next rain
- A rocker that rocks when dry, or rocks a quarter inch or more
- Visible sinking or heaving across a section of the driveway
- Crack width a quarter inch or more, or cracks that are widening
- Standing water that survives past 24 hours after rain
- Trip hazards at any transition: driveway to sidewalk, driveway to garage, driveway edge to lawn
- Water visibly running toward the house or pooling at the wall base
- Pavers that have lifted, tilted, or separated apart at the seams
These are the patterns that show up right before a failure that terminates the driveway. The base underneath is compromised, and each new rain event expands the affected area. That’s the $400-becomes-$6,000 window. If you’re seeing anything on this list, stop reading guides and get a walkthrough. Repairs never get cheaper by waiting.
Why Mesquite’s Climate Accelerates Paver Damage
Mesquite is a uniquely demanding climate for pavement. The combination of extreme summer heat, intense monsoon bursts, and the sandy, often expansive soils common in this part of Nevada creates conditions that punish driveways in ways most paving guides written for wet climates don’t address.
Summer surface temperatures on paver driveways in Mesquite routinely run 30 to 40 degrees above air temperature. On a 110-degree afternoon, the paver surface can hit 140 to 150 degrees. That thermal cycling against cool monsoon rain drops is a real stress test. Pavers expand when hot and contract when the storm hits. The joint sand takes that movement, and it wears out faster here than in a mild climate.
Soils matter too. Much of Mesquite’s residential development sits on sandy or caliche-heavy soils, both of which drain differently than the clay-heavy soils that dominate paving guides written for the Midwest or Southeast. Sandy soils can wash out from under pavers when water channels; caliche-heavy soils can heave when they hold moisture at a layer boundary. Both failure modes show up in the same symptom: a rocker or a linear crack, and both require an honest look at the base before any repair.
Dust storms are the third factor. Wind-blown sand fills the small gap in paver joints and displaces the polymeric sand over time, and it wears the surface of pavers along the prevailing wind direction. We see more surface wear on Mesa-facing driveways than on shaded lots, and we see joint sand deplete faster on driveways that catch the prevailing southwesterly wind.
If you’re comparing driveway materials, our Fence Installation in Mesquite service writeup explains how the same soil and wind conditions affect posts and hardscape edges around a driveway. The patterns are consistent across hardscape because the underlying site conditions are the same.
Prevention Checklist for Mesquite Homeowners
Stopping paver failure is mostly about catching the early signs and doing small maintenance on a schedule. Here’s the checklist we’d give any Mesquite homeowner, and it’s worth putting on your calendar as a twice-a-year routine.
- Early spring (March): Walk the driveway barefoot or in soft soles corner to corner. Mark every rocker, crack, or damp patch with chalk. Count weeds in ten-foot sections. Note sand accumulation at low points.
- Before the first monsoon (June): Check joint sand depth with a screwdriver. Top off any joints that are underfilled by more than an eighth inch. Make sure downspouts aren’t dumping onto the driveway.
- After each monsoon (July – September): Walk the driveway within an hour of each storm. Check for standing water, sand trails, and new rockers. These are your earliest signals of base compromise.
- Late fall (October): Do a proper edge check. Look for paver separation at the driveway perimeter. Any restraint failure should be fixed before winter.
- Every three years: Have the joint sand professionally evaluated. Even well-installed polymeric sand has a service life, and this is the single cheapest maintenance item that prevents large repairs.
Beyond the seasonal checks, keep an eye on the specific patterns that tend to show up in your neighborhood. Driveways shared with Home Additions & ADU in Mesquite construction traffic get more load cycles than a typical residential driveway, and it’s worth a look after any major site work on your street.
If you’re having windows or doors replaced, it’s a good moment to check the driveway too. UV and thermal stress cycles hit the paver joints the same way they hit window seals. Our team works with PGT and CGI windows across Mesquite homes, and pairing a driveway evaluation with a window install is one way to catch both problems on the same visit.
Common Mistakes to Avoid
- Assuming a single rocker is a single problem. It almost never is. The visible paver is the symptom, and the drainage source is usually several feet uphill or downslope. Repair the source, not the symptom.
- Topping off joint sand with whatever’s in the garage. Pool sand, play sand, and masonry sand don’t interlock the way proper polymeric joint sand does. The wrong sand releases within one monsoon and wastes the work.
- Waiting on standing water because it drains eventually. If water sits more than 24 hours on a Mesquite driveway, it’s damaging the base even while it looks like it’s going away. Every rain adds to the affected area.
- Sealing over failing joints or movement. Sealer locks in whatever’s already wrong. A sealer applied over a compromised base will crack in the same pattern within a season and cost more to fix later. Fix the base first, seal last.
- Rebuilding pavers without investigating drainage. A base rebuild that doesn’t address the water path will fail in the same place. In Mesquite, downspout discharge and grade reversal cause the majority of premature rebuilds we see.
- Ignoring cracks after a summer storm. A monsoon is the fastest way to reveal whether a driveway’s drainage is actually working. Treat post-storm cracks as fresh diagnostic data, not seasonal noise.
- Jumping straight to a full replacement after one bad winter. Most paver failures are localized. A professional evaluation that pulls back the affected section and tests the base can often save 60 to 80 percent of the replacement cost.
See the difference
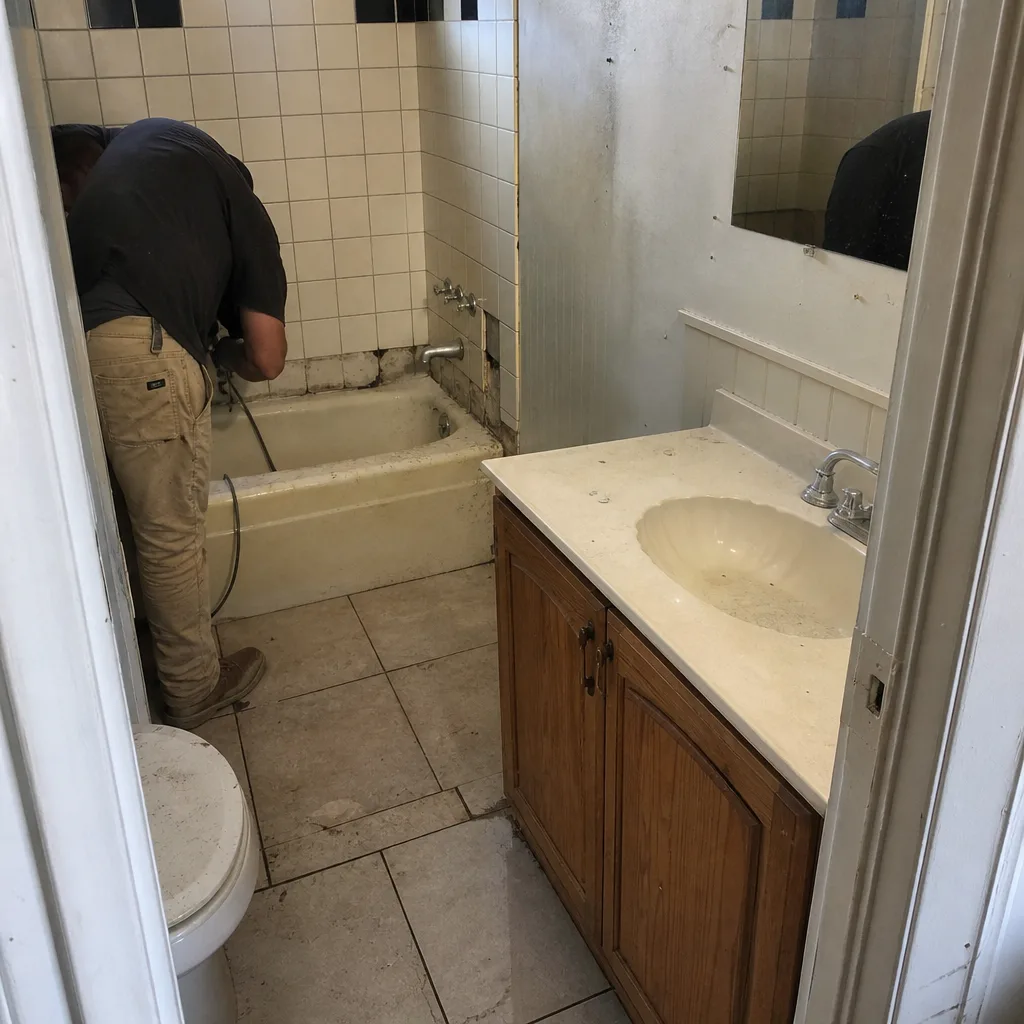 Before
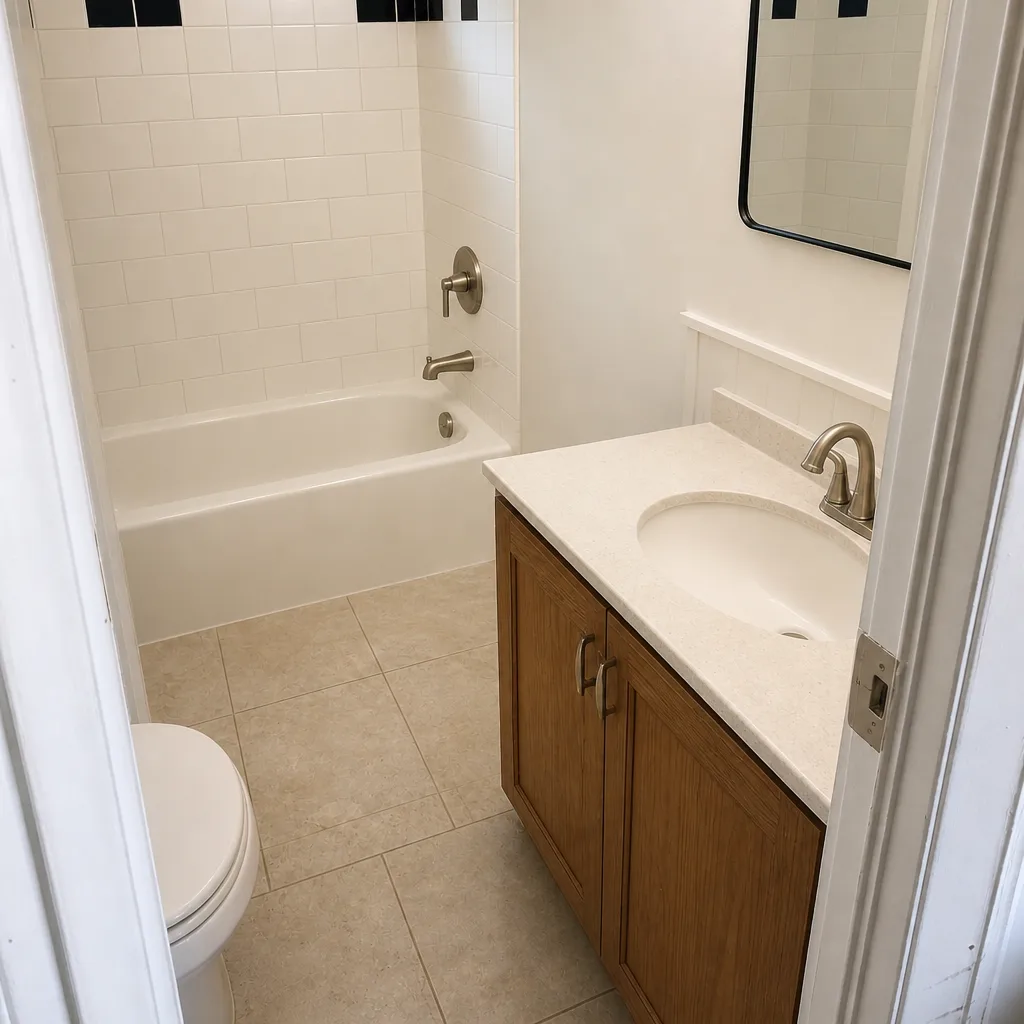 After
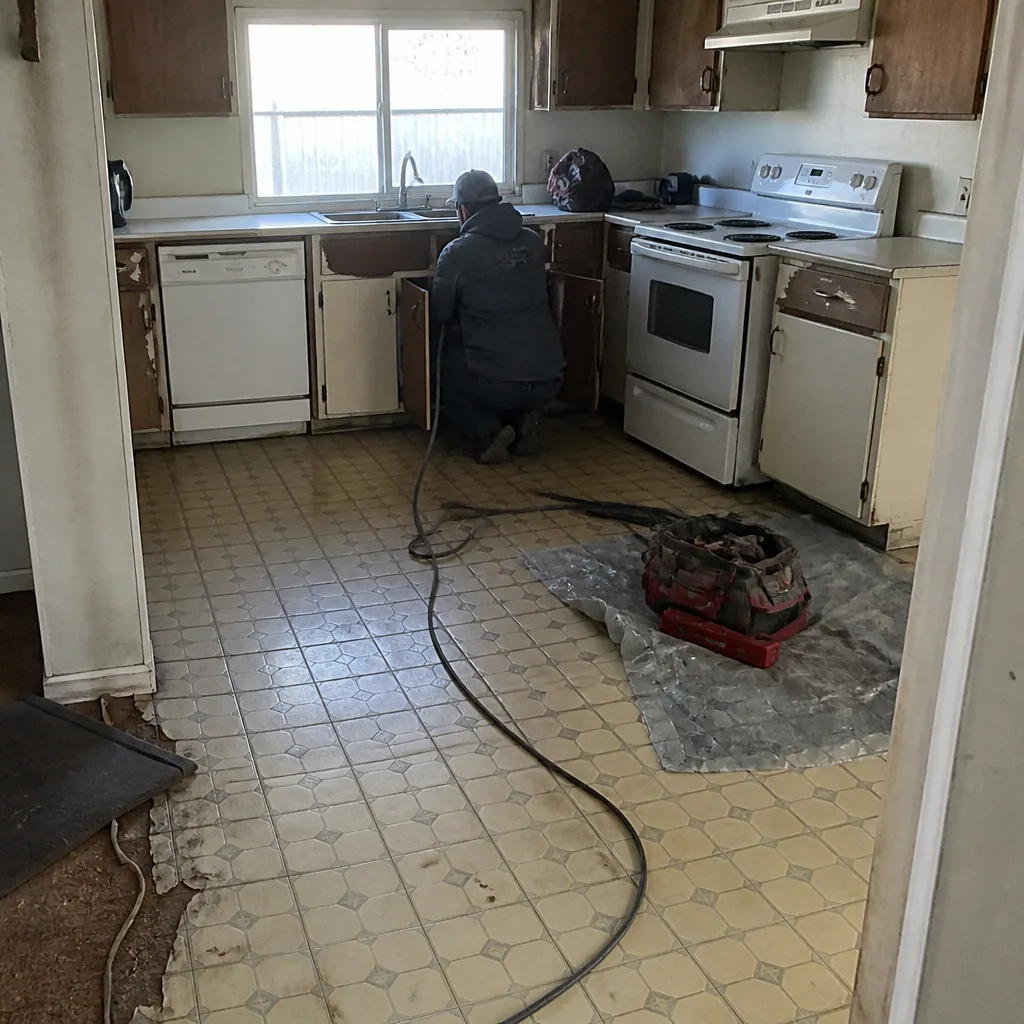 Before
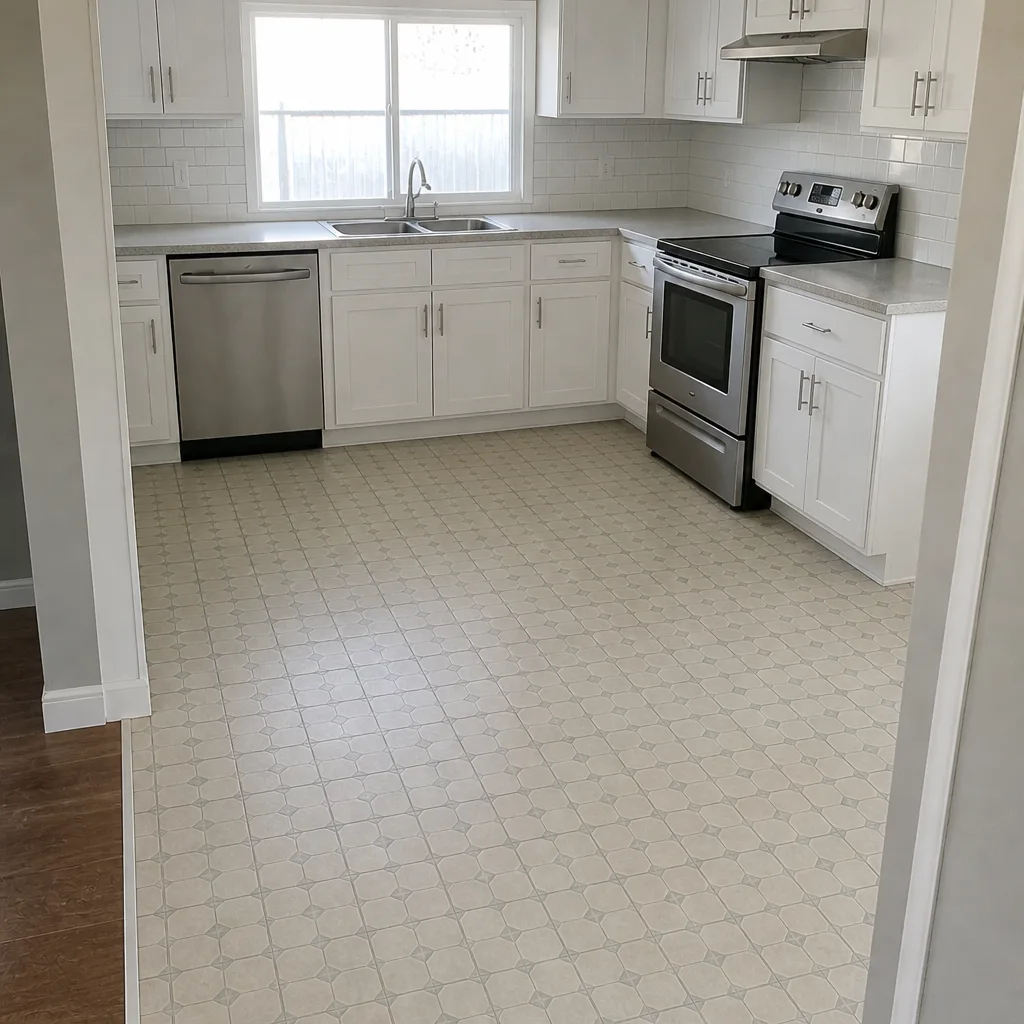 After
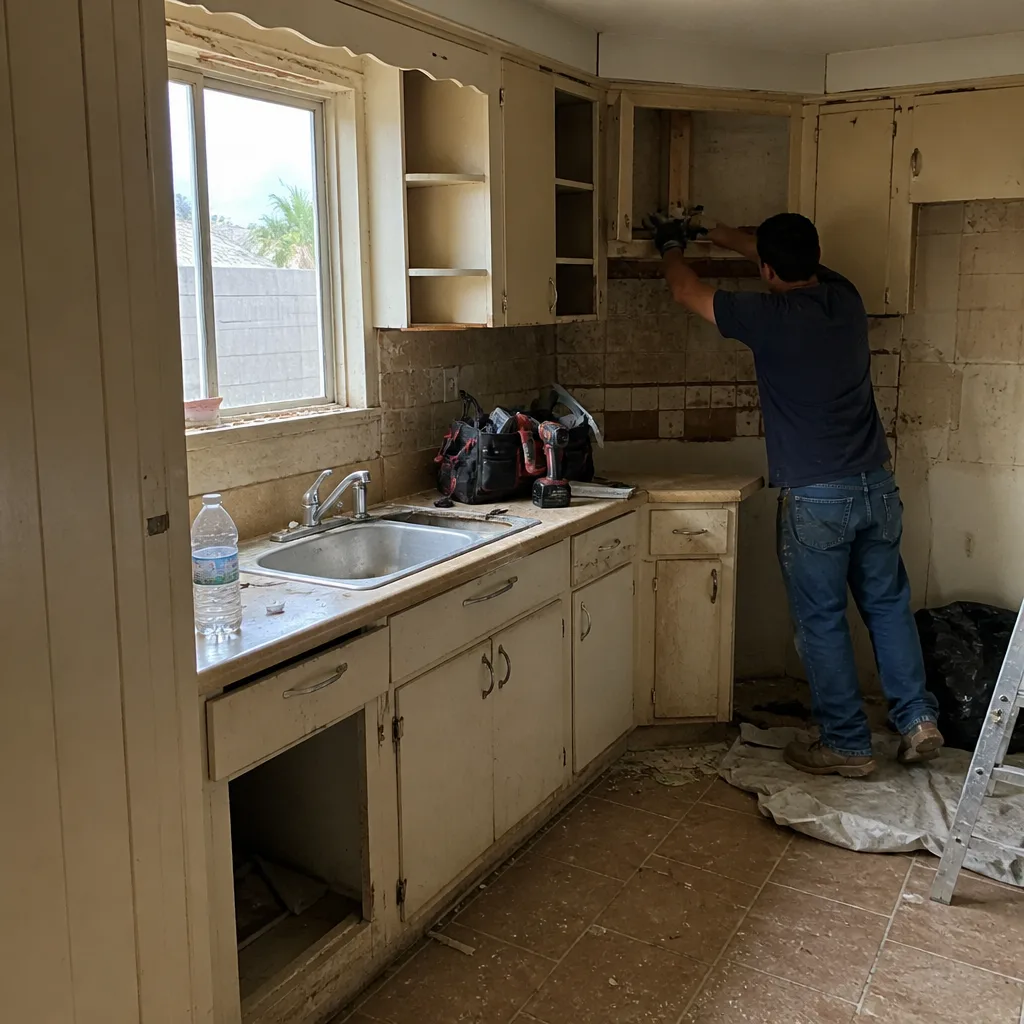 Before
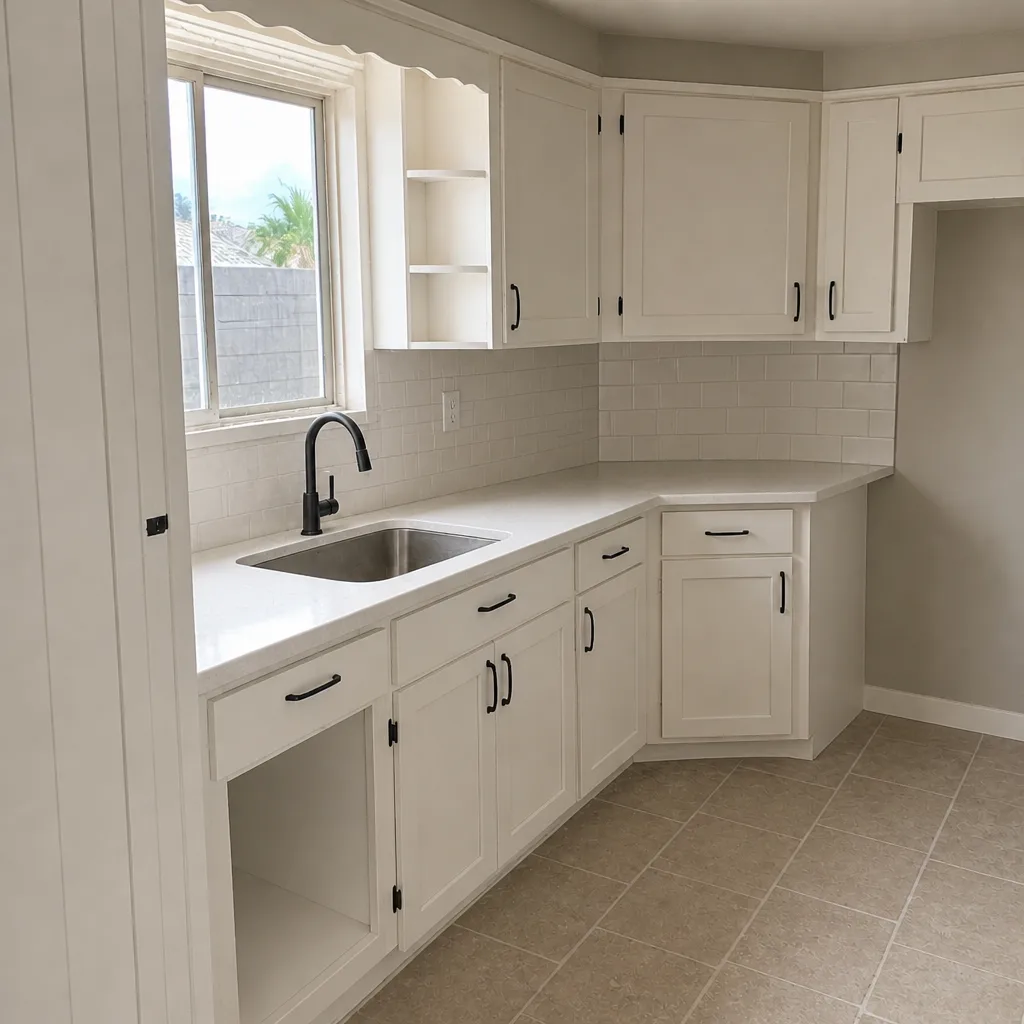 After
When to Call a Professional
Some of these signs are DIY-fixable. Sand refill, weed pulling, and edge-sweeping are homeowner jobs. Anything involving paver movement, base investigation, or drainage correction is not. The base sits under hundreds of pounds of pavers, and pulling a section without knowing what’s underneath can make the failure worse.
Call a professional when you see any of the following: a rocker that rocks when dry, cracks wider than a quarter inch, standing water more than 24 hours after rain, visible sinking or heaving across a section, or paver edges separating from the driveway perimeter. Also call if you’re considering a full sealant or replacement and want an honest evaluation of whether less work will solve the problem.
Groundwork Construction Co. of Mesquite offers free estimates in Mesquite. Every estimate is a written line-item quote, and our 730-Day Done Right Promise backs the workmanship for two full years after the job is complete. Calls are answered by a live person around the clock, so you’re not stuck waiting until Monday to schedule a walkthrough. Call (888) 413-6358 to set up your free estimate.
Frequently Asked Questions
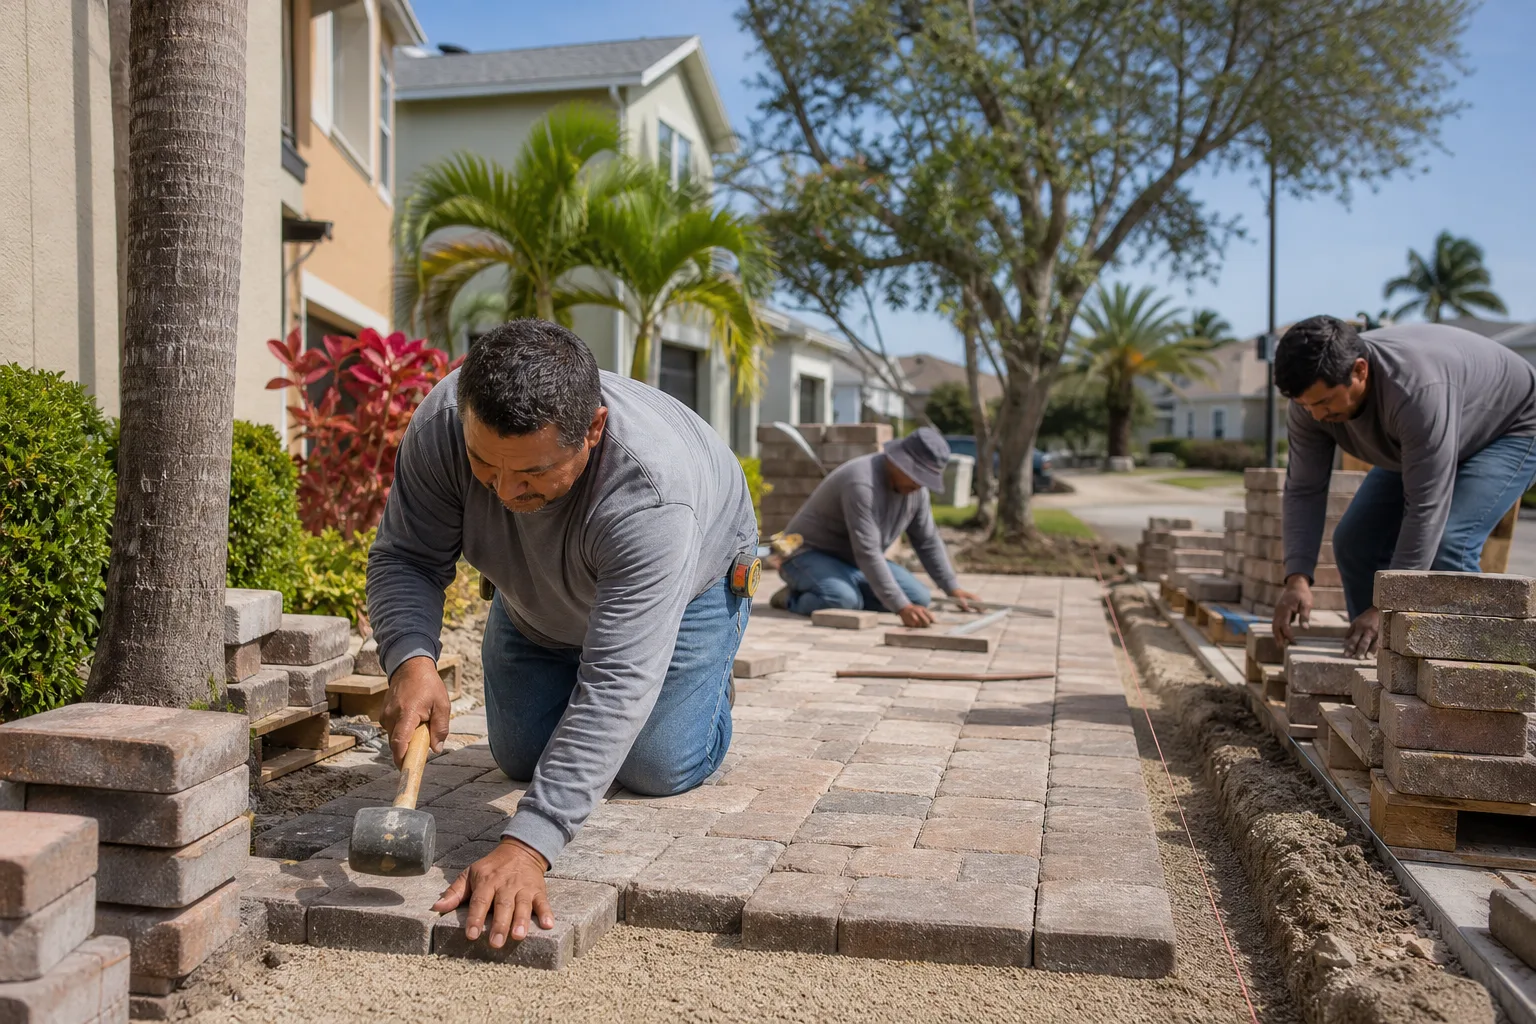
If the failure is localized to one area (a rocker cluster, a single cracked section, or joint sand depletion), a repair almost always beats a replacement. Replacement makes sense only when the base is compromised across more than half the driveway, or when the grade itself is wrong and needs to be re-formed from scratch. A free professional evaluation will pull back a small section to test the base, and that test is the deciding factor.
Rocking pavers are almost always a drainage or base failure, not a paver quality issue. Water gets under the pavers, moves the sand bedding, and erodes the compacted base until the paver above loses support. In Mesquite, the common culprits are downspout discharge onto the driveway, grade reversal at the driveway edge, and monsoon water channeling under the pavement from a low point in the landscaping. Every rain makes it worse, so identifying the water path is the first step in any repair. Call (888) 413-6358 for a free estimate if a rocker appears.
Most paver repairs (joint sand refill, edge restraint repair, or a localized paver swap) are single-day jobs. A localized base rebuild for one section typically takes two to four days depending on the size and the weather. Full driveway replacement runs one to two weeks. Because Mesquite’s summers are hard on fresh polymeric sand, work is often scheduled for spring or fall to give the joint sand the cleanest curing window.
Yes. Weeds are a signal that joint sand has depleted, which means the interlock system between pavers is failing. Once interlock fails, pavers start moving independently, and independent movement leads to rockers, spreading, and eventually base failure. Pulling the weeds helps cosmetically, but the fix is replacing the joint sand to restore interlock. This is one of the cheapest preventive maintenance items in driveway care.
Yes. We handle everything from joint sand refill and edge restraint repair to full paver replacement and base rebuilds. Every job is covered by the 730-Day Done Right Promise, and every estimate is a written line-item quote so you know exactly what’s being done and what it costs before any work starts. Calls are answered by a live person 24/7, and we offer 0% financing for 18 months plus $1,000 off projects over $10,000. Call (888) 413-6358 to schedule a free estimate.
Pricing depends heavily on whether the issue is joint-level or base-level. Joint sand refill for a typical residential driveway runs in the low hundreds. Localized base rebuilds for one section run in the low thousands. Full driveway replacement runs considerably higher based on square footage and material. We provide written line-item estimates at no cost, and the number on the estimate is the number you pay. Call (888) 413-6358 for an exact quote on your driveway.
The Bottom Line
Paver failure almost never comes out of nowhere. It follows a predictable sequence: joint sand depletes, water gets under the pavers, the base erodes, and the pavers start moving. Homeowners who recognize the sequence at the joint-sand stage spend hundreds. Homeowners who catch it at the rocking stage spend thousands. Homeowners who wait until a section has fully failed spend five figures and lose three weeks of their driveway. In Mesquite, the climate gives you plenty of rain events to run the checks, and the repairs get no cheaper by waiting. Read the signs, triage by severity, and address water before anything else. Built to last, backed in writing: that’s the standard every Mesquite driveway should meet.
If you’re seeing any of the call-this-week signs in this guide, get a walkthrough before the next monsoon. Call Groundwork Construction Co. of Mesquite at (888) 413-6358 for a free estimate, a written line-item quote, and a plan to get the driveway back to solid ground.
Written by the team at Groundwork Construction Co. of Mesquite.