Last updated November 18, 2026


Free written scope consultation - allowances, timeline, and change-order rules on paper before a single trade is scheduled
DIY vs Professional Windows & Doors: What’s Safe to Do Yourself
A YouTube window installation tutorial will show you how to set a window in a rough opening in under 20 minutes. It almost never shows you how to flash it correctly, which is the only part of that installation that determines whether you have water damage in year three. That gap between the 20-minute video and the 20-year consequence is the whole story here. Windows and doors look like a straightforward swap until you’re standing in an out-of-square rough opening, watching the only thing protecting your wall cavity from a desert downpour get covered by siding. In this guide we’ll break down exactly what “window installation” really involves, which tasks in Mesquite homes are genuinely safe to handle yourself, and which ones quietly create liability that won’t surface for a year or two.
Quick Answer
You can safely DIY interior trim, hardware swaps, and weatherstripping on accessible doors. You should not DIY the actual setting, flashing, and air sealing of a new window or exterior door, because a failed flashing job hides behind finished walls for 18 to 24 months before it shows up as rot and mold. Unit setting is the easy part; waterproofing integration is where the money and the risk live, and that’s a job for an insured professional.
Styles & brands we work with
- Kitchen remodeling
- Bathroom remodeling
- Home additions & ADU
- Roofing
- Windows & doors
- Driveway & pavers
- Fence
Table of Contents
- What “Window Installation” Actually Means
- The DIY Tasks That Are Genuinely Safe
- Why Rough Opening Prep Is the Highest-Risk Step
- Permits and Inspections for Mesquite Replacements
- The Water Intrusion Liability Calculation
- Door Installation: A Different Animal
- What DIY Saves and What It Costs Later
- How to Choose a Professional Installer
What “Window Installation” Actually Means
Most homeowners think of window installation as the moment a unit slides into the hole. That moment is maybe 20% of the work. The other 80% is invisible once the job is done, and it’s the part that either protects your home or quietly damages it. Here’s what a complete replacement actually involves, in the order it happens:
- Removal and inspection. The old unit comes out, and the rough opening framing gets inspected for rot, water staining, and damage that wasn’t visible from inside. In Mesquite we find soft framing more often than homeowners expect because the summer sun and winter wind cycles stress these openings hard.
- Rough opening prep. The opening gets cleaned, squared, and shimmed to tolerance. Levelness matters to within about 1/8 inch across the unit. An out-of-plumb opening either won’t let the window operate smoothly or forces the installer to flex the frame, which eventually breaks the seal.
- Flashing and the water-resistive barrier. This is the critical layer. Self-adhesive flashing tapes, sill pans, and proper shingle-lap sequencing keep water out of the wall cavity. If this step is wrong, everything above it is decoration.
- Setting and shimming the unit. The window goes in, gets shimmed at the correct points (not the corners), and gets checked for plumb and level.
- Air sealing. Spray foam or backer rod plus sealant around the perimeter, with a specific expansion-friendly detail so the frame doesn’t get pinched.
- Exterior finishing. Siding, trim, and caulking. This is where most water intrusion begins, because a bad caulk joint or an improperly layered trim board becomes the entry point.
- Interior trim and finishing. Jamb extensions, casing, and paint.
Notice that the step most likely to fail is step three, and it’s completely hidden by step six. That’s the design of the problem. A homeowner can watch the entire installation and see nothing wrong, because the failure is buried. If you want a professional to handle the whole sequence from demolition to finish trim, that’s the scope of Groundwork Construction Co. of Mesquite home window and door work, with a 730-Day Done Right Promise behind every install.
The DIY Tasks That Are Genuinely Safe
We’re not going to tell you every window task requires a contractor. Some of it is squarely in the homeowner’s lane, and doing it yourself saves real money without adding any meaningful risk. Here’s the honest list:
- Interior trim and casing replacement. If the unit itself is sound and you just want to modernize the look, replacing the interior casing is straightforward carpentry. You’ll need a miter saw, a finish nailer, and patience at the corners. It’s satisfying work.
- Hardware replacement. Swapping out window cranks, sliding door handles, locks, and hinges on an existing operating unit is a screwdriver-and-patience job. The mechanisms are designed to be serviceable.
- Weatherstripping on accessible doors. The door sweep at the bottom and the bulb seal around the jamb are wear items. When they fail, you get drafts and dust infiltration. Replacing them takes an afternoon and costs $30 in materials.
- Threshold adjustments on sliding patio doors. The roller height adjustment on most sliding doors is a set screw accessed from the bottom of the door panel. Learning to dial that in eliminates most “sticky door” complaints.
- Caulking the interior joint between jamb and wall. A seasonal reseal of the interior caulk line prevents air infiltration at the reveal. It’s cosmetic and functional, and there’s no hidden liability.
- Screen replacement and re-screening. Not glamorous, but genuinely a homeowner task.
What ties all of these together: they’re all surface-level or serviceable components. They don’t touch the waterproofing envelope or the framing interface. The moment a task involves opening the wall or breaking the flashing seal, the calculation changes. If you’d rather let a pro handle both the component work and the bigger installs in one call, that’s a large part of why our Mesquite customers pick up the phone. Our technicians have up to 12 years of experience, and they’re background-checked and uniformed on every job.
Why Rough Opening Prep Is the Highest-Risk Step
Here’s the counterintuitive part: setting a window is not hard. The unit slides into the hole, gets shimmed, and gets screwed to the framing. The reason professional installers exist isn’t because that step is physically difficult; it’s because every surrounding step has to be correct for that unit to survive.
Rough opening prep is the highest-risk DIY step because it looks like the easiest one. You measure, you clean up the framing, you shove the window in. But the tolerances are tight and unforgiving:
- Plumb and level within 1/8 inch across the length of the unit. Beyond that, operating hardware strains every time the window is used.
- Shim placement at quarter points, not the corners. Corner shims telegraph stress into the frame and eventually crack seals or glass edges.
- Squareness of the frame itself, checked by measuring the diagonals. If the two diagonal measurements don’t match, the unit isn’t square and will rack when operated.
- Sill pan and flashing installed below the unit before it’s set, which is a step you physically cannot go back and do correctly after the window is already screwed in.
An out-of-plumb opening forces the installer (or you) to flex the frame just to close the gap. The unit operates at first. Six to eighteen months later, the weatherstripping has compressed unevenly on one side, the sash catches, and the glass edge starts to show stress cracks. By then, the “installation was fine” story has broken and warranty claims get complicated. In Mesquite, where summer afternoons hit triple digits and the frames expand and contract through a huge daily swing, these small tolerance failures hide for a season and then show up loudly.
Permits and Inspections for Mesquite Replacements
Homeowners often assume that replacing a window with an identical-size window is “like for like” and doesn’t need a permit. That’s not always the case in Nevada. The general rule: when you replace a unit into an existing opening without altering the rough opening, changing the header, or relocating the window, most jurisdictions treat it as a repair. When you change the size, move the opening, or alter framing, that’s a structural modification and a permit with inspections is required.
Here’s where Mesquite gets specific. Clark County building practices and Mesquite’s local permitting approach generally require a permit when a window replacement does any of the following:
- Changes the rough opening size in any dimension, even by an inch. This creates a framing change and needs a permit.
- Alters the egress path. Any bedroom window replacement must still meet egress requirements for clear opening size. Reducing the egress dimension without a permit is both a code violation and a safety issue.
- Involves a door replacement that changes the header, widens the opening, or converts a window to a door (or vice versa).
- Adds a new opening in an existing wall. Obvious, but often underestimated by homeowners planning a project.
- Touches the structural capacity of an existing load-bearing wall.
Even where a straight size-for-size replacement qualifies as a repair permit exemption, we recommend you confirm with the city before starting. A Mesquite inspector who finds unpermitted structural work can require demolition to verify, which turns a $400 window swap into a much bigger problem. Pulling a permit where it’s required is one of the things that makes a professional install clean; it also gives you an independent inspection signature that your homeowner’s insurance can rely on if anything ever goes wrong. For additions where windows and doors are part of a larger envelope change, that overlap matters even more, which is why our Home Additions & ADU in Mesquite work always includes permitted, inspected window and door scopes.
The Water Intrusion Liability Calculation
Here’s the number that changes the DIY math: a failed flashing job typically doesn’t show up as water damage for 18 to 24 months. That’s not a guess. That’s what we see inside walls when we do retrofits on homes where a previous owner or installer got the flashing wrong. By the time a homeowner notices a discolored patch on interior drywall or soft trim below a window, the wall cavity behind it has been getting wet for at least a full weather cycle, often two.
Run through what that timeline means for the bill:
- Year zero: DIY install completed for $200 in materials plus the cost of the unit. Looks great. Saves $600 to $1,200 versus professional install per window.
- Months 6 through 18: Small amounts of water enter at the flashing joint during rain and during the occasional winter dust storm that pushes moisture into joints. No visible sign yet. Insulation in the cavity starts to hold moisture.
- Months 18 through 24: Framing begins to soften. Fungi colonize the wet sheathing. Interior trim starts to lift. A musty smell appears.
- Month 24 and beyond: You’re now looking at $2,500 to $6,000 per affected window opening to open the wall, replace softened framing, treat mold, redo the flashing correctly, and refinish. The cause is 24 months in the past and difficult to attribute. Any warranty from the manufacturer almost certainly excludes installation errors.
That’s the calculation: saving $600 to $1,200 per window today risks $2,500 to $6,000 per window two years from now, plus the disruption of opening a finished wall. The cost is asymmetric in a way that makes DIY window and door installation a bad bet on an envelope component.
Door Installation: A Different Animal
Doors are their own category because the decisions aren’t only about water, they’re also about security, egress, and operation. Some door work is genuinely safe DIY; some isn’t.
Safe to handle yourself:
- Interior door slab swaps into an existing pre-hung frame, so long as the hinge pattern matches.
- Hardware and lock replacement on any existing door, including deadbolt upgrades, which we strongly recommend as a matter of security.
- Weatherstripping and door sweeps on any accessible door, including exterior doors, as long as you’re not removing the frame.
- Adjusting a door that’s rubbing (planing a bit off the top or the strike-side edge, adjusting hinges) is basic carpentry and low-risk.
Not safe to DIY:
- Exterior door replacement into an existing opening. The flashing and threshold details on an exterior door are actually more complex than a window, because water collects at the threshold and active wind-driven rain gets pushed against the frame.
- Sliding patio door replacements. The rough opening needs to be precisely plumb and level, and the head flashing above a slider is a huge water entry risk when it’s wrong.
- Any door that requires altering the rough opening, which is a structural change and needs a permit in Mesquite.
- Any garage door or overhead door installation. These carry serious physical injury risk from the tensioning systems, and we will never recommend a homeowner tackle them. (Garage door tuning and spring work isn’t part of our scope, but we always flag it as a task for a trained technician.)
Our exterior door installs follow the same “flashing first” discipline as a window install, and getting the threshold right in Mesquite’s particular mix of wind and blowing dust is a quiet part of the job most homeowners never see.
What DIY Saves and What It Costs Later
The savings math is real and worth putting on paper. A typical homeowner replacing four windows can save meaningfully by doing some of the work themselves. Where the gap closes fast is when the work touches the envelope.
| Task | DIY-appropriate? | Typical DIY savings per unit | Risk if done wrong |
|---|---|---|---|
| Interior trim and casing | Yes | $80 – $200 | Cosmetic only |
| Hardware swap | Yes | $40 – $120 | Cosmetic only |
| Weatherstripping and sweeps | Yes | $30 – $80 | Drafty, fixable |
| Caulking interior joints | Yes | $20 – $60 | Cosmetic only |
| Setting and flashing a new window | No | $600 – $1,200 | Hidden water damage, $2,500 – $6,000+ per opening |
| Exterior door install | No | $800 – $1,500 | Threshold rot, air infiltration, security failure |
| Sliding patio door install | No | $700 – $1,400 | Head flashing failure, water intrusion |
Notice the pattern. The DIY tasks with real savings carry only cosmetic risk. The DIY tasks with big per-unit dollar savings carry structural and financial risk that dwarfs the savings. That’s the trade every homeowner needs to make consciously before they start a project in Mesquite, and it’s the same trade that makes a professional install pencil out when you’re planning a larger scope alongside it, like Fence Installation in Mesquite or Driveway & Pavers in Mesquite, which can often be scheduled with a window or door project to save mobilization costs.
Common Mistakes to Avoid
- Skipping the sill pan because the manufacturer “doesn’t mention it.” Most manufacturers require a sill pan or an equivalent sill flashing detail in the installation instructions to honor a warranty. Skipping it quietly voids the warranty and invites water intrusion at the most likely entry point.
- Shimming the corners. It’s the most intuitive thing to do and it’s the most common failure. Shim at quarter points, not the corners, or the frame will eventually rack and the unit will stop operating smoothly.
- Using expanding foam that isn’t low-expansion. Standard expanding foam can bow a vinyl window frame enough to bind the sash. Use a low-expansion or window-and-door foam, and don’t overfill the cavity in Mesquite’s heat, where foam expands more aggressively than the label suggests.
- Relying on interior caulk to seal exterior water. If the flashing and exterior seal are wrong, interior caulk buys you nothing. Water comes from outside; you need to stop it outside.
- Removing the old unit and discovering rot without a plan. Mesquite’s climate is hard on window opening framing. If the rough opening needs repair and you don’t have the carpentry skills to fix it, you’re going to leave a hole in the wall longer than you planned.
- Assuming no permit is needed because “it’s the same size.” Verify. Homeowner insurance claims on water damage from an unpermitted opening change get complicated fast, and a Mesquite inspector can order demolition to verify.
- Buying a “contractor-grade” unit off a truck and installing it yourself. The unit may be fine, but any warranty claim will be denied because installation was not performed by an approved professional. The savings evaporate when the first unit fails.
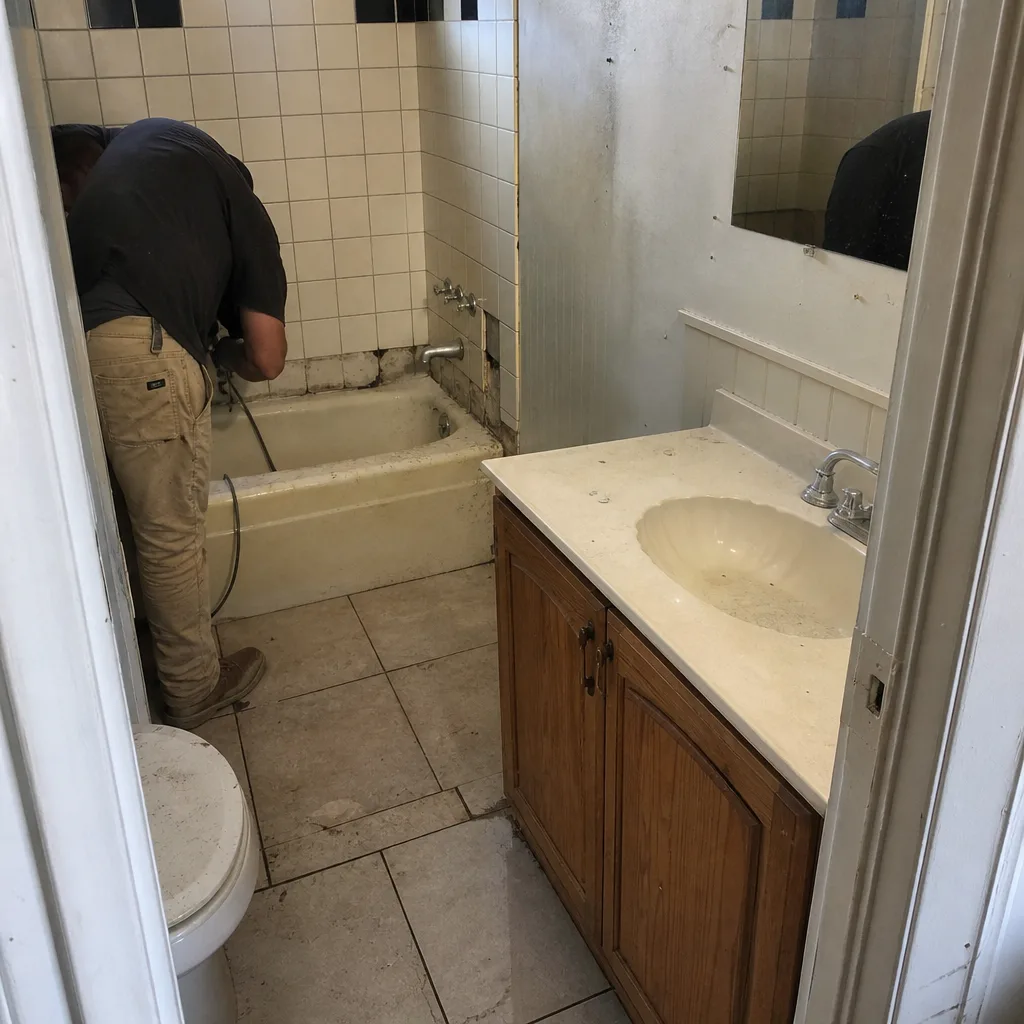
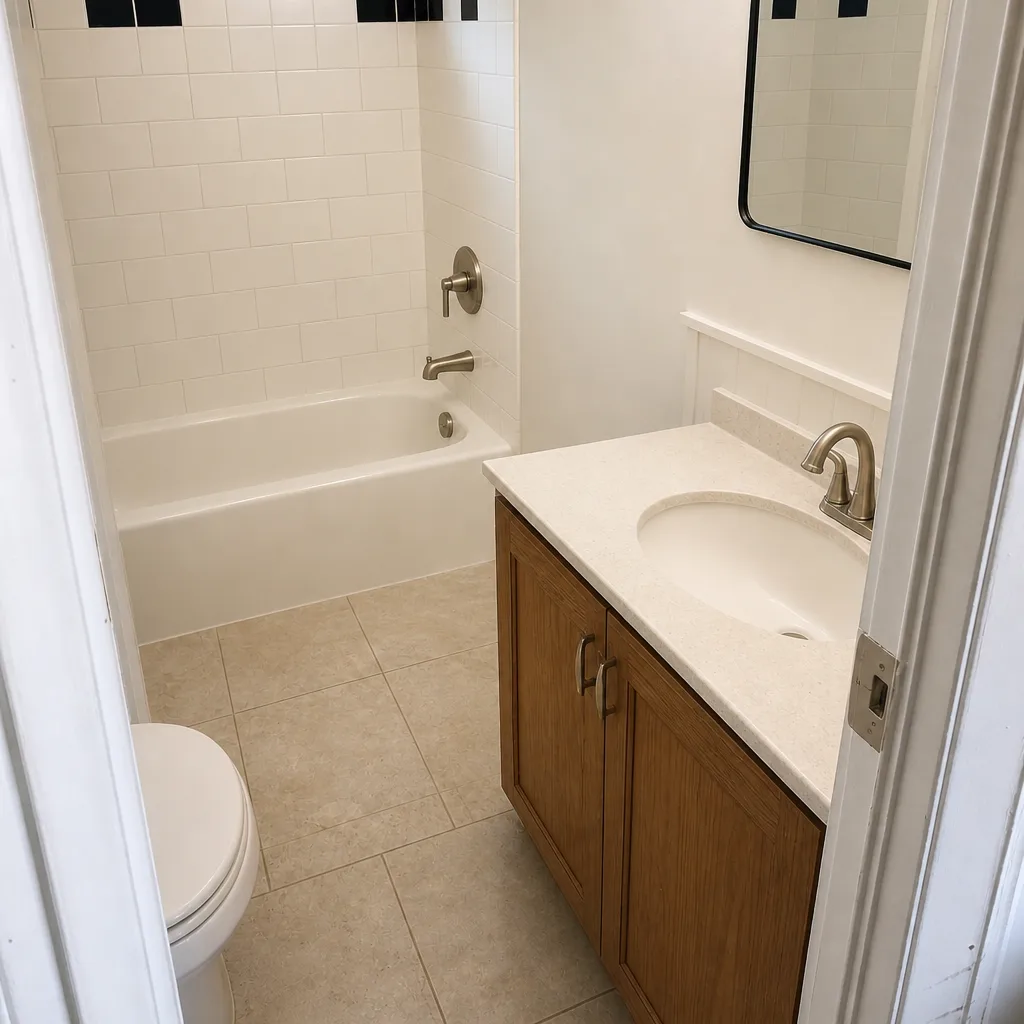
See the difference
 Before
 After
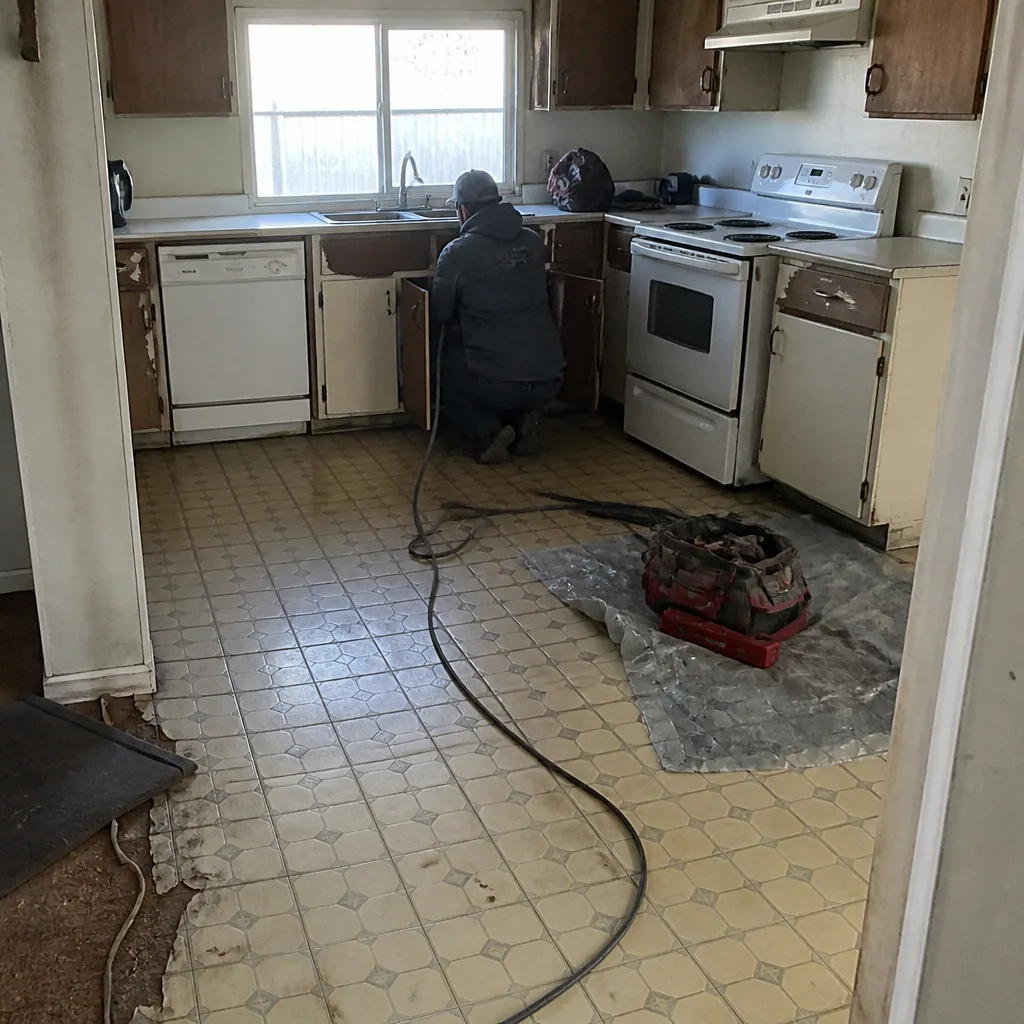 Before
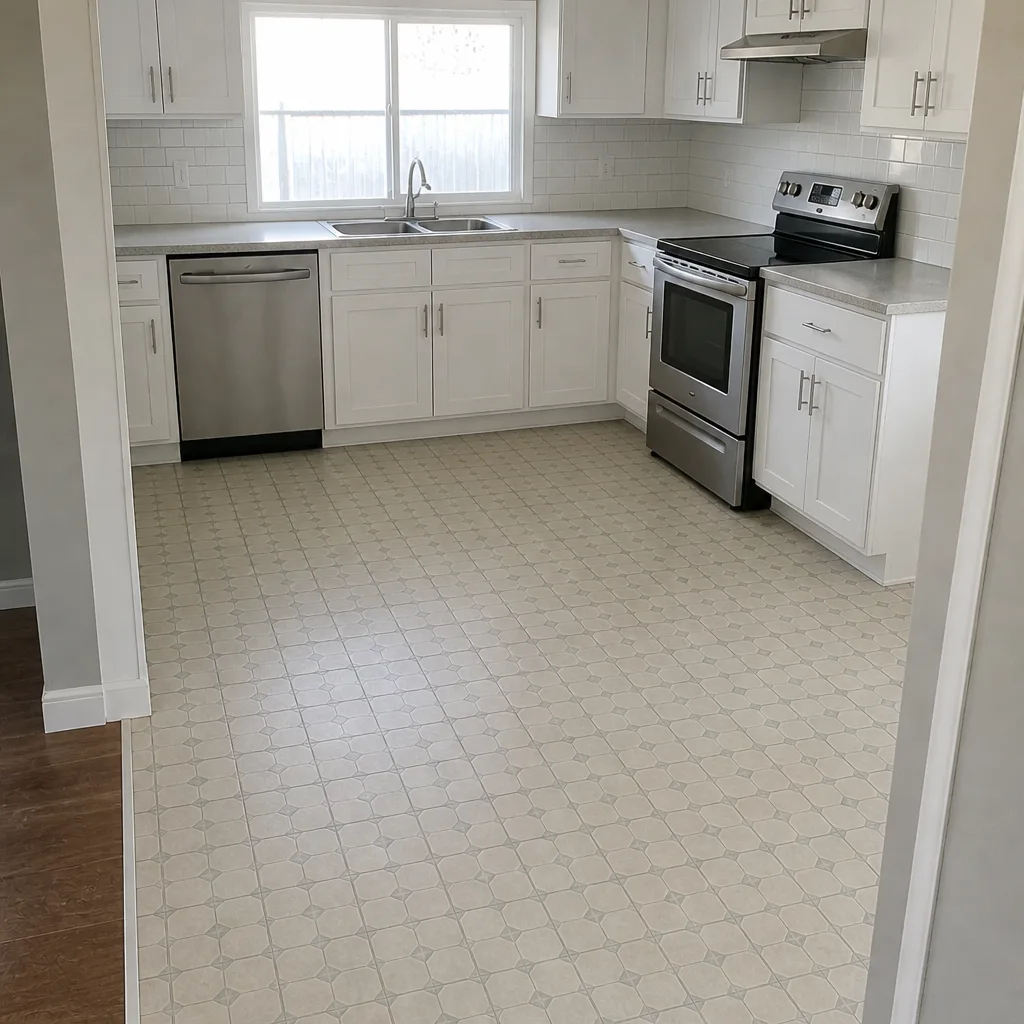 After
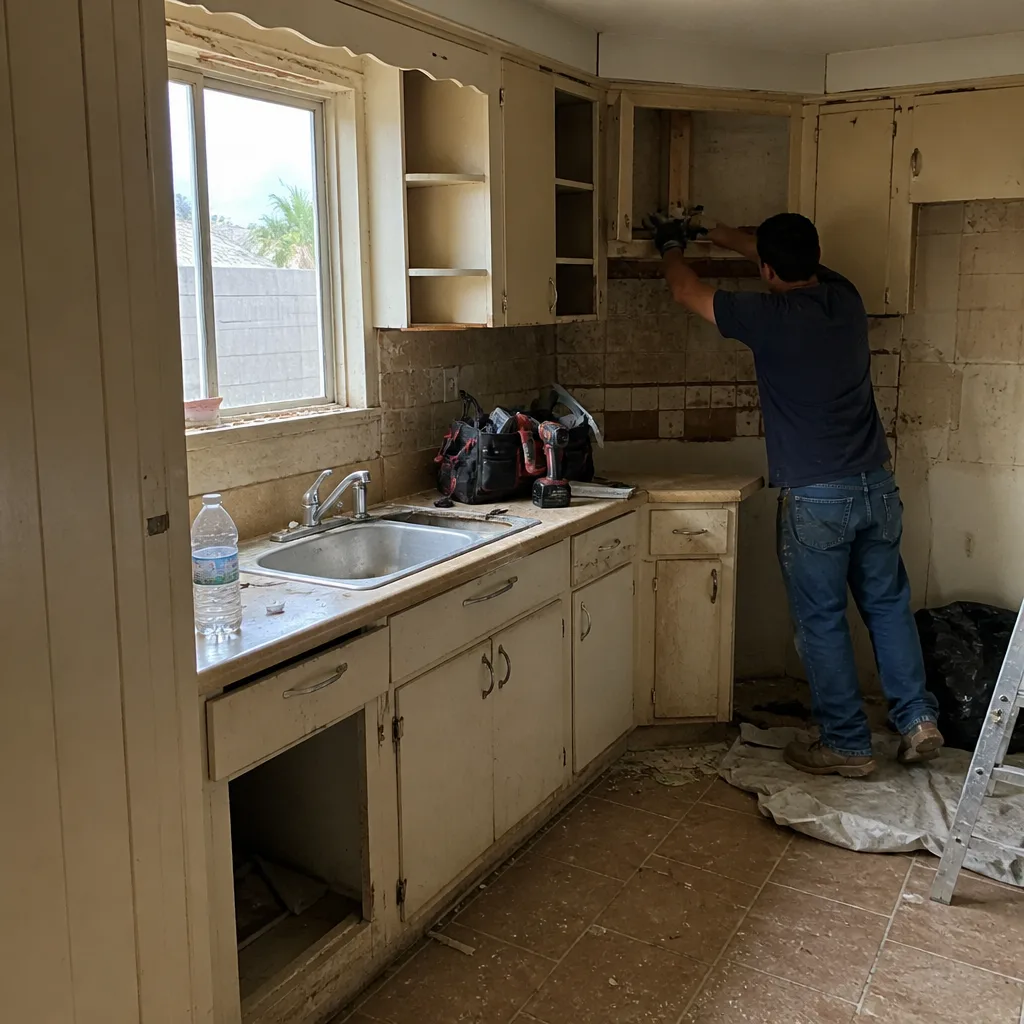 Before
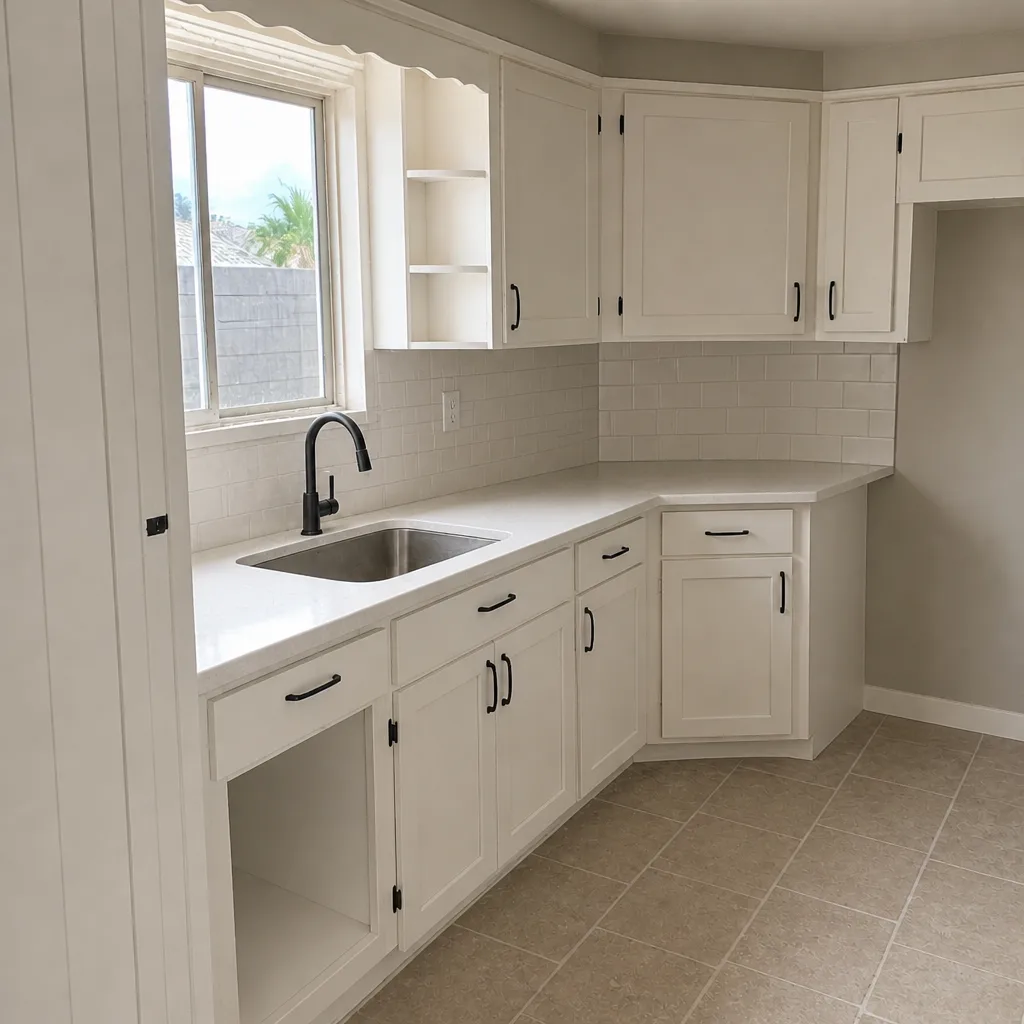 After
When to Call a Professional
Call a professional when the work touches the waterproofing envelope, when it changes the rough opening, when it involves any exterior door or sliding door, or when there’s existing damage to the framing. Call a professional when the unit needs to meet egress requirements or be permitted in Mesquite. And call a professional when the installation instructions require an approved installer to honor the manufacturer’s warranty, which is the case with most major window brands. Groundwork Construction Co. of Mesquite offers free estimates in Mesquite. Call (888) 413-6358. We work with trusted brands like Andersen and Marvin so you’re choosing quality, not just availability. Every install is backed by our 730-Day Done Right Promise: if it’s not done right, we make it right. Calls are answered by a live person, 24/7, and there’s no-hassle upfront pricing with $1,000 off projects over $10,000 and 0% financing for 18 months available.
Frequently Asked Questions
You can safely handle interior trim, hardware, weatherstripping, and cosmetic caulking yourself. You should not do the actual setting and flashing of a new window yourself. The unit setting is only 20% of the job; the flashing and waterproofing integration is the other 80%, and a mistake there doesn’t show up as damage for 18 to 24 months. Do it wrong and you’re looking at $2,500 to $6,000 per opening to fix the wall cavity, versus a professional install that carries a written workmanship guarantee. Call (888) 413-6358 for a free estimate on the parts of the job that actually need a pro.
Often yes. A strict size-for-size replacement that doesn’t alter the rough opening is frequently treated as a repair exemption, but the moment you change the opening size, alter framing, change the egress dimension, or convert a window to a door, a permit is required. Confirm with the city before starting. An unpermitted structural change can trigger an inspection and demolition order down the line, and it complicates any insurance claim related to the opening. For a free consultation on the permit scope of a Mesquite window replacement, call (888) 413-6358.
A professional window replacement in Mesquite typically runs $600 to $1,200 more per unit than a DIY install, and that premium buys you the flashing, waterproofing, and warranty coverage that DIY can’t replicate. DIY saves money for cosmetic work but is a bad deal on installation: saving $800 per window today risks $2,500 to $6,000 per window within two years if the flashing fails. Our professional installs are covered by the 730-Day Done Right Promise with upfront pricing and no surprises. Call (888) 413-6358 for a free line-item estimate.
You can swap the slab or the hardware on an existing door yourself, but do not install a new exterior door or sliding patio door into a rough opening without professional help. The threshold and head flashing details on exterior doors are actually more complex than window installations because water actively pools and pushes against these details. Mesquite’s wind-driven rain during monsoon season makes a failed threshold much worse. If the door is sticking, drafty, or secure but old, call (888) 413-6358 for a free estimate before starting.
A first-time DIY window install takes most homeowners a full day per window once you factor in removal, rough opening prep, shimming, sealing, and interior trim. What the YouTube video shows as a 20-minute job doesn’t include the flashing sequence, the dry-fit iterations, or the second trip to the hardware store. Professional crews typically complete a two-to-four window install in a single day because they’ve done the sequence hundreds of times. If you want a single-visit job without giving up your weekend, call (888) 413-6358 for a free estimate.
For Mesquite homes, the brands that make sense are the ones with proper high-altitude and high-heat warranty coverage and a documented installation manual that your installer can follow to the letter. Andersen and Marvin are the names we work with most, and both are available through our curated partner network. The brand matters less than the spec and the installation discipline. We spec a unit that matches your exposure. If you’re trying to choose between high-end and mid-grade for a Mesquite install, call (888) 413-6358 for a free design consult.
The Bottom Line
Window and door replacement isn’t all or nothing. Interior trim, hardware swaps, weatherstripping, and cosmetic caulking are genuinely safe DIY tasks in Mesquite, and doing them yourself saves real money without adding risk. Everything that touches the flashing, the rough opening, or the exterior envelope is a professional job, because the failure is hidden for 18 to 24 months and the repair cost dwarfs the labor savings. Permits, egress requirements, and manufacturer warranty terms all favor a professional install when structural work is involved. Save your weekends for the cosmetic work, and let a bonded, insured, background-checked crew handle the parts that protect your wall cavity.
If your project is moving past the safe DIY threshold, Groundwork Construction Co. of Mesquite is ready to help. Every professional install is backed by our 730-Day Done Right Promise, uses our curated partner brands like Andersen and Marvin, and ships with upfront pricing where the number you see is the number you pay. Calls are answered by a live person 24/7, our technicians are background-checked and uniformed, and we’ve been serving local communities since 2014. Call (888) 413-6358 for a free estimate and design consult, and we’ll help you scope exactly what’s worth doing yourself and what’s worth handing to the pros.
Written by the team at Groundwork Construction Co. of Mesquite.